

Noticed an ugly spiderweb crack on your favorite boat hull or bathtub? You are not alone. Fiberglass is tough, but it certainly isn’t invincible.
Homeowners, renters, and boat enthusiasts deal with this frustrating issue all the time. The good news? You do not need to panic. Figuring out how to repair fiberglass cracks is easier than you might think.
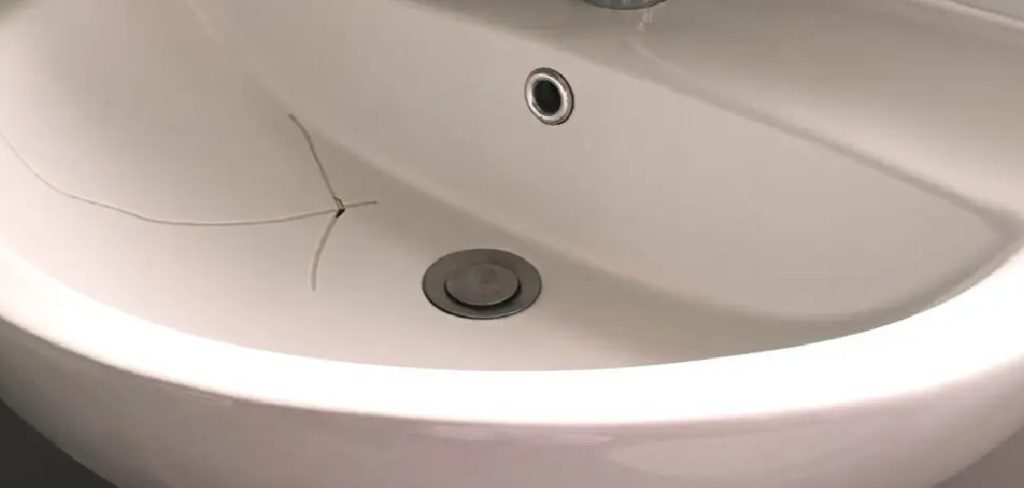
Paying a professional to fix a minor hairline fracture can drain your wallet fast. By tackling this project yourself, you keep that hard-earned cash in your pocket. Plus, you get the satisfaction of fixing your own gear.
All you need is a free weekend, some basic supplies, and a bit of elbow grease. We will walk you through exactly what you need to do to make that surface look brand new again.
What Causes This Problem?
Before we jump into the fix, it helps to know why fiberglass cracks in the first place. This material is basically layers of glass fabric glued together with rigid resin.
When placed under the wrong kind of stress, that rigid surface gives out. Here are the most common culprits behind those pesky fiberglass fractures:
- Impact damage: Dropping a heavy shampoo bottle in the tub or bumping a dock with your boat.
- Temperature swings: Rapid freezing and thawing cause materials to expand and contract.
- Age and UV exposure: Years in the hot sun can make fiberglass brittle and prone to surface cracking.
- Stress and flexing: Walking on a soft floorboard or overloading a specific area causes bending and eventual snapping.
- Improper installation: If a tub or shower pan lacks proper support underneath, your body weight will eventually crack the floor.
Tools & Materials Needed
Preparation is the secret to a perfect repair. Do not start this project until you have everything on hand.
Running to the hardware store halfway through a resin cure will ruin your project. Gather these items first:
- Rotary tool (like a Dremel): For grinding out the damaged area.
- Sandpaper: Assorted grits from 80 (coarse) to 800 (fine) and up to 2000 for wet sanding.
- Acetone: The absolute best cleaner for prepping fiberglass.
- Clean rags: Lint-free microfiber or shop towels work best.
- Fiberglass repair kit: This usually includes polyester or epoxy resin and hardener.
- Fiberglass cloth or mat: Necessary if the crack goes all the way through the material.
- Putty knife or plastic spreader: For applying and smoothing the resin mixture.
- Gel coat repair paste: To match the final color of your surface.
- Polishing compound: For that factory-fresh shine.
- Painter’s tape: To protect the surrounding areas from accidental scratches.
Step-by-Step Fix Guide: How to Repair Fiberglass Cracks
Ready to get your hands dirty? Follow these beginner-friendly steps to achieve a flawless repair.
We broke this down so anyone can follow along, regardless of DIY experience. Take your time, read the instructions on your specific repair kit, and do not rush the drying times.
Step 1: Clean and Inspect the Damage
Start by washing the cracked area with warm water and a mild degreasing soap. Rinse it well and let it dry completely.
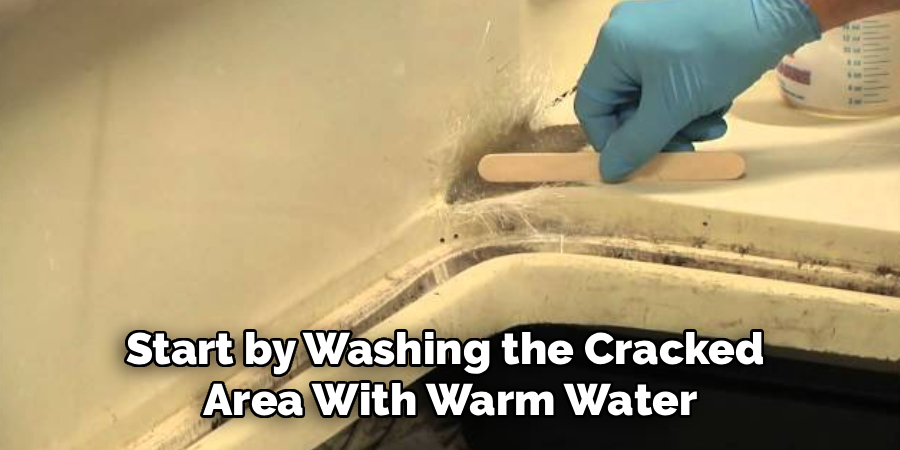
Once dry, wipe the entire surface down with acetone on a clean rag. This removes leftover soap scum, wax, or grease that might ruin your repair.
Now, look closely at the crack. Is it just a surface scratch in the top gel coat? Or does it go deep into the structural fibers?
If the crack flexes when you push on it, you have structural damage. This requires a deeper repair using fiberglass cloth, not just a cosmetic filler.
Step 2: Widen and Bevel the Crack
This sounds scary, but it is totally necessary. You cannot just put resin on top of a tight crack. It will not stick, and the crack will just come back.
Take your rotary tool with a small grinding bit. Gently grind along the entire length of the crack.
You want to open it up into a “V” shape. This gives the new resin plenty of surface area to grab onto.
Make sure the edges of your “V” are smooth and tapered. If you leave sharp, vertical edges, the repair will eventually pop right out.
Step 3: Sand the Surrounding Area
Grab some 80-grit sandpaper. Lightly sand a one-inch border all the way around your newly ground crack.
This roughs up the surrounding gel coat. The rough texture gives the repair paste a solid mechanical bond.
Tape off the area just outside this sanded border with painter’s tape. This protects your good fiberglass from accidental scratches during the next steps.
Once you finish sanding, vacuum up all the dust. Wipe the area down with acetone one more time.
Step 4: Mix the Repair Resin
Put on your protective gloves and safety glasses. Open your fiberglass repair kit.
You will typically have a can of thick base resin and a small tube of liquid hardener.
Scoop a small amount of the base resin onto a scrap piece of cardboard or a mixing palette. Add the hardener exactly as the package directs.
Usually, this is a pea-sized drop of hardener for a golf-ball-sized scoop of resin. Mix it thoroughly with a wooden stir stick or plastic spreader.
Do not mix more than you can use in about ten minutes. Once mixed, the chemical reaction starts, and the clock is ticking.
Step 5: Apply the Resin Mixture
Use your putty knife or plastic spreader to press the mixed resin deep into the “V” groove.
Make sure you push it all the way to the bottom to eliminate trapped air bubbles.
Fill the crack slightly higher than the surrounding surface. The resin will shrink just a tiny bit as it cures.
Smooth the top out as best as you can. The smoother you make it now, the less sanding you have to do later.
If the crack was deep and you need to use fiberglass cloth, press a small strip of cloth into the wet resin now. Add another layer of resin over the cloth to completely bury it.
Step 6: Let the Repair Cure
Now you need to wait. Read your kit’s instructions for exact curing times.
Depending on the temperature and humidity, it could take anywhere from one to four hours.
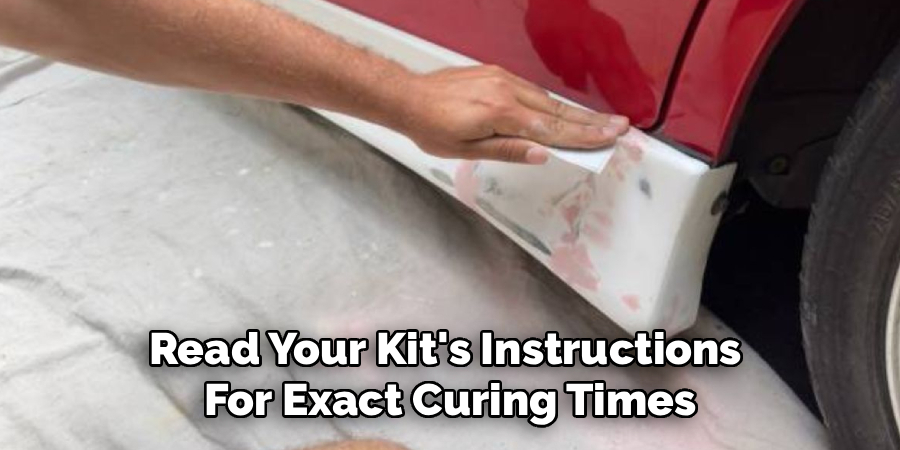
Do not poke it with your finger to see if it is done. You will leave a permanent fingerprint in your work.
Wait until the surface feels rock-hard when tapped lightly with the handle of your putty knife.
If you are working outside or in a cold garage, consider setting up a space heater nearby. Warmth helps the chemical reaction cure faster and stronger.
Step 7: Sand the Repair Flush
Once the resin is completely cured, remove your painter’s tape.
Take a fresh piece of 80-grit sandpaper. Carefully sand the hardened mound down until it is almost flush with the original surface.
Switch to 120-grit sandpaper to smooth out the deep scratches left by the 80-grit.
Keep the sandpaper moving in small circles. Try not to dig into the original, undamaged fiberglass around the patch.
Run your hand over the area. It should feel completely smooth, with no raised bumps or distinct edges.
Step 8: Apply the Gel Coat Finish
Your repair is structurally sound, but it probably looks like a dull grey or yellow patch. Now we need to make it pretty.
Mix up a small batch of gel coat repair paste. Follow the instructions to tint it to match your boat or bathtub.
Apply a thin layer of the gel coat over the sanded patch using a clean spreader.
Again, leave it slightly raised above the surrounding surface.
Cover the wet gel coat tightly with a piece of clear plastic wrap or wax paper. Gel coat needs to cure without touching the air. Let it sit until fully hardened.
Step 9: Wet Sand and Polish
Peel off the plastic wrap. The patch should be hard, but it will probably look a little dull and bumpy.
Get a spray bottle of water and some 400-grit wet/dry sandpaper. Spray the area generously.
Gently sand the patch until it is perfectly flush. The water keeps the sandpaper from clogging.
Move up to 800-grit, then 1000-grit, and finally 2000-grit sandpaper. Keep the surface wet the entire time.
By the time you finish with the 2000-grit, the patch should feel like smooth glass.
Step 10: Buff to a Factory Shine
Wipe the area completely dry with a clean microfiber towel.
Apply a dab of fiberglass polishing compound to a soft buffing pad.
Rub it firmly into the patched area in circular motions. You can do this by hand, but a power buffer makes it much easier.
Wipe off the hazy residue with a clean rag. Finish with a high-quality marine or automotive wax.
Step back and admire your work. The crack should be completely invisible!
Safety Warnings for Fiberglass Work
Working with fiberglass and chemical resins requires respect. These materials can be harsh on your body if you are not careful.
Always wear a high-quality respirator mask when grinding or dry sanding fiberglass. The tiny glass particles are terrible for your lungs.
Wear safety goggles to keep flying dust and chemical splashes out of your eyes.
Protect your skin by wearing long sleeves, long pants, and nitrile gloves. Fiberglass dust will make you incredibly itchy.
Always work in a well-ventilated area. The fumes from acetone, resin, and gel coat are potent and can cause headaches or dizziness. Keep open flames far away, as these chemicals are highly flammable.
When to Call a Professional
Knowing how to repair fiberglass cracks is a great skill. But sometimes, a DIY fix just is not the smart move.
You should call a professional if the crack is larger than a few inches wide or longer than a foot.
If the damage is below the waterline on a boat, the stakes are very high. A failed DIY repair there could sink your vessel. Call a pro.
If a fiberglass bathtub crack is caused by a completely rotted subfloor beneath it, patching the surface will not help. A contractor needs to tear it out and fix the structural framing.
Finally, if you cannot find a gel coat color match and aesthetics are crucial, professional fiberglass technicians can mix custom colors flawlessly.
Cost Estimate: DIY vs. Pro
How much money are you actually saving by doing this yourself? Let’s break down the numbers.
A high-quality fiberglass repair kit costs between $30 and $50. Sandpaper, acetone, and a basic polishing compound might add another $20 to your bill.
If you already own a rotary tool, your total DIY cost hovers right around $50 to $70.
Hiring a professional marine mechanic or bathtub refinisher is a different story. They typically charge a minimum call-out fee just to show up.
Most professional fiberglass repairs start at $250 for minor spider cracks. For larger structural repairs or perfect color matching, expect to pay between $400 and $800.
Doing it yourself easily saves you hundreds of dollars for a few hours of work.
Frequently Asked Questions
Can you use super glue to fix fiberglass cracks?
No. Super glue is brittle and will not hold up to the flexing that fiberglass endures. It also provides zero structural strength. Always use a proper two-part epoxy or polyester resin for a permanent, waterproof repair.
Does a surface scratch need a full structural repair?
Not usually. If the scratch is only in the top colored layer (the gel coat) and does not show white fibers, it is cosmetic. You can usually fix these simply by sanding the scratch out and applying a fresh layer of gel coat paste.
How do you repair fiberglass cracks in a bathtub?
The process is exactly the same as repairing a boat. However, you must ensure the tub floor is fully supported underneath. If the floor flexes when you step on it, inject expanding structural foam under the tub before doing the surface repair.
Is epoxy resin better than polyester resin?
Epoxy resin is generally stronger and bonds better to older, cured fiberglass. However, polyester resin is cheaper and cures faster. For structural repairs that need maximum strength, epoxy is usually the best choice for DIYers.
How long does a DIY fiberglass patch last?
If you prep the area correctly, grind out a proper “V” channel, and mix the resin accurately, the repair can last the lifetime of the object. Rushing the prep work is the main reason DIY patches fail early.
Conclusion
Learning how to repair fiberglass cracks is a fantastic way to extend the life of your expensive gear. Whether it is a shower stall, a canoe, or an RV panel, the process remains the same.
Remember that preparation is everything. Clean the area thoroughly, grind out the damage completely, and respect the curing times.
Do not get discouraged if the patch looks ugly before you sand it. The magic happens during the wet sanding and polishing stages.
You absolutely have the skills to handle this project. Grab a repair kit this weekend and get that surface looking brand new again.
Have you tackled a tricky repair project recently? Leave a comment below or share this guide with a fellow DIYer who needs to save a few bucks!