

Walking into your bathroom and spotting a cracked, loose, or missing tile can instantly ruin your morning. It looks bad, but the real issue is the hidden water damage it can cause behind your walls. Many homeowners panic when they see wall damage in the bathroom. They immediately assume they need to hire an expensive contractor for a massive renovation.
The truth is entirely different. Learning how to repair shower tile is actually a very straightforward weekend project. If you have a little patience and a few basic hand tools, you can easily tackle this project yourself. Doing it on your own will save you hundreds of dollars in professional labor costs.
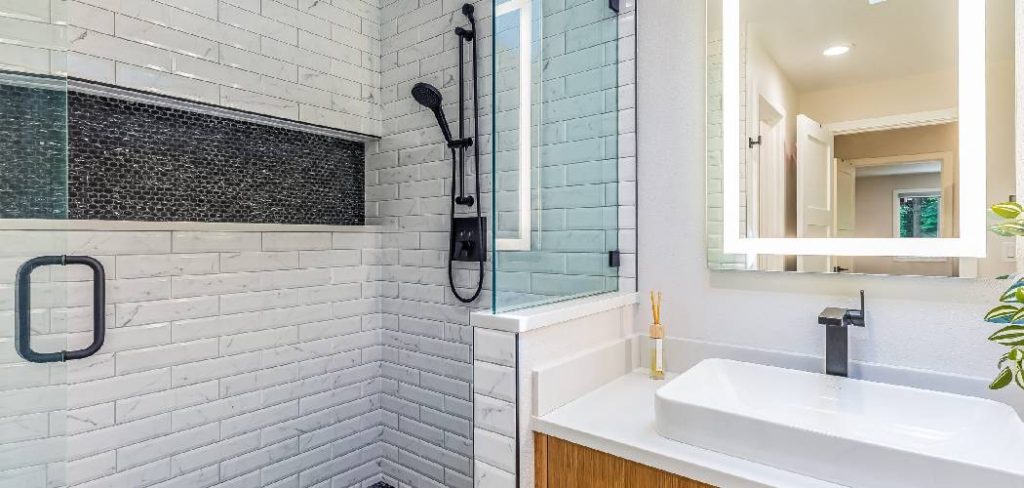
You do not need to be a master mason to get a watertight, beautiful finish. We are going to walk through the entire process together. Grab your work gloves, and let’s get your bathroom looking brand new again.
What Causes This Problem?
Before you fix the damage, it helps to understand why your shower wall failed in the first place. Tiles are incredibly durable, but the materials holding them together can degrade over time.
If you know the root cause of the problem, you can prevent it from happening again in the future. Here are five common reasons your bathroom walls might need attention:
- Water infiltration: Tiny cracks in your grout allow moisture to seep behind the wall, breaking down the adhesive.
- House settling: As homes age, their foundations shift slightly, causing rigid grout and ceramics to crack under pressure.
- Poor installation: If the original installer did not use enough mortar, the bond will eventually fail and fall off.
- Blunt force impact: Dropping a heavy shampoo bottle or slipping and hitting the wall can easily chip or shatter a ceramic piece.
- Old, crumbling grout: Grout does not last forever, and as it turns to powder, the surrounding ceramics lose their structural support.
Tools & Materials Needed
Preparation is the secret to a stress-free DIY project. You do not want to stop halfway through your repair to make a quick run to the hardware store.
Gathering your supplies beforehand ensures a smooth, uninterrupted workflow. Most of these items are incredibly cheap and readily available.
Here is exactly what you need to gather before you start working:
- Safety gear: Heavy-duty work gloves and protective safety glasses.
- Removal tools: A utility knife, a manual grout saw, and a small putty knife or chisel.
- Replacement tile: An exact match for your current wall (keep a spare from the original installation if possible).
- Adhesive: Premixed thinset mortar (a small tub is perfect for minor repairs).
- Application tools: A small notched trowel for spreading the mortar evenly.
- Finishing supplies: Sanded or unsanded grout (match your existing lines), a grout float, and a large sponge.
- Waterproofing: High-quality, mold-resistant silicone bathroom caulk.
Step-by-Step Fix Guide: How to Repair Shower Tile
Now that you have your tools ready, it is time to get your hands a little dirty. Take a deep breath. This process requires more patience than raw muscle. Work slowly, follow each step, and do not rush the drying times. Learning how to repair shower tile comes down to following this simple, logical sequence.
Step 1: Protect Your Workspace and Tub
Before you swing a hammer or scrape a wall, you need to protect your plumbing. Chunks of dried mortar and sharp ceramic shards will fall during this project. If those pieces fall down your drain, you will have a massive plumbing clog on your hands.
Place a heavy piece of cardboard or an old thick towel over your tub floor. Cover the drain completely with masking tape. Put on your safety glasses and thick work gloves. Shards of ceramic are as sharp as razor blades.
Step 2: Slice and Remove the Old Grout
You cannot just pry a broken piece off the wall immediately. If you do, you will likely crack the perfectly good pieces surrounding it. You need to sever the connection between the damaged piece and its neighbors.
Grab your manual grout saw or a utility knife with a fresh blade. Carefully scrape out the material outlining the damaged square. Use firm, steady pressure. Keep scraping until you reach the drywall or cement backer board behind the grout lines.
Step 3: Pry Out the Damaged Tile
With the perimeter completely clear, you can safely extract the broken piece. If it is already loose, you might be able to pull it out by hand. If it is stuck fast, take a hammer and gently tap the center to break it into smaller fragments.
Insert a small putty knife or flathead screwdriver behind one of the fragments. Gently pry it forward, away from the wall. Never use the neighboring, healthy tiles as leverage for your pry bar. Work piece by piece until the entire square is completely removed.
Step 4: Scrape the Wall Surface Clean
You now have a bare spot on your wall, but it is probably covered in old, hardened adhesive. You cannot place a new piece over a bumpy, uneven surface. Take your putty knife or a small chisel and scrape the exposed backer board.
You need to remove as much of the old thinset mortar as possible. The goal is to create a perfectly flat, clean canvas. Once the old adhesive is gone, wipe the area with a damp rag to remove any lingering dust. Let the spot dry completely before moving on.
Step 5: Apply the New Thinset Mortar
Now it is time to prepare the wall for its new addition. Open your small tub of premixed thinset mortar. Using your small notched trowel, scoop out a dollop of mortar and apply it to the bare wall space.
Spread it evenly across the square, then use the notched edge of the trowel to create ridges. These ridges act like tiny suction cups. Alternatively, you can “back-butter” the replacement piece by applying the mortar directly to the back of the ceramic. Both methods work perfectly fine for small DIY patches.
Step 6: Set the Replacement Tile firmly
Take your shiny new replacement piece and gently press it into the wet mortar. Apply even pressure across the surface to ensure it sits flush with the neighboring wall. You do not want it sticking out or sinking in too far.
Give it a very slight wiggle to collapse the mortar ridges and create a rock-solid bond. Insert small plastic spacers at the corners to ensure your gaps are perfectly even. Now, walk away and let the mortar cure for at least 24 hours.
Step 7: Mix and Apply the New Grout
Once the mortar has completely hardened, pull out the plastic spacers. It is time to fill those empty gaps and lock everything together. Mix your powder with water according to the package directions until it feels like creamy peanut butter. If you bought a premixed tub, just pop the lid off.
Scoop a generous amount onto your float and press it diagonally into the empty joints. Pack the joints tightly to ensure there are no hidden air bubbles. Scrape the excess material off the surface using the edge of the float.
Step 8: Wipe Clean and Seal the Wall
Wait about 15 to 20 minutes for the new joints to set up slightly. They should feel firm to the touch but not rock hard. Take a large, slightly damp sponge and gently wipe the surface in a circular motion. This will remove the hazy film left behind.
Rinse your sponge frequently, making sure you do not dig into the fresh joints and wash them away. Wait another 24 hours for everything to cure entirely. Finally, apply a high-quality penetrating sealer to protect your hard work from future moisture.
Safety Warnings for Bathroom Repairs
DIY projects are incredibly rewarding, but your physical safety must always come first. Bathrooms present a few unique hazards you need to respect.
First, shattered ceramic is incredibly dangerous. Always wear protective eye gear to prevent flying shards from causing permanent damage to your vision.
Second, scraping old mortar and grout creates a cloud of fine silica dust. Inhaling this dust is terrible for your lungs, so wear a basic N95 respirator mask.
Finally, be on the lookout for hidden black mold behind the wall. If you uncover soft, rotting drywall or large patches of dark mold, stop working immediately.
When to Call a Professional for Tile Repair
We love encouraging homeowners to tackle their own repairs, but you have to know your limits. Some jobs are simply too big for a weekend warrior.
If you remove a broken piece and find that the backer board is completely saturated and crumbling, you have a major leak.
A single broken square is an easy patch job. An entire wall that feels spongy when you press on it requires structural rebuilding.
If you suspect deep plumbing leaks, extensive mold, or rotted wall studs, call a licensed professional. Fixing the cosmetic surface will not solve underlying structural decay.
Cost Estimate: DIY vs. Hiring a Contractor
One of the best parts about learning to fix things yourself is the money you keep in your pocket. Bathroom contractors are rarely cheap.
If you decide to hire a professional for a minor bathroom repair, expect to pay a premium. Most contractors charge a minimum call-out fee.
A simple patch job done by a professional will easily cost between $200 and $500, depending on your local labor rates.
If you do it yourself, the supplies will cost roughly $30 to $50. You get professional results for a fraction of the cost, plus the pride of doing it yourself.
Frequently Asked Questions
Even with a detailed guide, you might still have a few lingering questions. It is completely normal to feel a little hesitant before starting. We have gathered the most common questions homeowners ask when attempting this DIY fix for the first time. Review these answers to give yourself an extra boost of confidence.
Can I just use super glue or construction adhesive?
No, you should never use super glue or standard construction adhesive in a wet environment. These glues are not designed to withstand constant water exposure. They will eventually break down, allowing moisture to rot your walls. Always use a proper thinset mortar designed for wet spaces.
How long does this entire project take?
The actual hands-on labor takes less than two hours. However, the project spans across two to three days. You must allow the mortar to dry for 24 hours before applying grout. The grout then needs another 24 hours to cure before you can turn the water on.
Do I need to buy expensive specialty tools?
Not at all. The tools required for a minor patch job are incredibly cheap. A basic manual scraper, a small trowel, and a sponge will cost less than twenty dollars at your local hardware store. You do not need expensive wet saws for a simple replacement.
Can I just caulk over the crack instead of replacing it?
Applying caulk over a cracked surface is a temporary band-aid, not a permanent solution. It might keep water out for a few weeks. Eventually, the crack will spread, and the piece will fall off. It is always better to remove the damaged piece and replace it properly.
How do I perfectly match my existing wall color?
Matching older walls can be tricky because materials fade over time. The best solution is to use leftover pieces from the original installation. If you do not have spares, take a broken fragment to a specialized flooring store. They can usually order a very close match for you.
Conclusion
Fixing up your bathroom does not have to be an expensive or intimidating nightmare. You now know exactly how to repair shower tile from start to finish.
By taking your time, using the correct tools, and following our steps, you can restore your wall to its former glory. You will save money and gain a massive sense of DIY pride.
Your home is your greatest investment, and learning how to maintain it yourself is a superpower. Do not let a small crack turn into a massive plumbing bill.
If you found this guide helpful, share it with a friend who loves weekend DIY projects! Drop a comment below and let us know how your bathroom repair turned out.