

We all have that one favorite shirt or perfectly broken-in couch. Finding a sudden tear in it can feel like a disaster. But do not throw it away just yet.
Learning how to repair ripped fabric is easier than you might think. You do not need a degree in fashion design to fix a simple hole. A few basic tools and a little patience will get the job done.
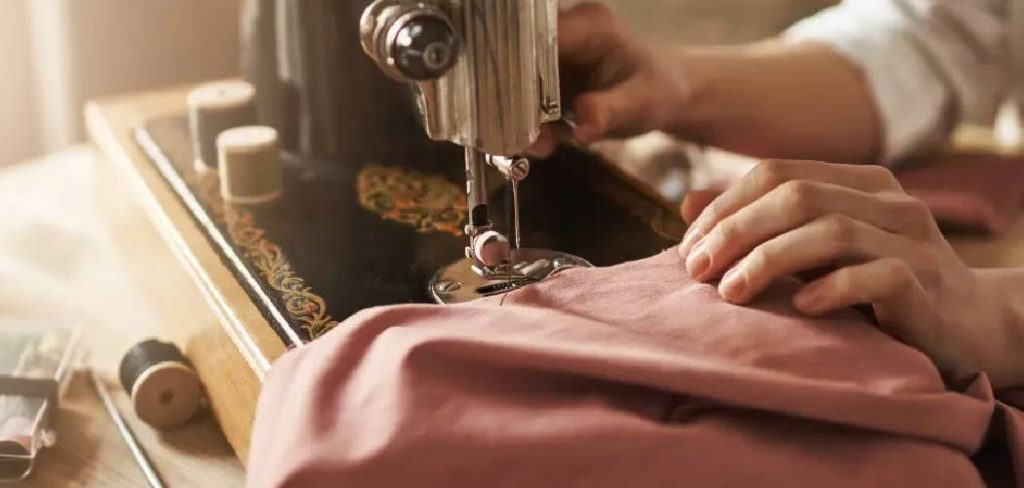
Fixing things yourself also saves a lot of money. A quick DIY repair keeps perfectly good items out of the landfill. Plus, it spares you the high cost of replacement or hiring a tailor.
In this guide, we will walk through exactly how to fix those frustrating tears. Grab a cup of coffee, and let’s get your favorite items looking great again.
What Causes Ripped Fabric?
Understanding why your fabric tears helps you prevent it from happening again. Fabric damage usually comes down to a few common culprits.
Here are the most frequent reasons you end up with a rip:
- Everyday wear and tear: Friction from regular use thins out the material over time.
- Accidental snags: Catching your sleeve on a sharp door handle or nail.
- Pet damage: Dog and cat claws can easily puncture delicate upholstery.
- Poor quality seams: Weak stitching from the factory often gives out early.
- Improper washing: Harsh washing machine cycles can break down delicate fibers.
Knowing these causes helps you protect your mended items later. Now, let’s look at what you need to fix the damage.
Tools and Materials Needed for Mending
You cannot start a project without the right gear. Thankfully, mending requires only a few inexpensive items. You might already have most of these in a drawer somewhere.
Here is exactly what you need to gather:
- A sewing needle: Choose a standard needle for clothes, or a curved needle for upholstery.
- Strong thread: Pick a color that closely matches your damaged item.
- Fabric glue: This is great for no-sew repairs or reinforcing edges.
- Sharp scissors: You need these to cut clean thread lines and trim frayed edges.
- Pins: Use these to hold the material together while you work.
- An iron-on patch: Optional, but excellent for large holes or denim.
Once you have your supplies ready, pick a bright, flat spot to work. Good lighting makes it much easier to see the fine details of your work.
Choosing the Right Fix for Your Tear
Before jumping into the steps on how to repair ripped fabric, evaluate the damage. Different tears require slightly different approaches.
A clean slice needs a different fix than a large, frayed hole. Let’s break down the main options you have for your project.
When to Use Fabric Glue
Fabric glue is your best friend for small, clean tears. It works wonderfully when the edges fit back together perfectly. It is also a great choice if you absolutely hate sewing.
Simply apply a thin layer to the edges and press them together. It dries clear and usually holds up well in the wash. However, avoid using it on areas that stretch a lot.
When to Choose Hand Stitching
Stitching is the most durable way to fix a rip. It gives you the strongest hold for high-tension areas. This is the best method for split seams or thick upholstery.
You do not need to know fancy stitches to make this work. A simple whipstitch or ladder stitch is more than enough. We will cover exactly how to do this in the guide below.
When to Apply a Patch
Sometimes a hole is simply too big to pull together. If fabric is actually missing, you need to use a patch. Iron-on patches are fantastic for heavy materials like jeans or canvas.
You just place the patch over the hole and apply heat. For extra security, you can sew around the edges of the patch. This method is incredibly sturdy and beginner-friendly.
Step-by-Step Guide: How to Repair Ripped Fabric
Ready to get to work? This simple process uses the hand-sewing method, which is the most reliable fix. Follow these simple steps to mend your item like a pro.
Step 1: Prep the Area
First, trim away any loose threads hanging around the tear. You want clean edges so the fix looks neat.
If the material is wrinkled, give it a quick iron. A flat surface makes aligning the edges much easier.
Step 2: Pin the Edges Together
Turn your garment inside out if you are fixing clothing. This hides the knot and the bulk of the repair on the inside.
Pinch the two edges of the tear together. Insert straight pins every half inch to hold the material firmly in place.
Step 3: Thread Your Needle
Cut a piece of thread about the length of your forearm. Any longer, and the thread will easily tangle while you work.
Push one end through the eye of the needle. Pull it through so both ends meet, and tie a double knot at the bottom.
Step 4: Start the Stitching
Start sewing about a quarter-inch before the actual tear begins. This anchors the repair into solid, undamaged material.
Push the needle up through the fabric from the inside. Pull it snug until the knot catches against the back of the material.
Step 5: Sew the Tear Closed
Push the needle through both layers of the pinned material. Bring it back over the top and push it through again.
This is called a whipstitch. Keep your stitches small, tight, and close together. Work your way down the entire length of the tear.
Step 6: Tie Off the Thread
Continue sewing about a quarter-inch past the end of the rip. This ensures the tear will not keep spreading later.
To finish, loop the thread through your last stitch before pulling it tight. Do this twice to create a strong knot, then trim the excess thread.
Safety Warnings for DIY Mending
Fixing clothes is generally very safe, but accidents still happen. A simple prick from a needle can hurt quite a bit.
Always push needles away from your body while sewing. If you are pushing through thick material, use a thimble to protect your fingers.
Be highly cautious when using an iron for patches. Keep the hot iron away from your hands and never leave it unattended. Also, ensure your room is ventilated if using strong fabric adhesives.
When to Call a Professional
DIY repairs are incredibly satisfying, but they have their limits. Some damage requires heavy-duty machines and specialized skills.
You should call a tailor or upholstery professional if the tear is on very delicate material like silk. Leather also requires special needles and heavy-duty thread that most home sewing kits lack.
If a large piece of furniture has severe structural damage along with torn material, get help. A professional will make sure the fix is safe, invisible, and long-lasting. Know your limits so you do not ruin a valuable item.
Cost Estimate: DIY vs. Professional Repair
One of the best reasons to learn this skill is the cost savings. Fixing things yourself leaves more money in your wallet.
A DIY repair kit costs around $5 to $15 at any craft store. That single kit can fix dozens of tears over the years. Your only other investment is about twenty minutes of your time.
Hiring a professional tailor usually starts at $15 for a basic seam repair. Fixing heavy furniture can easily cost anywhere from $100 to $300. Learning to mend things yourself clearly pays off fast.
Frequently Asked Questions
You probably still have a few questions about your specific project. We have gathered the most common queries people have when mending items at home.
Can I fix a tear without sewing?
Yes, you can easily use an iron-on patch or fabric glue. These are great options for non-stretch materials and quick fixes. They just might not last as long as a sewn seam.
What is the best stitch for repairing a hole?
The slip stitch (or ladder stitch) is perfect for closing holes seamlessly. It hides the thread inside the fold of the material. A simple whipstitch is best for raw edges on the inside of clothes.
Will fabric glue wash out in the laundry?
Most permanent fabric glues are designed to withstand washing. However, you should wait at least 48 hours before washing the item. Always wash glued items on a gentle, cold cycle.
How do you fix a large hole where material is missing?
You cannot sew a large hole completely closed without puckering the item. You must use a patch to fill the gap. Cut a patch slightly larger than the hole and stitch or glue it in place.
Conclusion
Knowing how to repair ripped fabric is an incredibly valuable life skill. It empowers you to take care of your belongings and stretch your budget.
We covered the main causes of tears and gathered the essential tools you need. You also learned a simple, straightforward method to stitch up a hole. With a little practice, your repairs will look nearly invisible.
Do not let a minor snag ruin your favorite shirt or chair. Grab a needle, thread, and follow these steps to bring your items back to life.
Have you recently fixed a torn item using this guide? Share your mending success stories in the comments below, and keep exploring our site for more simple repair tips!