

Does your heavy door slam shut every time you let go of the handle? Or maybe it stays wide open, inviting bugs and cold air inside your house.
If you are dealing with either problem, you are probably wondering how to repair door closer mechanics yourself.
You are not alone in this frustration. Homeowners and renters face this exact issue all the time.
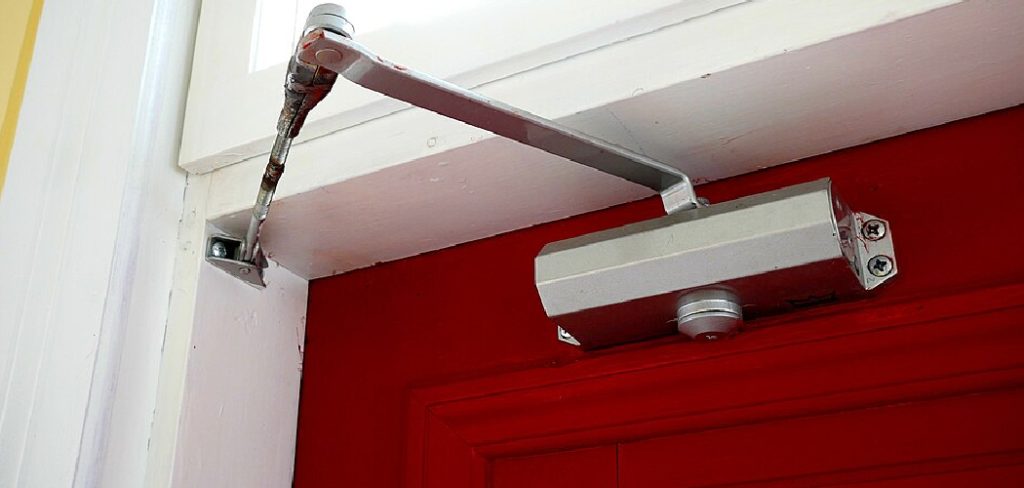
The good news? Fixing a stubborn door is much easier than you might think. You do not need to hire an expensive handyman to get your door swinging smoothly again.
By tackling this simple DIY project, you keep money in your pocket and gain a great sense of accomplishment.
Grab a few basic tools from your garage. Let’s get that door working perfectly again.
What Causes Door Closer Problems?
Before we dive into how to repair door closer units, it helps to understand what went wrong.
Door closers rely on simple hydraulic mechanics. When these parts fail or shift, the door stops working right.
Here are five common culprits behind a malfunctioning door:
- Temperature Changes: Cold weather makes hydraulic fluid thick, while hot weather thins it out. This changes how fast your door swings.
- Fluid Leaks: If you see oily residue on the metal body, the internal seals are broken.
- Loose Screws: Daily use vibrates the hardware. Over time, the arm screws wiggle loose.
- Worn Out O-Rings: The rubber rings inside the cylinder dry out and crack over time.
- Improper Adjustments: Sometimes, the valves were just set wrong during the initial installation.
Tools & Materials Needed for the Fix
You do not need a fancy workshop to complete this project.
Gather these basic items before you start working on your door. Having everything nearby saves you from making trips up and down a ladder.
- Screwdrivers: A standard flathead and a Phillips head screwdriver.
- Hex Wrench Set: Many adjustment valves require small Allen keys.
- Step Ladder: You need a safe, stable way to reach the top of the door frame.
- Paper Towels: Keep these handy in case you encounter leaky hydraulic fluid.
- Pliers: A small set of needle-nose pliers can help grab stubborn pins.
- Replacement Screws: Have a few extra wood or metal screws just in case the old ones are stripped.
How to Repair Door Closer Issues: Step-by-Step
Ready to fix that annoying door? Follow this beginner-friendly guide.
We will walk through the most common fixes, starting with the easiest adjustments.
Take your time, read each step, and do not rush the process.
Step 1: Inspect the Hardware Safely
Set up your step ladder on a flat, even surface. Climb up so you are at eye level with the hardware.
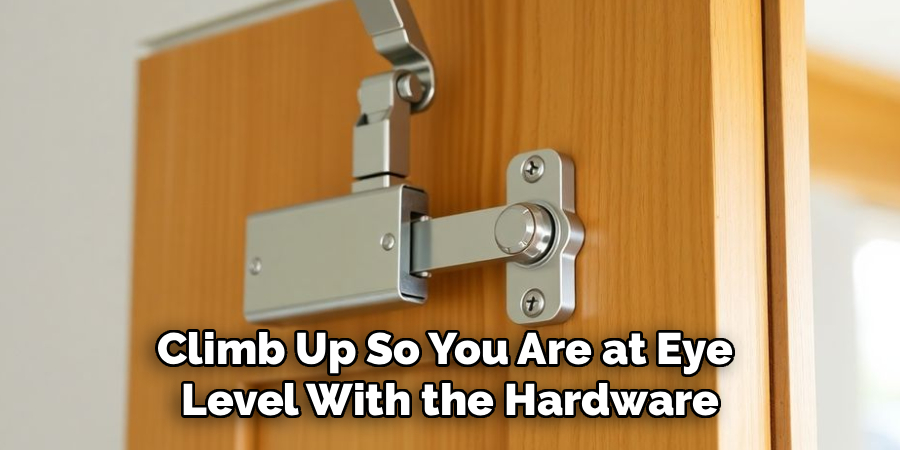
Look closely at the main metal body attached to the door. Do you see any shiny, oily fluid dripping down the sides?
If you spot a leak, the internal seal is broken. Sadly, you cannot refill this fluid. You will need to buy a replacement unit.
If the metal body is dry, you are in luck! We can move on to making adjustments.
Step 2: Remove the Decorative Cover
Many modern door closers have a plastic or metal cover hiding the adjustment valves.
Look for small screws holding this cover in place. Carefully loosen them with your screwdriver.
If there are no screws, the cover likely snaps on. Gently pry it off with your fingers.
Set the cover and any screws aside in a safe spot so you do not lose them.
Read More: How to Repair Sliding Glass Door Lock.
Step 3: Locate the Adjustment Valves
Look at the main body of the closer. You will see two or three small screws turned into the side or front.
These are your adjustment valves. They control the flow of hydraulic fluid inside the cylinder.
Usually, they are labeled “S” for Sweep and “L” for Latch. Sometimes you will see a “B” for Backcheck.
If they are not labeled, do not panic. The screw closest to the hinge usually controls the sweep speed.
Step 4: Adjust the Sweep Speed
The sweep speed controls how fast the door closes from a fully open position until it is a few inches from the frame.
If your door is slamming, the sweep speed is too fast.
Take your flathead screwdriver or hex wrench. Turn the “S” valve clockwise to slow the door down.
Make tiny adjustments. Just an eighth of a turn makes a massive difference in hydraulic pressure.
Open the door and let it close. Repeat this adjustment until the door swings at a nice, steady pace.
Read More: How to Repair Pocket Door Problems.
Step 5: Adjust the Latch Speed
The latch speed controls the final few inches of the closing cycle. This ensures the door clicks shut securely.
If the door stops right before hitting the frame, the latch speed is too slow.
Find the “L” valve. Turn it counter-clockwise slightly to speed up the final latching motion.
Again, use tiny turns. Test the door by opening it fully and letting it go.
You want a smooth transition from the sweep speed into a firm, secure latch.
Step 6: Set the Backcheck (If Applicable)
Not all door closers have a backcheck valve. If yours has a “B” valve, it controls how far the door can open.
This prevents the wind from catching the door and smashing it against your exterior siding.
Turn the “B” valve clockwise to increase resistance when opening the door past 70 degrees.
Test the resistance by pushing the door wide open. It should feel firm but not impossible to push.
Step 7: Tighten the Articulating Arm
Sometimes, the valves are perfectly fine, but the metal arm is loose.
Check the elbow joint where the two pieces of the metal arm meet.
If the bolt feels loose, grab your wrenches. Tighten the bolt so the arm feels sturdy but still pivots freely.
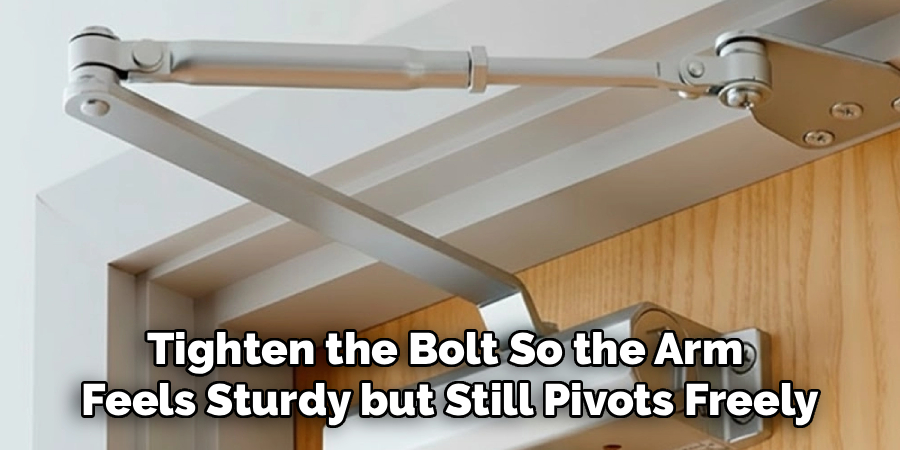
Next, check where the arm attaches to the door frame. Tighten any loose mounting screws with your Phillips head screwdriver.
Step 8: Replace the Cover and Clean Up
Once your door is closing beautifully, it is time to wrap up.
Snap or screw the decorative cover back into place.
Wipe down the door and frame with a paper towel to remove any fingerprints.
Put your tools away, step back, and enjoy the sound of a perfectly closing door.
Crucial Safety Warnings
Working on doors seems harmless, but accidents can happen easily.
Heavy doors carry a lot of momentum. Always keep your fingers clear of the hinges and the closer arm.
Never completely unscrew the adjustment valves. If you turn them too far out, hydraulic fluid will explode everywhere.
This fluid is messy, ruins floors, and will permanently destroy the door closer.
Finally, always make sure your step ladder is fully locked before climbing up to inspect the hardware.
When to Call a Professional
DIY repairs are incredibly rewarding. However, some jobs require a trained technician.
If you are dealing with a massive commercial glass door, step away. These doors weigh hundreds of pounds.
If a commercial closer fails, the glass can shatter and cause severe injuries.
You should also call a pro if the door frame itself is rotting or structurally damaged.
Fixing the hardware will not help if the wood cannot hold the mounting screws safely.
Cost Estimate: DIY vs. Pro
One of the best reasons to learn how to repair door closer problems is the financial savings.
If you just need to adjust the valves or tighten screws, your DIY cost is absolutely zero.
Even if you need to buy a brand new standard closer, you will only spend between $30 and $70 at the hardware store.
Hiring a professional is much more expensive. Most handymen charge a minimum trip fee.
You can expect to pay a professional between $150 and $300 for parts and labor.
Doing it yourself keeps that cash in your wallet for more fun weekend projects.
Frequently Asked Questions
Do you still have questions about your door hardware?
Here are a few common questions DIYers ask when tackling this project.
Can I refill the hydraulic fluid in my door closer?
No, you generally cannot refill them. Once the internal O-ring seal breaks and leaks, the unit is dead. You will need to buy a complete replacement.
Why does my door slam shut in the summer?
Heat thins out hydraulic fluid. This causes the fluid to flow faster through the valves. You simply need to turn the sweep valve clockwise to slow it down during hot months.
How long do door closers typically last?
A good quality unit should last between 7 and 10 years with normal residential use. Heavy traffic doors will wear out much faster.
Can I spray WD-40 on a sticky closer arm?
Yes, you can lubricate the elbow joint of the arm. However, use a silicone-based spray lubricant instead. Standard WD-40 attracts dirt and dust over time.
What is the easiest way on how to repair door closer arm issues?
Tightening the screws is the easiest fix. Check the shoe mount on the frame and the main pinion screw on the body. A simple turn of a screwdriver often fixes rattling arms.
Conclusion
You now know exactly how to repair door closer mechanisms like a true home improvement pro.
There is no need to put up with slamming doors or drafts whistling through your entryway.
By taking a few minutes to grab a screwdriver and climb a ladder, you can solve this problem for free.
Remember to make tiny adjustments to the valves and keep an eye out for leaking fluid.
You have got this! Do not let small repairs intimidate you.
If you found this guide helpful, be sure to bookmark our site and check out our other easy DIY home repair tutorials!