

Dealing with loose seams on your walls can be incredibly frustrating. You walk into a room, and your eyes immediately lock onto that one curling edge.
If you are wondering how to repair peeling wallpaper like a pro, you are in the right place. It is a common problem for homeowners and renters alike.
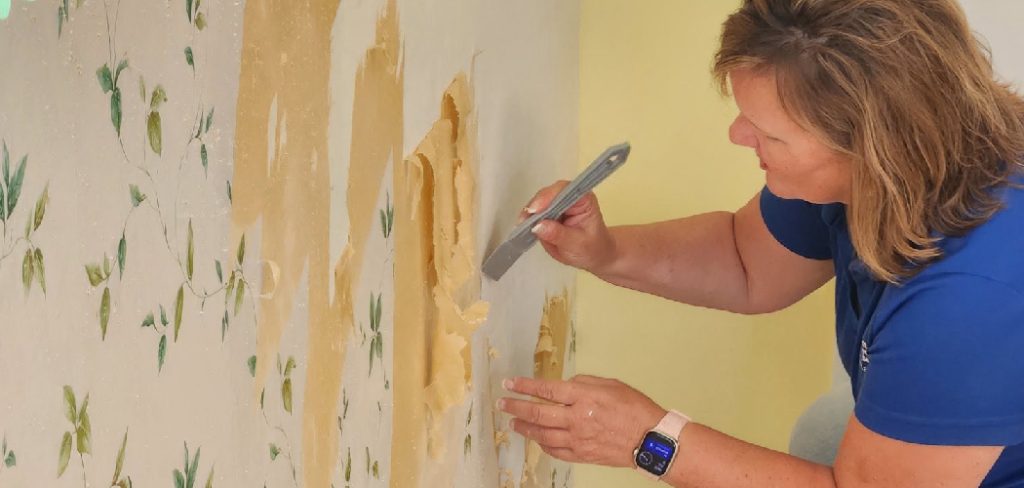
The good news is that you do not need to tear it all down. Fixing it yourself is highly rewarding.
Tackling this easy DIY project saves you a ton of money. You can skip the hefty contractor fees completely.
Let’s walk through this simple repair together. I will show you exactly how to make your walls look brand new again.
What Causes Wallpaper to Peel?
Before we jump into the fix, it helps to know why this happens. Wallcoverings can detach from the wall for a few main reasons.
Understanding the cause helps you prevent it from happening again. Here are the most common culprits:
- High Humidity: Bathrooms and kitchens see lots of moisture, which weakens wallpaper paste over time.
- Poor Initial Application: If the wall wasn’t primed or not enough paste was used initially, seams will lift.
- Temperature Fluctuations: Drastic changes in heat and cold cause materials to expand and contract.
- Age and Wear: Standard adhesives simply break down after years of being on the wall.
- Direct Sunlight: Constant UV exposure can dry out the adhesive and cause curling edges.
Essential Tools and Materials Needed
You only need a few simple items to get the job done right. Most of these are already sitting in your toolbox.
Gather these supplies before you start. Having everything within reach makes the job much smoother.
- Wallpaper Seam Adhesive: Do not use standard white glue. You need specialized seam repair paste.
- Small Artist’s Brush or Syringe: Perfect for applying glue into tight, curling spaces.
- Seam Roller: A small wooden or plastic roller to flatten the paper.
- Damp Sponge or Microfiber Cloth: For wiping away excess adhesive quickly.
- Painter’s Tape: To hold stubborn seams in place while the glue dries.
- Hairdryer: Helpful for softening stiff, brittle wallpaper.
- Utility Knife: Useful for gently lifting tight edges without tearing them.
Step-by-Step Guide: How to Repair Peeling Wallpaper
Are you ready to fix that annoying curling edge? Let’s dive into the step-by-step process.
This guide is designed for beginners. Just take your time, and do not rush the steps.
Step 1: Soften the Curled Paper
Old wallpaper gets stiff and brittle over time. If you bend it while it is dry, it might snap or tear.
Grab your hairdryer and set it to low or medium heat. Gently wave it over the peeling section for about a minute.
This warms up the paper and makes it pliable again. It also softens any old, crusty adhesive left behind.
Step 2: Clean the Exposed Wall
You need a clean surface for the new glue to stick properly. Look behind the peeling section.
If you see dry, flaky glue, scrape it away gently. You can use a utility knife or a small putty knife.
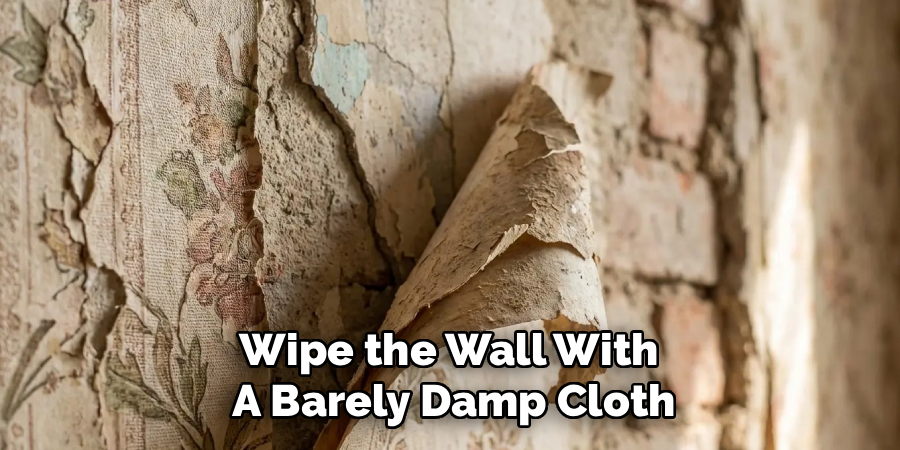
Wipe the wall with a barely damp cloth to remove dust. Let the wall dry completely before moving forward.
Step 3: Apply the Seam Adhesive
Now it is time for the main event. Grab your wallpaper seam adhesive.
If you are working with a tiny flap, use a plastic syringe to inject the glue. A small artist’s brush also works wonders.
Spread a thin, even layer of adhesive on the back of the wallpaper. Do not overdo it, or you will create a messy situation.
Step 4: Press and Smooth the Edge
Gently press the wallpaper back into its original position on the wall. Start from the unpeeled section and push toward the edge.
This motion pushes out any trapped air bubbles. Use your fingers first to guide the paper smoothly.
Make sure the pattern lines up perfectly with the adjacent panel. Take your time to get the alignment just right.
Step 5: Roll the Seam
Next, grab your seam roller. This little tool is the secret to a professional-looking finish.
Roll it firmly over the glued area, moving up and down the seam. This presses the paper flat and ensures the adhesive bonds tightly.
It also pushes any excess glue out from under the edges. Do not press too hard, or you might burnish and shine the paper.
Step 6: Clean Up Excess Glue
As you roll the seam, some glue will definitely squeeze out. You must clean this up immediately.
Grab your damp sponge or microfiber cloth. Gently wipe away the wet adhesive from the face of the wallpaper.
Do not scrub, as this can ruin the ink on the paper. Just wipe softly until the surface is entirely clean.
Step 7: Secure with Painter’s Tape
Sometimes, the wallpaper has a memory of being curled. It might try to lift back up while the glue dries.
If the edge looks stubborn, use a few strips of blue painter’s tape. Place them directly across the repaired seam.
Leave the tape there for about 24 hours. Once the glue is fully cured, peel the tape off slowly and carefully.
Safety Warnings to Keep in Mind
DIY projects are fun, but safety should always come first. Repairing wallcoverings is generally very safe.
However, there are a few things you should be aware of. Follow these tips to protect yourself and your home.
Work in a Well-Ventilated Area
Some strong adhesives carry mild fumes. Always keep a window cracked while you work.
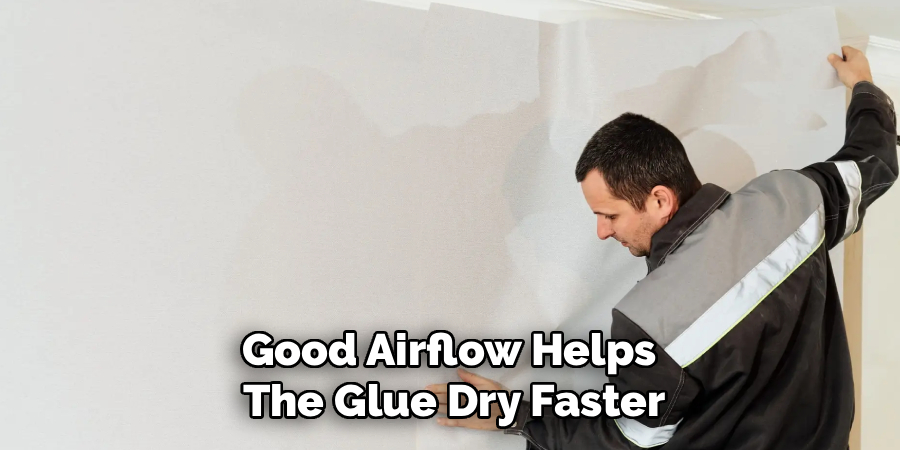
If you are sensitive to smells, wear a basic dust mask. Good airflow helps the glue dry faster, too.
Be Careful Around Outlets
If your peeling wallpaper is near a light switch or electrical outlet, be cautious. Never use wet sponges right over exposed wiring.
Turn off the breaker to that room before working near outlets. Safety is always cheaper than a trip to the hospital.
Handle Utility Knives Safely
A sharp utility knife is great for lifting stubborn edges. However, one slip can cause a nasty cut.
Always cut away from your body. Retract the blade immediately when you set the knife down.
When to Call a Professional
I firmly believe that anyone can learn how to repair peeling wallpaper. It is a very accessible DIY task.
But sometimes, a situation is simply beyond a quick patch job. It is okay to admit when a project is too big.
Consider calling a professional if the damage is widespread. If entire panels are falling down, you might need a total redo.
You should also call a pro if you discover mold behind the paper. Mold requires specialized remediation to keep your family safe.
Finally, if the wallcovering is a delicate, high-end material like silk or grasscloth, hire a pro. These materials require specialized knowledge and can be easily ruined.
Cost Estimate: DIY vs. Pro
One of the best parts of this project is the cost savings. Let’s look at the numbers side by side.
Knowing the financial breakdown makes doing it yourself even more appealing.
DIY Repair Costs
Buying the supplies yourself is incredibly cheap. A tube of seam adhesive costs around $5 to $8.
A decent seam roller is about $10. A small brush and sponge might run you another $5.
Total DIY Cost: Roughly $20 to $25. You will also have leftover supplies for future fixes.
Professional Repair Costs
Hiring a contractor is a different story entirely. Most professionals have a minimum call-out fee just to show up.
This fee can range from $100 to $150. Hourly rates for a skilled tradesperson average $50 to $80 per hour.
Total Pro Cost: Expect to pay between $150 and $250 for a basic repair. The savings are huge when you do it yourself!
Frequently Asked Questions
You might still have a few lingering questions about your project. I hear these exact questions from neighbors all the time.
Here are some quick, helpful answers to get you totally prepared.
Can I use regular glue or superglue to fix wallpaper?
No, never use standard white glue, superglue, or craft paste. These are not designed for wallcoverings and can ruin the paper.
They often dry too hard, discolor the paper, or fail in high humidity. Always use a dedicated wallpaper seam adhesive for the best results.
How do you fix peeling wallpaper corners?
Corners peel because they face more friction. Use a hairdryer to soften the stiff corner first.
Inject seam adhesive with a syringe, press it down, and roll it flat. Apply painter’s tape tightly around the corner while it dries.
Why is my wallpaper peeling at the seams?
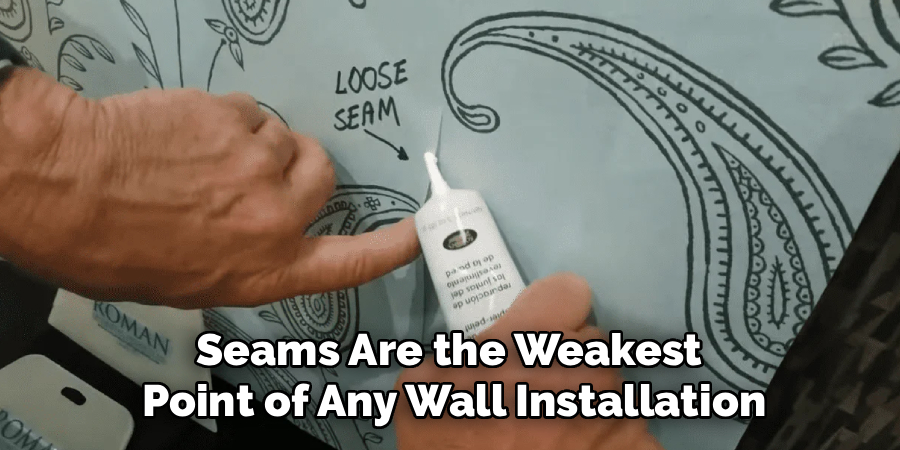
Seams are the weakest point of any wall installation. They often lift due to poor initial priming or not enough paste.
High moisture in rooms like bathrooms will also cause seams to pop over time. Fixing them promptly stops the peeling from spreading.
Can you paint over peeling wallpaper?
You should never paint over peeling or bubbling paper. The moisture in the paint will make the lifting much worse.
If you plan to paint, you must glue down every loose edge first. Ensure the wall is perfectly flat and primed before painting.
How to repair peeling wallpaper that shrunk?
Sometimes, wallpaper shrinks, leaving a gap between the seams. You cannot stretch the paper back to its original size.
Glue the edges down firmly so they stop peeling. Then, use a colored marker or watercolor pencil to tint the exposed wall to match the paper.
Conclusion
Taking care of your home doesn’t have to be intimidating or expensive. You now know exactly how to repair peeling wallpaper like an expert.
By taking your time and using the right adhesive, you can make those ugly seams disappear. It is a quick afternoon project with incredibly satisfying results.
Remember to keep your seam roller and glue handy for any future touch-ups. A well-maintained wall keeps your living space looking fresh and inviting.
Are you ready to tackle more home fixes? Check out our other beginner-friendly DIY guides to keep your house in top shape!