

You hit the button on your garage door opener, but nothing happens. You might hear the motor straining, or worse, you heard a loud bang from the garage earlier.
A snapped spring is one of the most common issues homeowners face. If you are wondering how to repair a broken garage door spring safely, you have come to the right place.
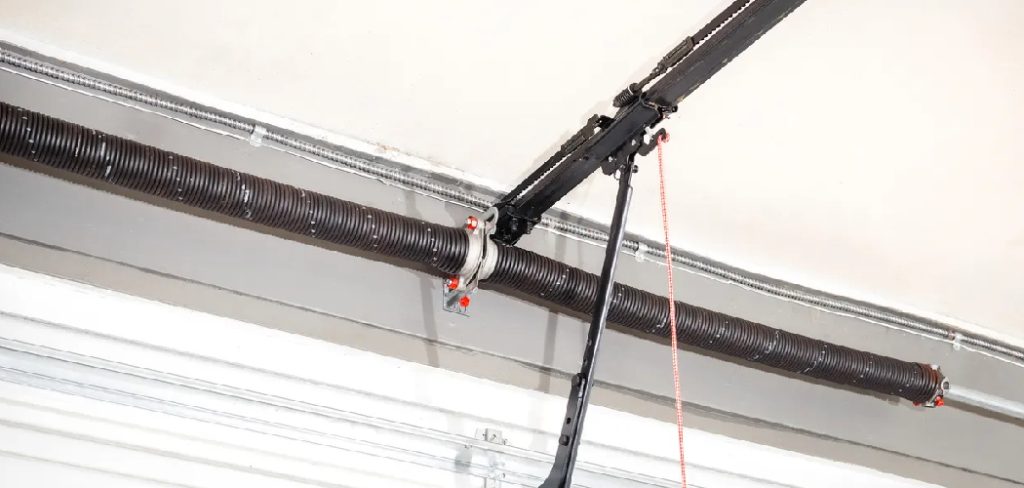
Fixing it yourself can save you hundreds of dollars in service fees. We will walk you through everything you need to know to get your door moving smoothly again.
But before we dive in, remember that garage door springs hold a massive amount of tension. You need to respect that power and follow all safety steps.
Let us roll up our sleeves and tackle this project together.
What Causes This Problem?
Garage door springs do the heavy lifting every time you open or close the door. They take on a lot of stress daily.
Eventually, that metal gets tired and gives out. Here are a few reasons why springs break:
- Daily Wear and Tear: Most standard springs are rated for about 10,000 cycles. If you open and close your door four times a day, that is less than seven years of life.
- Rust and Corrosion: Rust increases friction on the coil. This weakens the metal and cuts the lifespan of the spring significantly.
- Lack of Maintenance: Springs need regular lubrication to function smoothly. A dry spring grinds against itself, leading to early failure.
- Cold Weather Changes: Extreme cold causes the metal to contract and become brittle. This is why springs often snap during the winter months.
- Improper Installation: If the wrong size spring was installed previously, it works much harder than it should.
Tools & Materials Needed
Having the right tools is non-negotiable for this repair. Never improvise when dealing with high-tension springs.
Here is exactly what you need to gather before you start:
- Two properly sized replacement torsion springs
- Two solid steel winding bars (exactly matching your winding cone size)
- Two locking C-clamps or vice grips
- An adjustable wrench and a 9/16-inch open-ended wrench
- A sturdy step ladder
- Heavy-duty leather work gloves
- Safety glasses or goggles
- A tape measure and a marker
The Step-by-Step Fix Guide: How to Repair a Broken Garage Door Spring Safely
Ready to get to work? Take your time, follow these steps exactly, and do not rush.
If your door has two springs, you should always replace both at the same time. The unbroken spring is likely nearing the end of its life anyway.
1. Lock the Door Down
Your safety is the top priority here. A garage door without spring support is incredibly heavy.
Close the garage door completely. Unplug the automatic opener from the ceiling outlet so nobody can accidentally activate it.
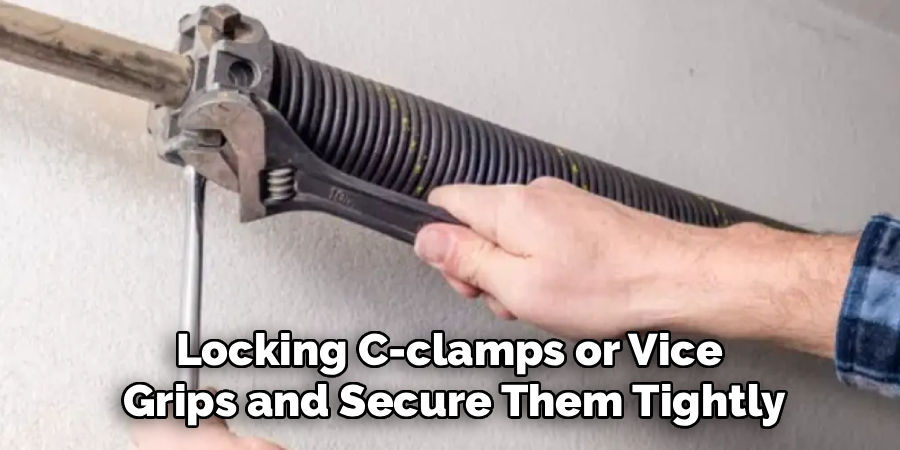
Take your locking C-clamps or vice grips and secure them tightly to the tracks just above one of the rollers. This prevents the door from suddenly flying up or crashing down.
2. Measure the Old Springs
You need exact replacements to balance your door correctly. Grab your tape measure and check the broken spring.
Measure the inside diameter of the spring coil. Then, measure the length of 20 coils to determine the exact wire thickness.
Finally, measure the overall length of the spring while it is completely unwound. Take these measurements to your local hardware store or order the exact match online.
Read More: How to Repair Pitted Concrete Garage Floor.
3. Unwind the Unbroken Spring
If you have a two-spring system, the unbroken spring is still holding dangerous tension. You must unwind it safely.
Put on your safety glasses and gloves. Climb your ladder and insert a solid steel winding bar into the bottom hole of the winding cone.
Hold the bar firmly, loosen the set screws with your wrench, and carefully let the spring push the bar down. Insert the second bar into the next hole, remove the first, and repeat until all tension is gone.
4. Disconnect the Torsion Hardware
With all tension removed, you can start taking things apart. Locate the center bracket holding the springs together.
Use your wrench to unbolt the springs from this center stationary cone. Slide the springs slightly away from the center.
Next, loosen the set screws on the cable drums at the far ends of the torsion tube. Disconnect the lifting cables from the drums.
5. Remove the Old Springs
Now you need to slide the entire torsion tube to get the old springs off. Slide the torsion tube out of the end bearing bracket on one side.
Carefully pull off the cable drum and slide the old broken spring off the tube. Repeat this process on the other side.
Set the old springs aside in a safe place.
6. Install the New Springs
It is time to put the new hardware on. Pay close attention to the winding direction—left-wound springs go on the right side, and right-wound springs go on the left.
Slide the new springs onto the torsion tube, followed by the cable drums. Reinsert the torsion tube into the end bearing brackets.
Push the two springs together at the center bracket and bolt them securely into place.
Read More: How to Repair Home Foundation Cracks.
7. Reattach the Cables and Drums
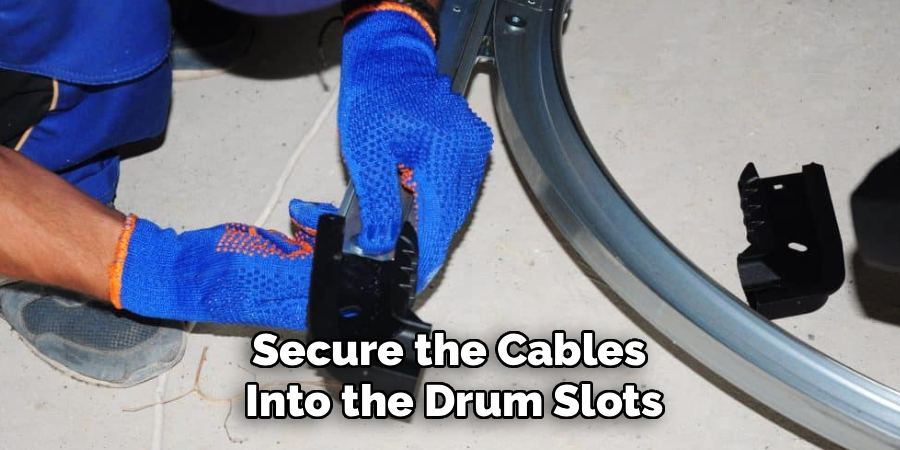
Thread the lifting cables back up to the cable drums. Secure the cables into the drum slots.
Turn the drum by hand until the cable is pulled perfectly tight. Use your wrench to tighten the set screws on the drum.
Clamp locking pliers onto the torsion tube to hold it perfectly still against the wall while you secure the other side.
8. Wind the New Springs
This is the most critical part of learning how to repair a broken garage door spring. Grab your solid steel winding bars.
Insert a bar fully into the winding cone. Push upward to add a quarter turn of tension.
Most standard 7-foot doors require about 30 quarter turns. Keep track of your count, and never stand directly in front of the winding bars.
9. Test the Balance
Once the springs are fully wound and the set screws are tightened, carefully remove your winding bars. Remove the vice grips from the torsion tube and the door tracks.
Slowly lift the garage door by hand. It should feel surprisingly light.
Lift it halfway and let go. A perfectly balanced door will stay in place without falling down or pulling up.
Crucial Safety Warnings
Garage door springs are not toys. They hold enough torque to break bones or cause serious injury.
Never use screwdrivers, socket extensions, or rebar as winding bars. They can easily snap or slip out under pressure.
Always stand to the side of the winding cone, never directly in front of it. Keep your face away from the path of the winding bars.
If you ever feel resistance that seems wrong, stop immediately. It is better to back off than force something to turn.
When to Call a Professional
There is absolutely no shame in calling for backup. DIY projects are great, but safety comes first.
If your garage uses a Wayne Dalton TorqueMaster system with springs hidden inside a tube, call a pro. They require special tools.
If your garage door tracks are bent, or the cables are frayed and rusted, a professional can handle the entire overhaul safely.
If you just feel nervous about the high tension, stop right there. A local technician can do the job safely in under an hour.
Cost Estimate: DIY vs. Pro
How much does it cost to repair a broken garage door spring? Doing it yourself offers fantastic savings.
Buying two replacement torsion springs usually costs between $60 and $120. A good set of winding bars is about $15.
If you hire a professional, expect to pay between $200 and $400 for parts and labor. The price varies based on your location and door size.
By dedicating an afternoon to this project, you keep that extra cash right in your pocket.
Frequently Asked Questions
Can I open my garage door with a broken spring?
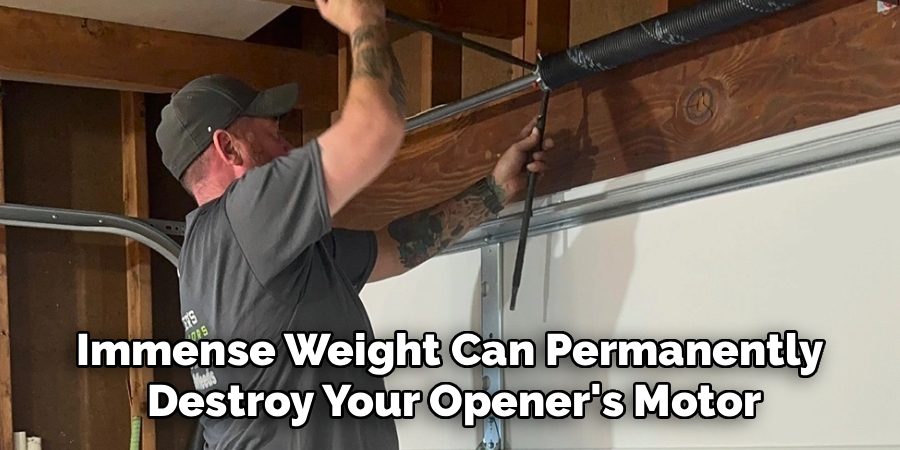
No, you should never try to open the door using the automatic opener when a spring is broken. The immense weight can permanently destroy your opener’s motor and strip the gears.
Should I replace both springs at once?
Yes, absolutely. If one spring broke, the other has endured the exact same amount of wear and tear. Replacing both ensures your door is perfectly balanced.
How long do garage door springs last?
Standard springs usually last for about 10,000 to 15,000 cycles. Depending on how frequently you use your garage, this translates to anywhere from 7 to 12 years.
How do I know what size spring to buy?
You must measure the wire thickness, the inside diameter, and the overall length of the unwound spring. Buying the exact match ensures your door balances correctly.
Can I use oil to maintain my new springs?
Do not use WD-40 or heavy grease, as they attract dirt. Instead, use a dedicated lithium-based or silicone-based garage door spray lubricant every six months.
Conclusion
Taking care of home repairs feels incredibly rewarding. Now that you know how to repair a broken garage door spring, you can tackle this project with confidence.
Just remember to take your time, use the right tools, and prioritize your safety during the winding process. With a bit of patience, your door will be back to normal.
Regular maintenance will keep your new springs running smoothly for years to come. Grab some garage door lubricant and make it a habit every few months.
Ready to take on your next weekend project? Check out our other DIY home repair guides and keep saving money like a pro!