

Seeing crumbly, dusty joints in your brickwork can feel stressful. You might worry that your entire wall is about to tumble down.
Fortunately, figuring out how to repair mortar between bricks like a pro is easier than you might think. This common repair project is called repointing or tuckpointing.
Every homeowner with a brick house, chimney, or retaining wall faces this issue eventually. Mortar takes a beating from the elements and naturally degrades over time.
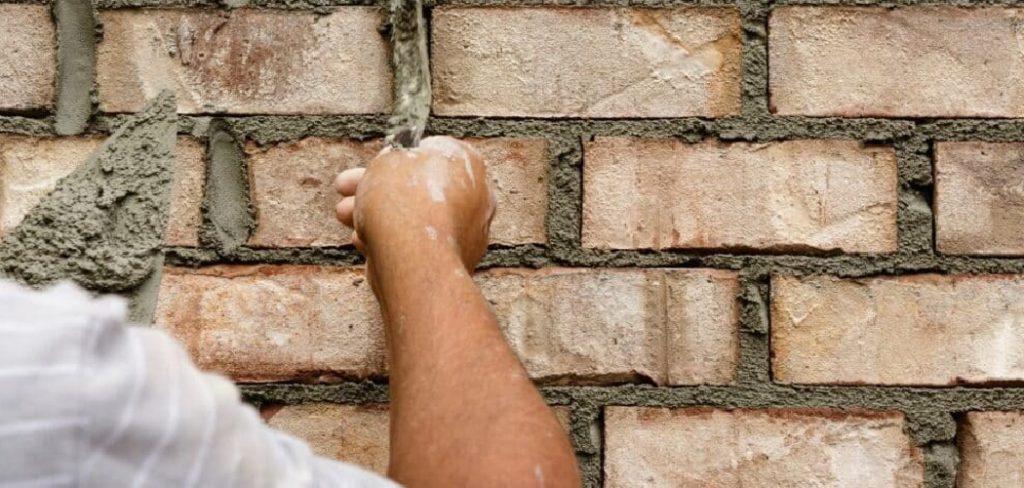
The good news? You do not need to hire an expensive mason for basic fixes.
Fixing it yourself saves a massive amount of money. You only pay for a few basic tools and a bag of mortar mix.
In this guide, we will walk through the exact steps to restore your brickwork. Grab your work gloves, and let us get started.
What Causes Mortar to Crumble?
Before you learn how to repair mortar between bricks, it helps to understand why it fails. Mortar acts like a sponge, and several factors cause it to break down.
Here are the most common culprits behind damaged mortar joints:
- Harsh Weather: Freezing and thawing cycles force water inside the joints to expand, cracking the material.
- House Settling: As your home shifts over the years, the rigid brickwork experiences stress and microscopic cracking.
- Poor Original Mix: If the original builders used too much sand or too little cement, the mixture degrades much faster.
- Aggressive Power Washing: Blasting your brick walls with high-pressure water strips away the protective outer layer.
- Plant Growth: Ivy and moss look beautiful, but their tiny roots dig into the porous joints and destroy them from the inside.
Tools & Materials Needed for the Job
Preparation is the secret to a smooth DIY project. You want everything within arm’s reach before you mix a single drop of cement.
Gather these essential tools and materials before you begin repointing:
- Safety Gear: Safety glasses, heavy-duty work gloves, and an N95 dust mask.
- Masonry Chisel and Hammer: A cold chisel and a hammer (or a small sledgehammer) to chip away the old, loose material.
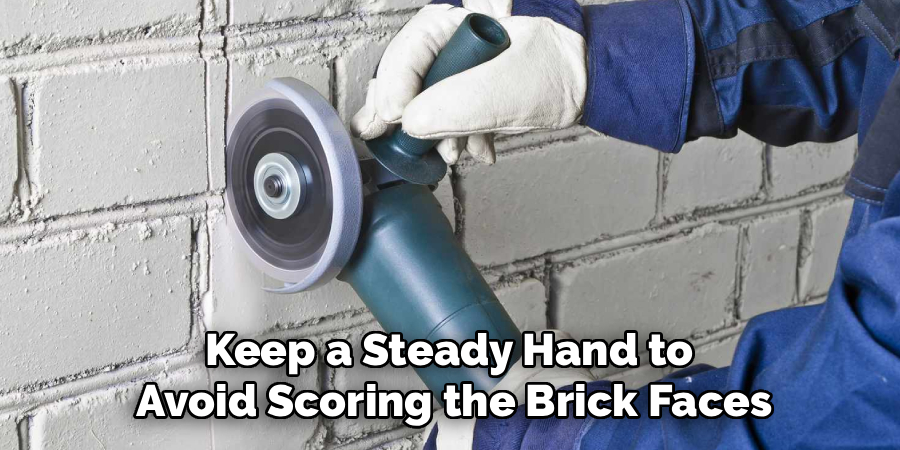
- Angle Grinder (Optional): If you have a massive area to clear, a grinder with a masonry wheel speeds up the process.
- Wire Brush: A stiff wire brush to scrub the joints completely clean of dust and debris.
- Spray Bottle or Hose: You need to keep the bricks damp so they do not suck the moisture out of the new mix.
- Type N Mortar Mix: This is the standard, medium-compressive-strength mix used for most exterior above-grade brickwork.
- Bucket and Trowel: A clean bucket for mixing and a standard masonry trowel to scoop the material.
- Pointing Trowel: A narrow tuckpointing trowel that fits perfectly between your bricks.
- Jointer Tool: A brick jointer helps you match the shape of the existing, finished joints (like a concave or V-shape).
Step-by-Step Fix Guide: How to Repair Mortar Between Bricks
Ready to get your hands dirty? Follow these beginner-friendly steps to achieve a professional-looking repair.
Take your time with each stage. Rushing the preparation will lead to a weak bond, and you will just have to do it again next year.
Step 1: Remove the Old, Damaged Mortar
The new material needs a solid, clean surface to grip onto. You cannot just smear fresh paste over crumbling dust.
Put on your safety glasses and your dust mask. Grab your masonry chisel and hammer.
Carefully chip away the old, loose material from the damaged joints. Hold the chisel at a slight angle to avoid chipping the actual bricks.
You want to remove about three-quarters of an inch to a full inch of depth. Stop chiseling once you hit hard, solid material.
If you are using an angle grinder, work slowly. Keep a steady hand to avoid scoring the brick faces.
Step 2: Clean the Joints Thoroughly
Once you remove the bulk of the loose material, you need to clean the workspace. Dust acts as a barrier and prevents the fresh paste from sticking properly.
Take your stiff wire brush and vigorously scrub out the empty joints. Brush away all the fine dust, grit, and loose sand.
Use a shop vacuum to suck out the remaining debris if you want to be extra thorough. Alternatively, you can use an air compressor to blow the joints completely clean.
The cleaner the joint, the stronger the final repointing job will be.
Step 3: Dampen the Surrounding Bricks
This is a crucial step that many beginners skip. Bricks are incredibly porous and thirsty.
If you apply wet mortar to bone-dry bricks, the bricks will instantly suck all the moisture out of your mix. This causes the repair to dry too fast, shrink, and crack.
Grab your garden hose or a heavy-duty spray bottle. Lightly mist the entire work area, focusing on the empty joints.
You want the bricks to be damp to the touch, but not soaking wet. There should be no standing water puddles inside the joints.
Step 4: Mix Your New Mortar
Now it is time to prepare your Type N mix. Always follow the specific instructions on the back of the bag for the best results.
Pour a small amount of the dry powder into your mixing bucket. Add water slowly, a little bit at a time.
Use your trowel to fold the water into the powder. You are looking for a consistency similar to thick peanut butter or stiff cake frosting.
If the mix is too runny, it will drip down the wall. If it is too dry, it will crumble off your trowel.
Only mix an amount you can use within about 45 minutes. It will start to harden in the bucket if you mix too much at once.
Step 5: Pack the Fresh Mortar
Scoop a generous amount of your freshly mixed paste onto a large trowel or a masonry hawk. Hold this right directly beneath the joint you are repairing.
Take your narrow pointing trowel and slide a small amount of the mix off the large trowel. Firmly push it deep into the empty horizontal joints first.
Pack the material in tightly to eliminate any hidden air pockets. Fill the joint so the material sits slightly flush with the brick face.
Once you finish the horizontal lines, move on to the shorter vertical joints. Wipe away any major excess blobs from the brick face with the edge of your trowel as you work.
Step 6: Tool the Joints for a Clean Finish
You need to shape the soft joints to match the rest of the wall. Wait about 30 to 45 minutes until the new material becomes “thumbprint hard.”
If you press your thumb into it, it should hold the print without sticking to your skin.
Take your brick jointer tool and firmly run it along the horizontal joints first. This compresses the material, pushes it tight against the bricks, and gives it a clean shape.
Next, run the jointer tool over the shorter vertical lines.
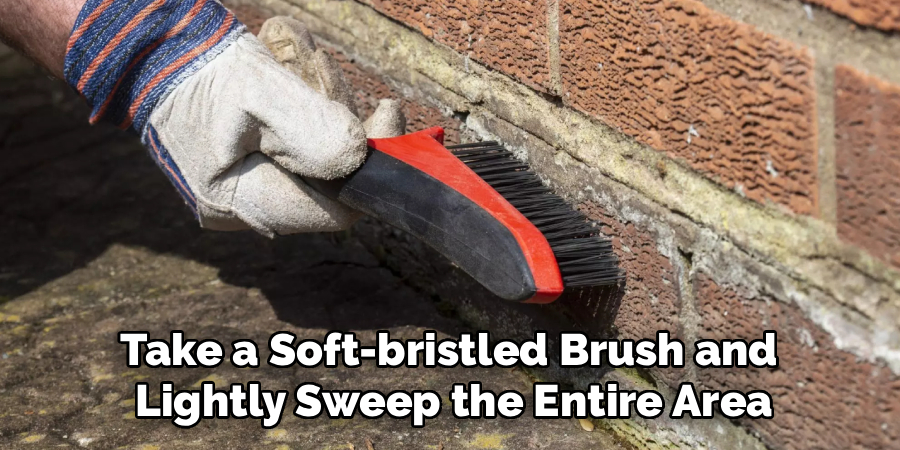
Finally, take a soft-bristled brush and lightly sweep the entire area. This removes those tiny, messy crumbs on the edges and blends the repair perfectly.
Important Safety Warnings
Tuckpointing is a safe DIY project if you take basic precautions. However, masonry materials can be hazardous if handled carelessly.
First, always protect your lungs. Cutting and chiseling old joints creates silica dust, which is incredibly harmful to breathe in. Always wear a snug-fitting N95 respirator mask.
Second, protect your eyes. Flying stone chips and sharp masonry dust can cause severe eye damage. Standard safety goggles are mandatory.
Finally, protect your skin. The chemicals in cement are highly alkaline and can cause nasty chemical burns on bare skin. Wear thick rubber or leather work gloves and long sleeves while mixing and applying the paste.
When to Call a Professional Mason
While learning how to repair mortar between bricks is highly rewarding, DIY has its limits. You need to know when a job is out of your league.
Call a professional if you notice large, stair-step cracks running across an entire wall. This usually indicates a serious foundation settling issue, not just simple weathering.
You should also call a pro if the bricks themselves are physically crumbling or shifting out of place. Structural repairs require engineering knowledge and heavy equipment.
Finally, skip the DIY route if the damage is on a tall chimney. Working on steep roofs with heavy buckets of cement is incredibly dangerous without proper scaffolding and safety harnesses.
Cost Estimate: DIY vs. Professional Repair
One of the best parts about repointing is the cost savings. Let us look at what you can expect to spend.
For a DIY fix, your materials will cost very little. A large bag of Type N mix costs around $10 to $15.
If you need to buy a pointing trowel, a jointer tool, and a chisel, expect to spend another $30 to $50. Your total DIY cost will likely stay under $75 for a standard weekend project.
Hiring a professional mason is a completely different story. Pros usually charge by the square foot or by the hour.
You can expect to pay a contractor anywhere from $10 to $25 per square foot for tuckpointing. For a moderately sized wall, professional repointing easily costs between $500 and $2,500.
By investing a Saturday afternoon into doing it yourself, you keep hundreds of dollars in your pocket.
Frequently Asked Questions
Can I just put new mortar over old mortar?
No. Smearing fresh paste over crumbling, dirty joints creates a very weak bond. The new material will quickly flake off. You must chisel out the loose debris to a depth of roughly one inch first.
What type of mortar is best for repairing brick walls?
For standard exterior brick walls, Type N is the best choice. It offers the perfect balance of flexibility and strength. Using a mix that is too hard (like Type S) can actually cause the bricks to crack when the house settles.
How long does it take for repointing to dry?
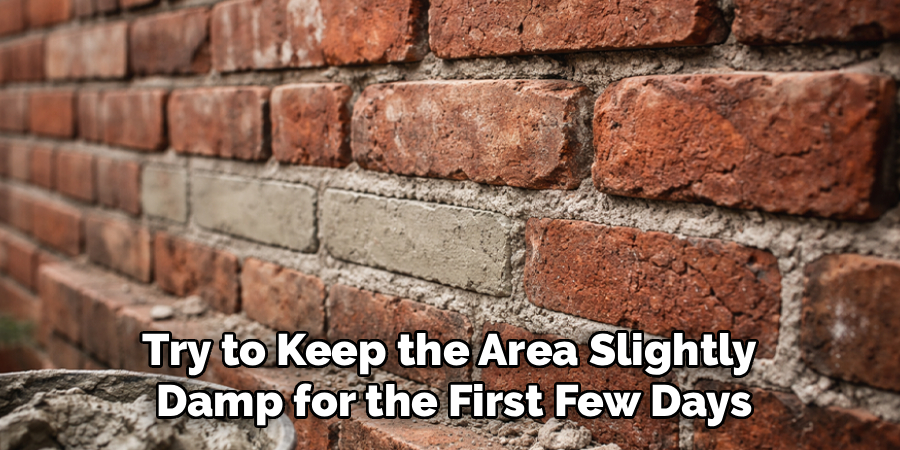
It will feel hard to the touch within 24 hours. However, it takes about 28 days for the cement to fully cure and reach its maximum strength. Try to keep the area slightly damp for the first few days to prevent cracking.
Do I need to seal the bricks after repairing them?
It is not strictly necessary, but it is a great idea. Waiting about 30 days for the joint to cure, then applying a breathable, silane-siloxane masonry sealer protects your wall. It prevents water from soaking back in and starting the damage all over again.
Conclusion
Knowing how to repair mortar between bricks is an incredibly valuable skill. It keeps your home looking beautiful and protects your walls from expensive water damage.
By removing the old debris, wetting the bricks, and carefully packing in fresh Type N mix, you can easily restore your brickwork.
Do not let crumbling joints intimidate you. With a few simple hand tools and a free weekend, you can tackle this project just like a seasoned pro.
If you found this guide helpful, be sure to bookmark our site for more easy-to-follow DIY home repair tutorials! Start small, work carefully, and enjoy the satisfaction of fixing your own home.