

Cracked or crumbling fire brick is more than an eyesore. It’s a safety risk that lets heat reach the wood frame behind your firebox. Left alone, small cracks spread, mortar joints fail, and your fireplace becomes a hazard instead of a comfort.
Good news: you don’t need a mason to fix it. With the right materials and a careful eye, how to repair fire brick in a fireplace over a single weekend. Most jobs cost less than $100 in supplies.
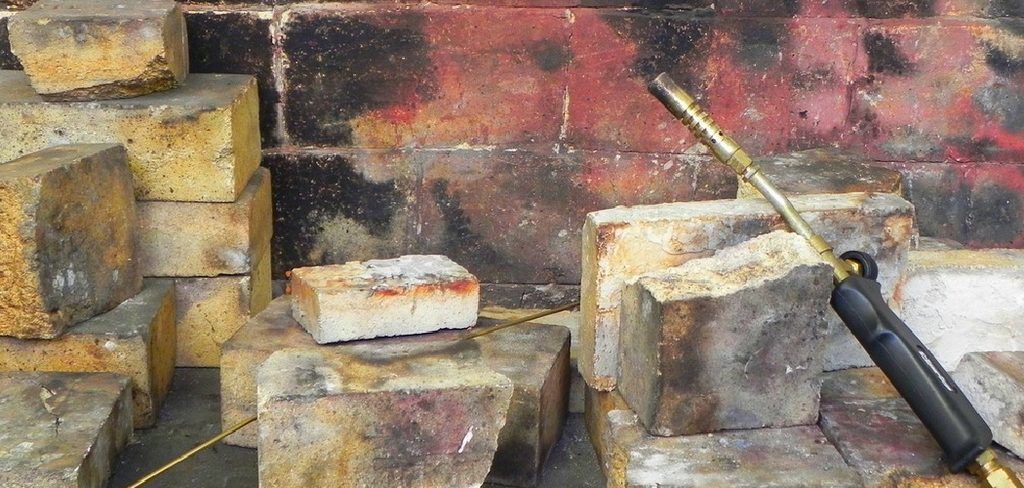
This guide walks you through every step—from inspecting the damage to curing the finished repair—so you can restore your firebox safely and bring back those warm, crackling evenings with confidence.
Why Repairing Fire Brick in Your Fireplace Matters
Fire brick does one job: it absorbs and reflects intense heat without breaking down. When it cracks, that protection disappears. Heat starts reaching the masonry and framing behind your firebox, and that’s how house fires begin.
A solid repair protects your home and your wallet. You avoid expensive structural damage. You keep dangerous combustion gases inside the firebox where they belong. You also burn fuel more efficiently, because intact brick reflects heat back into the room.
Learning this skill puts you in control. You spot problems early. You fix them before they grow. And you skip the $300-plus service call for a job you can handle yourself. A working firebox keeps your fireplace safe, efficient, and ready for years of use.
Tools and Materials You’ll Need
Gather everything before you start. Stopping mid-repair to run to the hardware store wastes time and breaks your rhythm.
- Refractory mortar – rated for high heat, holds brick and seals cracks
- Replacement fire bricks – matched to your firebox size and thickness
- Cold chisel and hammer – remove damaged brick and old mortar
- Wire brush – clean joints and brick faces
- Pointing trowel – pack mortar into joints cleanly
- Margin trowel – mix and scoop mortar
- Stiff bucket – mix mortar in small batches
- Shop vacuum – clear dust and debris
- Safety glasses, dust mask, and work gloves – protect against sharp shards and silica dust
- Spray bottle of water – dampen surfaces for better mortar bonding
- Caulking gun with refractory caulk(optional) – fast fix for thin hairline cracks
Step-by-Step Guide: How to Repair Fire Brick in a Fireplace
Step 1 – Inspect the damage closely
Start with a cold, clean firebox. Wait at least 24 hours after your last fire so everything is fully cool. Shine a flashlight across the brick at a low angle. Shadows reveal cracks you’d otherwise miss.
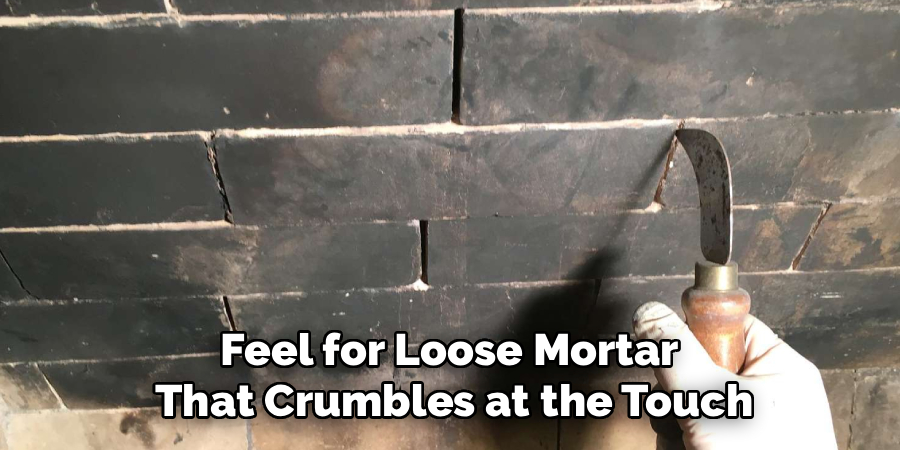
Run your gloved fingers along each joint. Feel for loose mortar that crumbles at the touch. Note hairline cracks versus deep splits that go through the brick. Tap suspect bricks with the handle of your trowel—a hollow, dull sound means the brick has separated from its bed.
Mark every problem spot with chalk. This map tells you exactly what to fix. Knowing the full scope before you start keeps the job organized and stops surprises halfway through.
Step 2 – Clear out the firebox
Empty the firebox completely. Remove the grate, ash pan, and any leftover logs or ash. Sweep the floor, then vacuum the corners and joints with your shop vacuum.
Dust is the enemy of a strong bond. Mortar won’t grip a dirty, ashy surface. Take your wire brush and scrub the faces of the bricks you plan to repair. Work the bristles into the joints to loosen embedded soot and grit.
You’ll smell the dry, smoky scent of old creosote as you brush. That’s normal. Wear your dust mask—fire brick dust contains silica, and you don’t want it in your lungs. Vacuum again once you finish brushing.
Step 3 – Remove damaged brick and old mortar
Set your cold chisel into the failing mortar joint at a low angle. Tap the chisel head with steady hammer blows. Old mortar chips away in dry, gray flakes.
Work patiently around any cracked brick you’re replacing. Chip out the surrounding mortar first, then ease the brick free. Don’t pry hard against neighboring bricks—you’ll crack good ones if you rush. The brick should lift out once its joints are clear.
For cracks you’re sealing rather than replacing, rake out loose debris until you reach solid material. A clean, open joint holds new mortar far better than a packed, crumbling one. Vacuum the cavity when you’re done.
Step 4 – Mix the refractory mortar
Read your mortar label first. Some products come premixed in a tub. Others need water added. Premixed refractory mortar is the easiest choice for beginners.
If you’re mixing from dry, add small amounts of water and stir with your margin trowel. Aim for a texture like thick peanut butter—it should hold a ridge without slumping. Mix only what you’ll use in 20 minutes. Refractory mortar sets faster than regular mortar, and a stiff, half-cured batch is useless.
The mortar feels gritty and dense, heavier than standard mix. Keep your spray bottle handy. A light mist on the trowel keeps the mortar workable as you go.
Step 5 – Dampen the surface
Before any mortar touches brick, mist the joints and brick faces with your spray bottle. You want them damp, not soaked or dripping.
Dry brick pulls moisture out of fresh mortar too fast. When that happens, the mortar cures weak and brittle, and your repair fails within a few fires. A damp surface lets the bond cure slowly and strong.
You’ll see the brick darken as it absorbs the water. That color change tells you the surface is ready. Wait a moment for any surface puddles to soak in. This single step—often skipped—makes the difference between a repair that lasts years and one that crumbles by next winter.
Step 6 – Set replacement brick and pack the joints
Butter the bottom and sides of your replacement brick with a generous layer of mortar using the pointing trowel. Press the brick firmly into its spot. Mortar should squeeze out the edges—that means full contact.
Tap the brick gently with your trowel handle to seat it level with the surrounding surface. Check the alignment by eye and feel. Bricks that sit proud or sunken create weak spots.
When you repair fire brick in a fireplace, tight, fully packed joints matter more than anything. Force mortar deep into every gap with the pointing trowel. Air pockets become failure points under high heat. Press, pack, and press again until the joint is solid and full.
Step 7 – Tool and smooth the joints
Once your joints are packed, smooth them while the mortar is still workable. Drag the edge of your trowel along each joint to compress and shape it. A slightly concave finish sheds debris and looks clean.
Scrape away excess mortar from the brick faces with the trowel edge. Then wipe the faces with a barely damp sponge or rag. Don’t drag wet mortar across the brick—you’ll smear it and stain the surface.
The joints should look uniform and tight. Run your finger lightly along them to check for gaps you missed. This final shaping step makes the difference between a patch that looks like an afterthought and a repair that blends into the original firebox.
Step 8 – Seal hairline cracks
For thin cracks that don’t need full mortar, refractory caulk is your fast fix. Load the tube into your caulking gun and cut the tip to a small opening.
Run a steady bead directly into each hairline crack. Push the caulk in rather than just laying it on top—deep fill seals better. Smooth the bead with a damp finger or a putty knife so it sits flush with the brick.
The caulk goes on gray and rubbery, and it smells faintly chemical until it cures. Wipe any excess immediately. This step handles the small stuff that doesn’t justify chiseling out a whole joint, and it keeps your firebox airtight where it counts.
Step 9 – Cure the repair before burning
Patience now protects your work. Fresh mortar needs time to cure before it faces fire. Let the repair sit untouched for at least 24 to 48 hours. Check your product label—some refractory mortars call for longer.
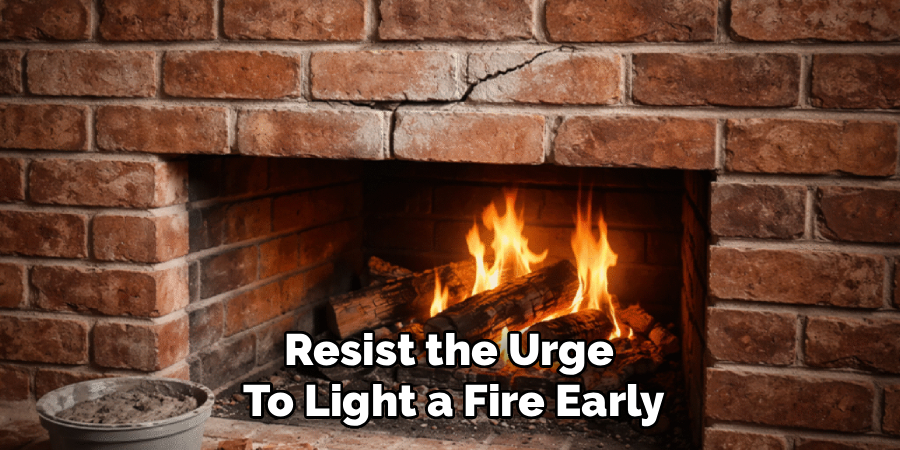
Resist the urge to light a fire early. Heat applied to uncured mortar causes steam to build inside the joint, and that cracks your fresh work instantly.
When you do light the first fire, keep it small. A low, slow burn drives out remaining moisture gradually. Build up the heat over two or three fires. This slow break-in hardens the mortar properly and gives your repair the strength to last through years of regular use.
Critical Mistakes When Repairing Fire Brick
The biggest mistake is using the wrong mortar. Standard masonry mortar and home-store patch products can’t handle the heat inside a firebox. They crack, crumble, and release in the first hot fire. Always use refractory mortar rated for high temperatures. Nothing else works, and substituting cheaper products turns a one-day job into a recurring headache.
Skipping surface prep ranks a close second. Mortar bonds to clean, damp brick—nothing else. People often skip the cleaning and dampening steps to save time, then wonder why their repair pops loose after a few fires. Brush out the soot, vacuum the dust, and mist the surface. Every time.
Rushing the cure destroys good work. A perfectly packed joint means nothing if you light a roaring fire the next morning. Trapped moisture turns to steam, and steam cracks mortar from the inside. Give the repair its full cure time, then break it in with small fires.
Two more errors trip people up. First, leaving air pockets in joints—these become weak points that fail under heat, so pack mortar deep and firm. Second, mixing too much mortar at once. Refractory mortar sets fast, and a hardening batch forces you to work sloppy or waste material.
Expert Tips
Work in small sections. Repair one or two bricks at a time rather than tearing out half the firebox at once. This keeps your mortar fresh and your alignment accurate.
Keep a wet rag in reach at all times. Wiping mortar off brick faces while it’s fresh saves you scrubbing cured stains later.
Match your replacement brick to the original thickness. A thinner brick sits below the surface and creates a heat trap; a thicker one throws off your level.
Photograph the firebox before you start. The picture serves as your reference when you reset bricks and tool joints.
Finally, time your repair for warm, dry weather if your fireplace vents outside. Humidity slows curing and weakens the bond. A dry stretch gives your mortar the best chance to set hard.
Frequently Asked Questions
How do I know if my fire brick needs repair or full replacement?
Inspect for crack depth and brick stability. Hairline cracks in otherwise solid brick call for caulk or mortar repair. Replace the brick when:
- It crumbles or flakes when touched
- A crack runs all the way through
- It sounds hollow when tapped, meaning it’s separated from its bed
If more than a third of your firebox brick is failing, consider a full reline instead.
What’s the difference between fire brick and regular brick?
Fire brick handles extreme heat without breaking down; regular brick cracks and spalls under the same conditions. Fire brick is denser, lighter in color, and made from heat-resistant clay fired at high temperatures. Never substitute regular brick inside a firebox—it can’t take the heat and creates a serious fire risk. Always match fire brick with refractory mortar.
How long does a fire brick repair last?
A properly done repair lasts 10 to 20 years with normal use. Longevity depends on three things: correct refractory materials, clean and damp surface prep, and full cure time before burning. Cut corners on any of these, and the repair may fail within a season. Inspect your firebox annually and address small cracks early to extend the life of the whole structure.
Can I use my fireplace right after repairing it?
No. Wait at least 24 to 48 hours for the mortar to cure, and check your product’s label for exact timing. Lighting a fire too soon traps moisture in the joints, creates steam, and cracks your fresh work immediately. After curing, start with small, low fires and build heat gradually over a few burns to harden the mortar properly.
Is repairing fire brick a safe DIY job?
Yes, for most homeowners, with proper precautions. Work in a cold firebox, wear safety glasses, gloves, and a dust mask, and follow your mortar instructions. The job needs patience more than skill. That said, call a certified chimney professional if you find structural cracks behind the brick, damaged flue tiles, or widespread failure across the firebox.
Conclusion
A cracked firebox doesn’t have to mean an expensive service call. With careful inspection, the right refractory materials, and patient prep, you can repair fire brick in a fireplace yourself and restore it to safe, working condition.
Remember the essentials. Use refractory mortar—never standard mix. Clean and dampen every surface before you start. Pack your joints full and deep to eliminate weak points. And give your repair the full cure time before you light that first careful fire.
The work rewards your effort. You protect your home from heat damage, you burn more efficiently, and you save hundreds of dollars on professional repairs. Best of all, you gain the confidence to maintain your fireplace for years to come.
So grab your tools, set aside a weekend, and tackle that damaged brick. Take it one joint at a time. When you’re done, you’ll have a solid firebox and the satisfaction of knowing you fixed it yourself—ready for the next cold evening and the warm fire that comes with it.