

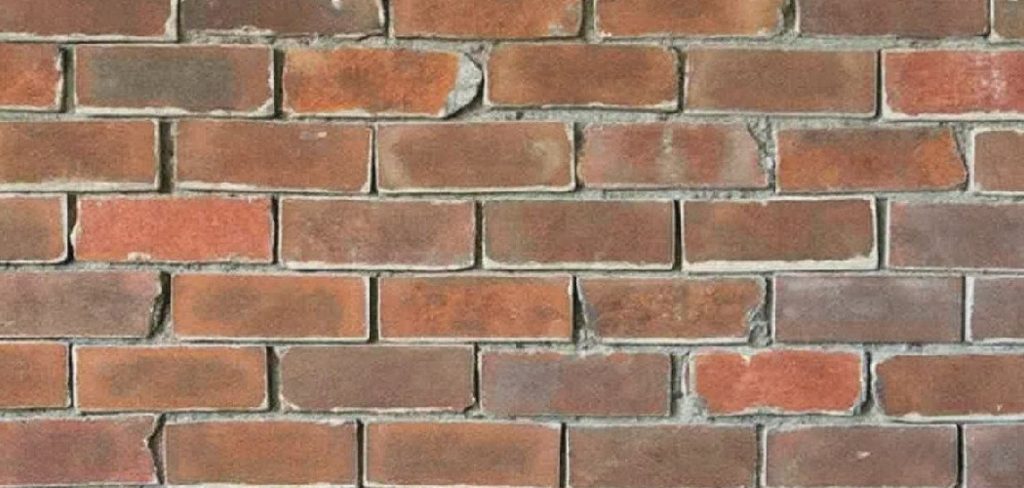
Cracked, crumbling joints between your fireplace bricks aren’t just ugly. They’re a safety risk. When mortar fails, heat and smoke find new paths, and your bricks start to loosen. The good news? You can fix it yourself.
Learning how to repair fireplace mortar saves you a costly mason visit and puts you back in control of your home. With a few basic tools and a free weekend, you can restore tight, clean joints that look great and hold strong.
This guide walks you through the entire process, step by step, so you can tackle the job with confidence even if you’ve never touched a trowel before.
Why Repairing Fireplace Mortar Matters
Failing mortar lets heat escape into your wall cavity. That’s a fire hazard you can’t ignore. Damaged joints also let smoke and carbon monoxide leak into your living space, which puts your family at risk.
There’s a structural angle too. Mortar holds your bricks in place. Once it crumbles, bricks shift, gaps widen, and the whole firebox weakens. Catch the problem early, and you fix a few joints. Wait too long, and you face a full rebuild.
Fresh mortar also improves how your fireplace works. Tight joints contain heat better, so your fire burns more efficiently and warms the room faster. You protect your home, your wallet, and your comfort in one repair. That’s a strong return for a weekend of effort.
Tools and Materials You’ll Need
Gather everything before you start. A quick trip mid-job kills your momentum and lets mortar dry at the wrong time.
- Chisel and hammer – Remove loose, damaged mortar.
- Wire brush – Clean out joints and knock free debris.
- Refractory mortar – Heat-resistant mix rated for fireplaces.
- Pointing trowel – Pack and shape new joints.
- Joint raker or tuck pointer – Smooth and finish the lines.
- Bucket and water – Mix and dampen surfaces.
- Stiff-bristle brush – Sweep away final dust.
- Safety glasses and dust mask – Protect eyes and lungs from grit.
- Work gloves – Save your hands from sharp edges.
- Shop vacuum (optional) – Speeds cleanup and clears deep joints fast.
Use refractory mortar only. Standard mortar cracks under high heat and fails within months.
Step-by-Step Guide on How to Repair Fireplace Mortar
Step 1 – Inspect the Damage
Start with a close look. Run your finger along each joint and feel for soft, crumbling spots. Press gently. Mortar that flakes off or turns to powder needs replacing.
Shine a flashlight into the firebox and check the back corners, where damage often hides. Look for cracks wider than a credit card edge and any gaps where you can see daylight or wall cavity.
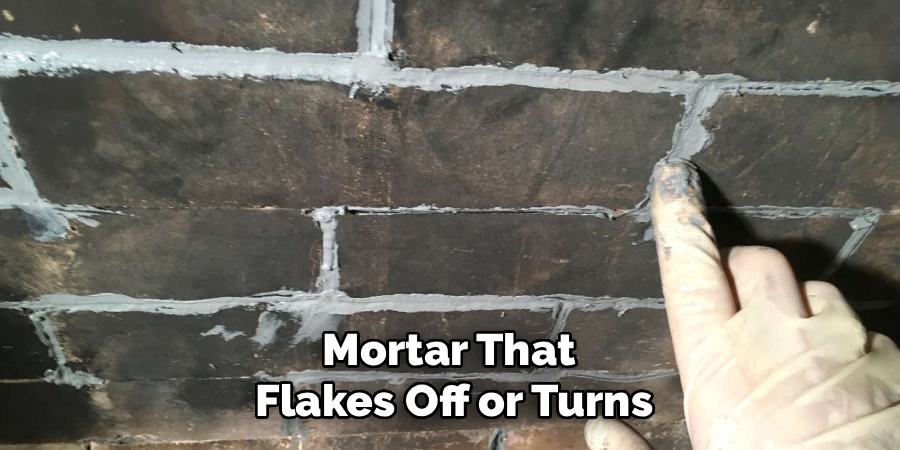
Mark the bad sections with chalk. This keeps you organized and stops you from missing a weak joint once dust starts flying. Note any loose bricks too. They may need resetting before you repair fireplace mortar around them. A thorough inspection now saves rework later and tells you exactly how much material to buy.
Step 2 – Clear the Work Area
Protect your space before the mess begins. Spread a drop cloth across the hearth and floor in front of the fireplace. Mortar dust travels and settles on everything nearby.
Remove the grate, andirons, and any decorative items. Pull furniture back at least three feet so you have room to swing a hammer.
Open a window or run a fan for ventilation. The fine dust you’re about to create irritates your lungs, so put on your dust mask and safety glasses now. Don’t skip this part.
A clean, open work zone keeps you safe and lets you focus on the joints. You’ll also thank yourself during cleanup, when the drop cloth catches the bulk of the grit.
Step 3 – Remove the Damaged Mortar
Now the real work starts. Hold your chisel at a slight angle against the failing joint and tap it with the hammer. Work in short, controlled strikes.
Chip out the loose mortar to a depth of about half an inch to three-quarters of an inch. You want a solid base for the new layer to grip. Listen for the sound change. Hollow, dull thuds mean weak mortar, while sharp, ringing taps mean solid material you should leave alone.
Take your time near the bricks. Aim your chisel into the joint, not at the brick face, so you don’t crack or chip the brick itself. The dust will pile up fast, so pause and clear it as you go.
Step 4 – Clean Out the Joints
Loose grit ruins adhesion. Once you’ve chiseled out the bad mortar, grab your wire brush and scrub each joint hard. Work it back and forth to dislodge stubborn fragments.
Follow up with a shop vacuum or a stiff brush to pull out the last of the dust. Run your finger inside the joint. It should feel clean and slightly rough, not dusty or powdery.
This step matters more than it seems. New mortar bonds to clean, textured surfaces, not to a layer of debris. Skip it, and your fresh joints pop loose within weeks.
Get into every corner. The deeper and cleaner the joint, the stronger your repair holds over time.
Step 5 – Dampen the Surface
Dry brick steals water from fresh mortar and weakens the bond. Before you mix anything, lightly mist the cleaned joints with water.
Use a spray bottle or a damp sponge. You want the surface damp to the touch, not dripping wet. Standing water dilutes your mortar and ruins the mix, so wipe away any puddles.
Let the moisture soak in for a minute. The brick should look darkened but not glistening. This simple step gives your new mortar time to cure properly instead of drying out too fast and cracking.
Damp brick equals a strong, lasting bond. It’s a small move that separates a repair that lasts years from one that fails by next winter.
Step 6 – Mix the Refractory Mortar
Read the bag instructions, then mix in small batches. Refractory mortar starts to set quickly, so don’t prepare more than you’ll use in twenty minutes.
Pour the dry mix into your bucket and add water slowly. Stir with a trowel until you reach a thick, peanut-butter consistency. The mortar should hold its shape on the trowel without sliding off or feeling soupy.
Too much water weakens the mix. Too little makes it crumble. Aim for a smooth, workable paste that clings.
Let it rest for five minutes, then stir once more. This short pause, called slaking, improves the texture and helps the mortar bind. Now you’re ready to pack the joints with a mix that performs under heat.
Step 7 – Apply the New Mortar
Load a small amount of mortar onto your pointing trowel. Press it firmly into each cleaned joint, packing it deep so no air pockets remain.
Work from the top down to avoid smearing finished sections. Fill the joint completely, then drag the trowel along to push mortar into every gap. Apply steady pressure so it grips the brick edges on both sides.
You’ll feel the mortar resist and settle as it locks in. Keep your motions tight and deliberate. Wipe excess off the brick faces with a damp sponge before it sets.
Take it one joint at a time. Rushing leaves voids that crack later. A careful, packed fill is the heart of any job to repair fireplace mortar that truly lasts.
Step 8 – Tool and Finish the Joints
Shape the joints before the mortar hardens. Run your joint raker or tuck pointer along each line to create a smooth, slightly recessed finish that matches your existing brickwork.
Press just enough to compact the surface. This tightens the mortar and seals out moisture. Aim for a clean, uniform line across the whole repair so the new work blends with the old.
Wipe stray crumbs off the bricks with a dry brush. The mortar should look firm and even, with no gaps or ridges.
Good tooling does more than look nice. A compacted, well-shaped joint resists cracking and water damage far longer than a rough one. Step back and check your lines from a few feet away.
Step 9 – Cure and Clean Up
Let the mortar cure slowly. Keep the fireplace cold for at least 24 to 48 hours, and longer if the bag recommends it. Resist the urge to light a fire early.
Mist the new joints lightly with water once or twice a day for the first two days. Slow curing builds strength and prevents hairline cracks.
While it cures, fold up your drop cloth carefully to trap the dust, then vacuum the hearth and surrounding floor. Wipe down nearby surfaces with a damp rag.
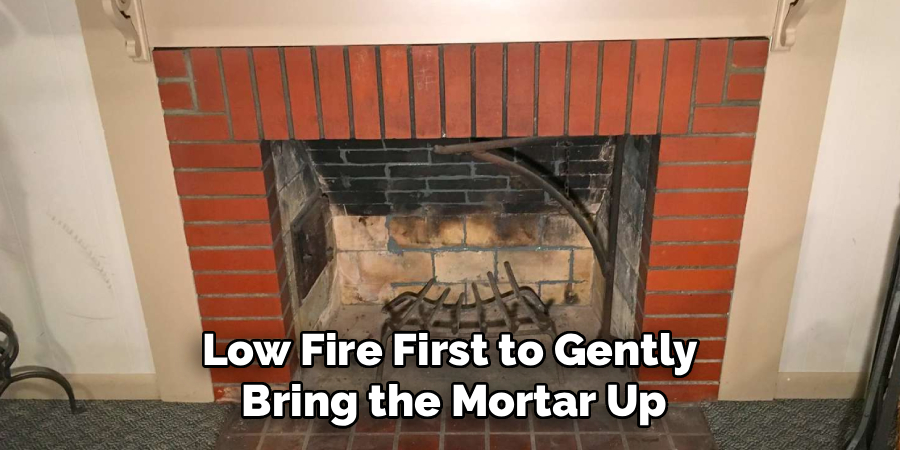
Once fully cured, build a small, low fire first to gently bring the mortar up to heat. Then enjoy a safe, solid fireplace you fixed with your own hands.
Critical Mistakes When Repairing Fireplace Mortar
The biggest mistake is using the wrong mortar. Standard masonry mortar can’t handle the heat inside a firebox. It cracks, crumbles, and fails fast, often within a single burning season. Always choose refractory mortar rated for high temperatures. This one choice decides whether your repair lasts years or weeks.
Another common error is shallow joint removal. People scrape off the surface and call it done. New mortar needs a clean cavity at least half an inch deep to grip properly. A thin smear over old, loose material peels away almost immediately.
Skipping the cleaning and dampening steps causes failure too. Dust blocks adhesion, and dry brick pulls moisture out of the mix before it cures. Both leave you with weak, brittle joints that don’t bond.
Rushing the cure ruins good work. Lighting a fire too soon shocks the fresh mortar with sudden heat, which forces out water and cracks the joints. Give it a full 24 to 48 hours minimum.
Finally, ignoring loose bricks means trouble. Reset any shifting bricks before you point around them, or your new joints crack as the brick moves.
Expert Tips
Match your finish to your existing joints. Study the depth and shape of the old mortar lines, then copy them with your tuck pointer. A consistent look makes the repair nearly invisible.
Work in good light. A bright work lamp aimed into the firebox reveals hidden cracks and helps you pack joints evenly.
Mix small batches and stay ahead of the set time. Fresh mortar always beats a stiff, half-dried bucket.
Keep a damp sponge within reach. Wiping mortar off brick faces before it cures saves hours of scrubbing later.
For deep or wide joints, fill in two passes. Pack the back half, let it firm up, then finish the front. This builds a stronger, void-free joint that handles repeated heating without cracking.
Frequently Asked Questions
How often should I check my fireplace mortar?
Inspect your mortar once a year, ideally before burning season. Run your finger along the joints and look for cracks, gaps, or crumbling. Catching small problems early keeps repairs quick and cheap. If you use your fireplace heavily, check it twice a year. A yearly chimney sweep can also flag mortar issues you might miss from inside the firebox.
Can I use regular mortar instead of refractory mortar?
No. Regular mortar can’t survive the high heat inside a fireplace. It cracks and crumbles fast, sometimes within weeks. Refractory mortar is engineered to withstand extreme temperatures without breaking down. Using the wrong product wastes your time and creates a safety risk. Always buy mortar specifically rated for fireplaces and chimneys.
How long before I can light a fire after the repair?
Wait at least 24 to 48 hours, or follow the time printed on your mortar bag. The mortar needs to cure slowly to reach full strength. When you do start, build a small, low fire first to bring the joints up to heat gently. Lighting a large fire too soon shocks the fresh mortar and causes cracks.
How do I know if the damage is too serious to fix myself?
Surface cracks and crumbling joints are DIY-friendly. Call a professional if you notice:
- Large gaps exposing the wall cavity
- Multiple loose or shifting bricks
- Heavy spalling where brick faces flake apart
- Damage deep inside the chimney flue
These signal structural problems that need expert tools and assessment.
Will repairing mortar improve my fireplace’s safety?
Yes, significantly. Tight, solid joints stop heat, smoke, and carbon monoxide from leaking into your walls and living space. They also hold your bricks firmly in place, which keeps the firebox structurally sound. A well-maintained fireplace burns more efficiently and lowers your fire risk. Regular mortar repair is one of the simplest ways to keep your fireplace safe.
Conclusion
Crumbling joints don’t have to mean an expensive mason bill. With the right materials and a careful approach, you can repair fireplace mortar yourself and bring your fireplace back to safe, solid condition in a single weekend.
Remember the essentials. Inspect closely and mark the damage. Chisel out the bad mortar to a proper depth, then clean and dampen every joint. Use refractory mortar only, mix it in small batches, and pack each joint tight. Tool the lines for a clean finish, then let everything cure slowly before you light that first fire.
Skip the shortcuts. The wrong mortar, shallow joints, or a rushed cure will cost you another repair before long. Do it right the first time, and your work holds for years.
You’ve got everything you need to handle this job with confidence. Grab your tools, set aside the time, and restore your fireplace to a safe, efficient centerpiece your whole family can enjoy.