

A crack in your Corian countertop looks worse than it is. The good news? You can fix it yourself. Corian is a solid surface countertop, which means the color runs all the way through the material. That single feature makes repairs forgiving, even for beginners. With the right tools and a little patience, you can learn how to repair crack in Corian countertop surfaces and bring back a smooth, seamless finish.
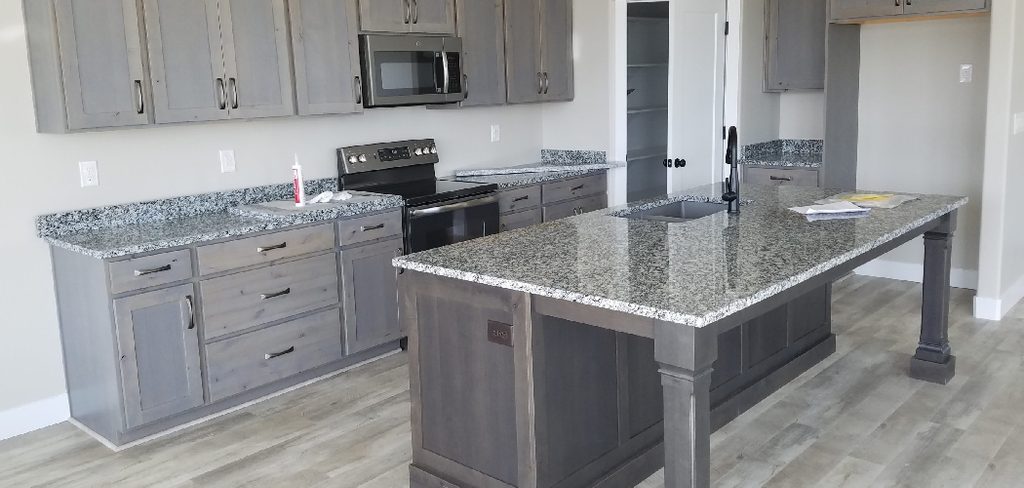
You don’t need a professional or an expensive service call. You just need clear steps and the confidence to follow them. This guide walks you through the entire process, from prepping the damaged area to polishing the final result, so your counter looks like the crack was never there.
Why Repairing a Crack in Your Corian Countertop Matters
A small crack rarely stays small. Water, food particles, and daily wear push their way into the gap and widen it over time. Left alone, a hairline crack becomes a deep split that weakens the entire slab.
Fixing it early protects your investment. Corian countertops are not cheap, and replacement costs far outweigh a simple surface repair. You save money and avoid the disruption of tearing out a counter.
There’s a personal payoff too. Learning this skill means you handle future chips and scratches on your own. You stop waiting on contractors and start trusting your own hands. A clean, restored counter also keeps your kitchen looking sharp and your home value steady. That confidence carries into every other repair you tackle.
Tools and Materials You’ll Need
Gather everything before you start. Stopping mid-repair to hunt for supplies lets the filler set too early and ruins your finish.
- Corian filler or two-part epoxy color-matched to your counter
- Painter’s tape to protect surrounding areas
- Rubbing alcohol or acetone for cleaning the crack
- Putty knife or plastic applicator for spreading filler
- Fine-grit sandpaper (320, 400, and 600 grit)
- Orbital sander for faster, even smoothing
- Polishing compound to restore shine
- Clean microfiber cloths for wiping and buffing
- Protective gloves and safety glasses
- Countertop polish or wax (optional, for a longer-lasting seal)
Buy filler that matches your countertop color exactly. A mismatched repair stands out far more than the original crack ever did.
Step-by-Step Guide: How to Repair Crack in Corian Countertop
Step 1 – Clean the Cracked Area
Start with a spotless surface. Wipe the crack and the area around it with rubbing alcohol or acetone on a clean microfiber cloth. You want to strip away every trace of grease, soap film, and food residue.
Run your finger lightly across the crack. It should feel dry and slightly rough, not slick. Any leftover oil stops the Corian filler from bonding, and the repair will fail within weeks.
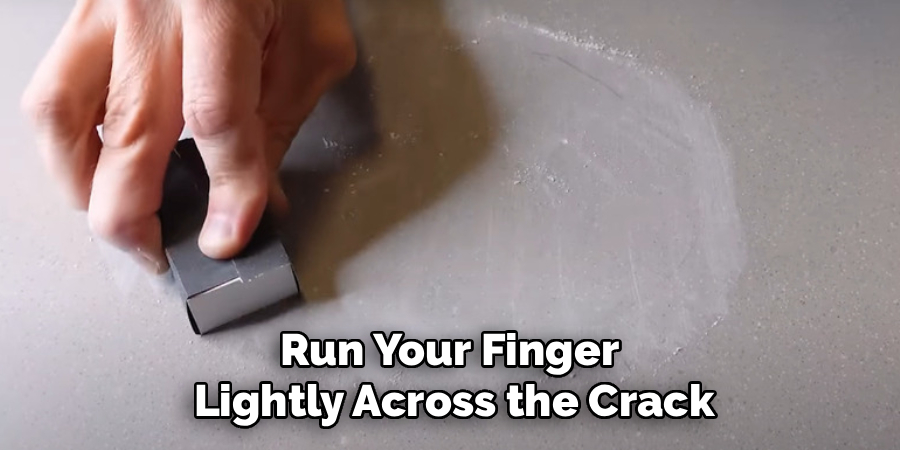
Let the surface dry completely. Acetone evaporates fast, usually within a minute, leaving behind a clean matte look. A properly cleaned crack is the foundation of every solid surface countertop repair. Skip this and nothing else you do will hold.
Step 2 – Open Up the Crack Slightly
This step feels wrong, but trust it. Use a sharp utility knife or the edge of a putty knife to widen the crack just a hair. A tight hairline gap gives the filler nothing to grip.
Drag the blade along the crack line two or three times. You’ll feel it bite into the solid surface material and create a small V-shaped channel. This groove holds more filler and creates a stronger bond.
Don’t go deep. You’re scoring, not carving. A channel about the width of a credit card edge is plenty. Wipe away any dust with a dry cloth before moving on.
Step 3 – Tape Off the Surrounding Surface
Protect the clean area around your work. Press painter’s tape along both sides of the crack, leaving only the damaged line exposed.
The tape acts as a guard rail. It keeps excess Corian filler off the good surface and saves you serious sanding later. Press the edges down firmly with your fingernail so nothing seeps underneath.
Smooth tape makes a smooth result. If the tape lifts or bubbles, peel it back and reapply. Take an extra thirty seconds here. This small effort gives you a cleaner edge and a much faster path to that seamless finish everyone wants from a quality repair.
Step 4 – Mix and Apply the Filler
Mix your two-part epoxy or Corian filler on a scrap surface. Follow the ratio on the package exactly. Stir until the color looks even, with no streaks or swirls.
Work quickly now. Most fillers start hardening within five to ten minutes. Scoop a small amount onto your putty knife and press it firmly into the crack.
Push down as you spread so the filler fills the channel completely, with no air pockets. Overfill slightly, leaving a thin raised bead above the surface. That extra material sands down flat later. The filler will feel cool and slightly tacky as you work it into the groove.
Step 5 – Smooth and Level the Filler
Drag your putty knife across the filled crack at a low angle. This scrapes off the bulk of the excess while leaving the crack packed full.
Aim for a surface that sits just barely above the counter. You want enough material to sand, not a thick mound that takes forever to level.
Now pull the painter’s tape off while the filler is still soft. Pull slowly and at an angle, away from the repair. This leaves crisp edges instead of jagged ones. The filler should look glossy and slightly wet at this stage. Don’t touch it again until it cures fully, which usually takes the time listed on your filler’s label.
Step 6 – Let the Filler Cure Completely
Patience pays off here. Walk away and let the filler harden for the full recommended time, often one to two hours, sometimes longer.
Resist the urge to test it early. Pressing or sanding soft filler smears your work and forces you to start over. Cured filler feels hard and cool, like the rest of the countertop.
Keep the room well ventilated during this window. Epoxy fumes fade as the material sets. Tap the repair gently with your fingernail when time is up. A solid, sharp click tells you it’s ready. A dull, soft sound means you need to wait longer before any surface repair sanding begins.
Step 7 – Sand the Repair Smooth
Now you blend the patch into the counter. Start with 320-grit sandpaper, sanding in small circles directly over the repair.
Keep light, even pressure. You’ll feel the raised filler give way and level out under your hand. Switch to 400-grit, then finish with 600-grit for a glass-smooth result.
An orbital sander speeds this up, but go slow and check your progress often. Wipe the dust away with a damp cloth between grits so you can see the true surface. The goal is a patch you can’t feel when you close your eyes and run your palm across it. This blending is what makes any countertop restoration look professional.
Step 8 – Polish and Restore the Shine
Sanding leaves the repair dull, so polishing brings back the original luster. Apply a small amount of polishing compound to a clean microfiber cloth.
Buff the area in firm circles. Work outward from the repair into the surrounding counter so the shine matches evenly. You’ll see the cloudy spot slowly turn glossy.
Match the finish to your counter. A matte counter needs lighter buffing; a glossy one needs more. Wipe away leftover compound with a fresh cloth. For extra protection, add a thin layer of countertop polish or wax. Step back and admire it. A well-done job to repair crack in Corian countertop surfaces leaves no trace of the damage behind.
Critical Mistakes When Repairing a Corian Countertop
Even a simple repair goes sideways when you rush. The most common error is skipping the cleaning step. Filler will not bond to a greasy surface, so a crack that looks fixed on Tuesday reopens by the weekend. Always strip the area with acetone first.
Color mismatch ruins more repairs than any other mistake. People grab a generic white filler and assume “white is white.” It isn’t. Corian comes in dozens of shades and patterns. A patch that’s even slightly off catches the eye every single time. Buy filler matched to your exact countertop color or pattern.
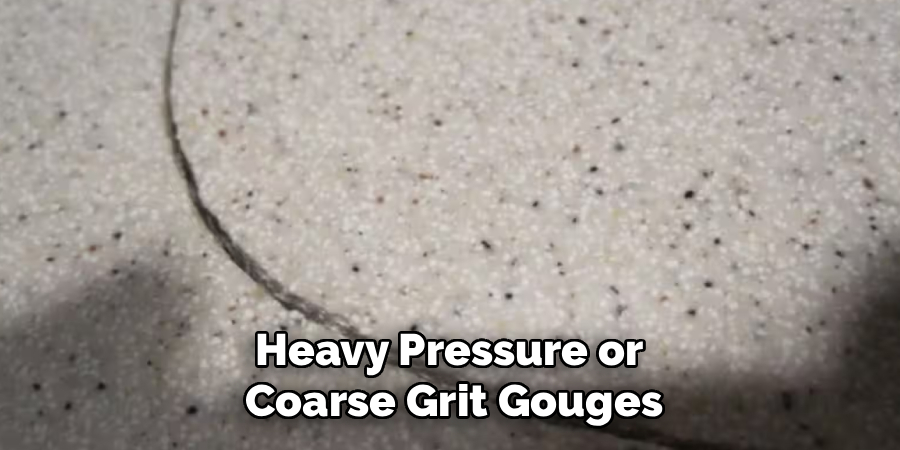
Another frequent slip is sanding too aggressively. Heavy pressure or coarse grit gouges the solid surface around the crack, creating a dip you then have to repair all over again. Start fine and work patiently.
Many beginners also rush the cure time. Sanding soft filler smears it and traps grit in the patch. Wait the full recommended window, even if it feels too long.
Finally, people forget the polishing step. A perfectly level patch still looks wrong if it’s dull next to a glossy counter. Match the shine, and the repair disappears.
Expert Tips
Test your filler color on a hidden spot first. Mix a tiny batch and dab it under a cabinet overhang or near the sink edge. Let it dry and check the match in daylight, since kitchen lighting hides subtle differences.
Work in good light. A bright lamp angled across the counter reveals every ridge and low spot you’d otherwise miss while sanding.
Keep a damp cloth within reach the entire time. Wiping away dust between sanding grits lets you judge the true finish instead of guessing.
For deep cracks, build the repair in two thin layers rather than one thick one. Thin layers cure stronger and shrink less. Patience and light pressure beat speed and force every single time with a solid surface countertop.
Frequently Asked Questions
Can you fix a crack in a Corian countertop yourself?
Yes. Corian is a solid surface material with color running all the way through, which makes it one of the most repair-friendly countertops available. With color-matched filler, sandpaper, and polishing compound, most homeowners complete the job in an afternoon. Deep structural cracks near sinks may need a professional, but hairline and surface cracks are well within DIY range.
What kind of filler works best on Corian?
Use a two-part epoxy or a dedicated Corian filler matched to your countertop color. These products bond chemically to the solid surface and sand down to a seamless finish. Avoid generic wood fillers or household glues. They don’t match the material, don’t sand evenly, and tend to discolor or pop out within a few weeks.
Will the repair be noticeable afterward?
Done correctly, the repair becomes nearly invisible. The keys are three:
- Match the filler color to your exact counter shade
- Sand through progressively finer grits for a flat surface
- Polish to match the surrounding shine
Because color runs through Corian, a well-blended patch hides far better than repairs on laminate or stone surfaces.
How long does a Corian crack repair take?
Plan for two to four hours total. Active work, cleaning, filling, sanding, and polishing takes about an hour. The rest is cure time, usually one to two hours depending on your filler. Don’t rush the curing window. Sanding soft filler ruins the patch and forces you to redo the entire surface repair from the start.
Why did my countertop crack in the first place?
Corian cracks from heat, stress, or impact. Common causes include placing hot pans directly on the surface, heavy objects dropped near a seam, or pressure over an unsupported area like a sink cutout. Once you finish your countertop restoration, use trivets and cutting boards to prevent new damage and protect the seam areas most prone to stress.
Conclusion
A cracked counter doesn’t mean a costly replacement. With basic tools and a careful approach, you can repair crack in Corian countertop surfaces and restore a smooth, like-new finish in a single afternoon.
Remember the order that makes it work. Clean the area thoroughly. Widen the crack slightly for grip. Apply color-matched filler, let it cure fully, then sand and polish until the patch disappears. Each step builds on the last, and skipping one is where most repairs go wrong.
The biggest factors are color matching and patience. Get those two right, and even a beginner produces a result that looks professional. You also gain a skill that pays off for years, since Corian’s solid surface design lets you fix future chips and scratches the same way.
So grab your supplies and get started. Your counter will look like the crack was never there, and you’ll have the satisfaction of knowing you did it yourself. That’s a repair worth being proud of.