

A cracked or rotten plank turns a great deck into a hazard. The good news? You can fix it yourself. Most deck damage is local, not structural, which means you can swap one bad board without tearing apart the whole frame. If you can use a drill and a saw, you can repair decking boards over a weekend with basic tools.
Splinters, soft spots, popped nails, and warping all have simple solutions. You just need the right approach and a little patience. No technician required, no inflated invoice.
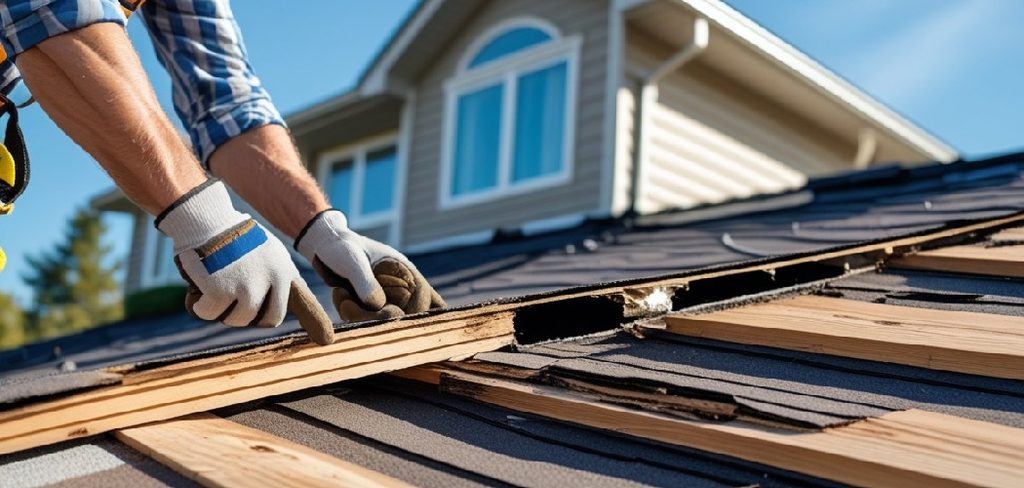
This guide walks you through every step how to repair decking boards, from spotting the damage to sealing your finished work, so your deck stays safe, solid, and good-looking for years to come.
Why Repairing Decking Boards Matters
Ignore one soft board and the problem spreads. Moisture wicks into the joists below, rot follows, and a cheap fix becomes a full rebuild. Acting early saves you money and keeps your deck safe to walk on.
A damaged plank is also a real injury risk. Splinters, protruding screws, and rotten spots cause trips and falls, especially with kids or pets around. One bad step can mean a hospital visit.
There’s a value angle too. A clean, sturdy deck adds curb appeal and resale value, while a sagging, splintered one drags your whole property down. Buyers notice.
Learning this skill puts you in control. You handle small problems on your schedule, before they grow into expensive ones.
Tools and Materials You’ll Need
Gather everything before you start. Stopping mid-job to find a tool wastes daylight.
- Pry bar – lift damaged boards without splitting neighbors
- Cordless drill/driver – remove old screws, drive new ones
- Circular saw or jigsaw – cut replacement boards to length
- Tape measure – match dimensions exactly
- Speed square – mark straight, clean cut lines
- Hammer – tap stubborn boards loose
- Exterior-grade deck screws – stainless or coated to resist rust
- Replacement boards – matched to your existing decking
- Sandpaper or orbital sander – smooth rough edges
- Wood sealer or stain – protect and blend the new wood
- Safety glasses and work gloves – protect eyes and hands
- Oscillating multi-tool (optional) – makes precise cuts in tight spots far easier
That’s it. Most of these you likely already own.
Step-by-Step Guide on How to Repair Decking Boards
Step 1 – Inspect the full deck
Start with a slow walk across every board. Press down with your foot and feel for soft, spongy spots that flex underfoot. Those signal rot.
Crouch and look closely. Hunt for cracks running with the grain, dark gray staining, raised splinters, and screws backing out of place. Tap suspect areas with a screwdriver handle. A dull thud means rot; a sharp knock means solid wood.
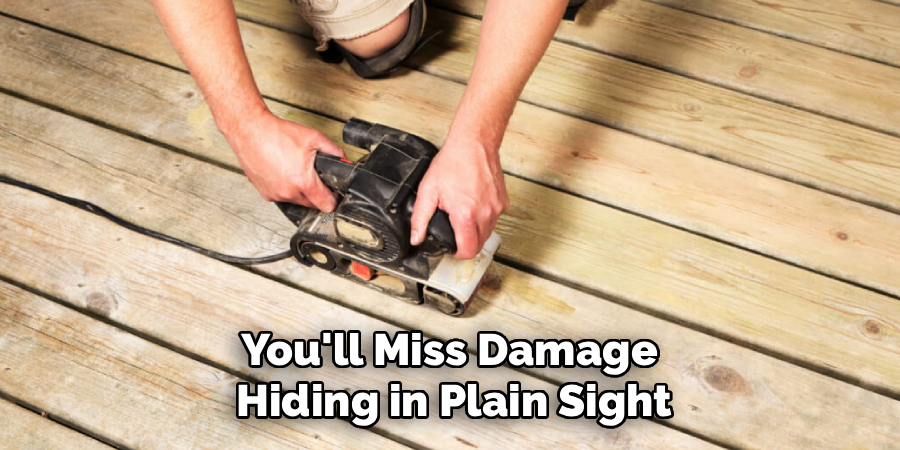
Run your hand along the surface, watching for snags. Mark every problem board with chalk so you don’t lose track. This first pass tells you exactly how many boards you’ll replace and how many you can simply refasten. Skip it, and you’ll miss damage hiding in plain sight.
Step 2 – Remove the damaged board
Slide your pry bar under one end of the marked board, close to a joist. Apply steady pressure and listen for the screws to creak loose. Work slowly so you don’t crack the boards on either side.
If screws hold tight, back them out first with your drill. Set the clutch low to avoid stripping the heads. For rusted, frozen fasteners, an oscillating multi-tool slices right through them.
Once the board lifts, pull it free and set it aside. Sweep out leaves, dirt, and debris that collected underneath. You’ll often find damp buildup here, the exact cause of the rot. Clearing it now keeps the next board dry.
Step 3 – Check the joists below
With the board gone, inspect the exposed joists. These framing members carry the weight, so they must stay sound. Press a screwdriver into the wood. If it sinks easily, the joist is rotting and needs attention.
Surface rot on an otherwise solid joist is manageable. Scrape away the soft fibers, let the wood dry completely, then brush on a wood preservative. For extra protection, cap the joist top with self-adhesive flashing tape to block future moisture.
If a joist is badly compromised, sister a new piece of pressure-treated lumber alongside it. Smell the area too. A musty, earthy odor confirms hidden moisture you’ll want to address before moving on.
Step 4 – Measure and cut the replacement
Measure the gap precisely, end to end, and write the number down. Decking expands and contracts with weather, so match the dimensions of your existing boards exactly. A mismatched plank looks sloppy and traps water.
Lay your replacement board on a stable surface. Use the speed square to draw a crisp, straight line at your mark. A clean line gives you a clean cut.
Cut along the line with your circular saw, keeping firm and steady. The fresh sawdust will smell sharp and woody. Test-fit the board in the gap before fastening. It should drop in with a small, even spacing on each side, roughly the width of a pencil, to allow for drainage and expansion.
Step 5 – Treat the cut ends
Raw cut ends are the most vulnerable part of any new board. The sealed factory surface is gone, leaving exposed grain that soaks up water like a sponge. Skip this step and rot starts here first.
Brush a generous coat of end-grain sealer or exterior wood preservative onto both freshly cut ends. Work it into the grain and let it soak in. The wood will darken slightly as it absorbs the product.
Give it the drying time listed on the can before fastening. This small habit is one of the smartest moves when you repair decking boards, because it stops moisture exactly where boards fail fastest. A few minutes now adds years of life.
Step 6 – Fasten the new board
Drop the treated board into place, keeping that even gap on both sides. Pre-drill pilot holes at each joist to stop the wood from splitting, especially near the ends.
Drive two exterior-grade deck screws into every joist crossing. Sink each screwhead just flush with the surface, never below it, where water would pool. Snug, not stripped, is the goal. You’ll feel the driver bite and stop with a clean click.
Step back and check alignment. The new board should sit level with its neighbors, with no rocking or lift. Press it with your foot to confirm it’s solid. Properly anchored fasteners are what make this repair last instead of working loose by next season.
Step 7 – Sand the rough edges
Run your hand over the new board and the surrounding planks. Any snag or sharp lip needs smoothing. Splinters cause most deck injuries, so don’t rush this.
Use an orbital sander with medium-grit paper, then finish with fine grit for a smooth touch. Sand along the grain, never across it, to avoid scratches. Work the edges and corners by hand where the sander can’t reach.

Wipe away the fine dust with a dry cloth. The surface should feel even and consistent, with no ridge between old and new wood. This blending makes your fix nearly invisible and keeps bare feet safe. It’s the difference between a patch job and a clean repair.
Step 8 – Seal and blend the finish
Bare new wood stands out against weathered boards. Sealing fixes that and locks in your work. Choose a stain or sealer that matches your deck’s existing tone as closely as possible.
Stir the product well, then apply a thin, even coat with a brush or roller, working along the grain. Cover the new board plus a little of the surrounding planks to feather the color. The fresh finish will look wet and rich, then settle as it dries.
Let it cure fully before walking on it, usually 24 to 48 hours depending on weather. A second coat deepens protection and improves the color blend. This final step is what makes a repaired deck look maintained, not patched.
Critical Mistakes When Repairing Decking Boards
The biggest mistake is treating a symptom while ignoring the cause. People swap a rotten board but never check the joist or clear the debris underneath. The new board rots just as fast because the moisture source is still there. Always fix what’s below before you fasten what’s on top.
Skipping the end-grain sealer is another costly error. Cut ends drink water, and an unsealed board fails from the inside out within a couple of seasons. Two minutes with a brush prevents the whole problem.
Using the wrong fasteners ruins otherwise good work. Standard interior screws rust, stain the wood with ugly streaks, and lose their grip. Always use stainless or coated exterior deck screws rated for outdoor use.
Many people also butt boards too tightly together. Wood needs room to expand, and a snug fit traps water and buckles planks in heat. Leave a consistent gap for drainage.
Finally, don’t drive screws too deep. A countersunk head creates a tiny bowl that collects water right at the fastener, the exact spot where new rot begins. Flush is the target every time.
Expert Tips
Buy your replacement boards a few weeks early and let them sit outside, exposed to your local weather. They’ll weather toward your deck’s color and shrink to their natural size before you install them, giving you a tighter match.
Replace fasteners across the whole board, not just the damaged section. Old screws near a failure point are often loose or corroded too.
Keep a small offcut of your decking as a color reference when buying stain. It saves guesswork at the store.
Work on a dry day with low humidity. Wood and sealer both behave better, and your finish cures faster and cleaner.
Finally, address drainage. If water keeps pooling under your deck, fix the slope or grading. Stop the water and you stop the rot.
Frequently Asked Questions
Can I repair a deck board without replacing it?
Yes, if the damage is minor. Small cracks, popped screws, and surface splinters often don’t need a full swap. You can:
- Refasten loose boards with new exterior screws
- Fill thin cracks with exterior wood filler
- Sand out rough or splintered patches
Replace the board only when you find soft, spongy rot, deep structural cracks, or warping that won’t sit flat. Rot always means replacement.
How do I know if a deck board is rotten?
Press it with your foot or a screwdriver. Solid wood resists; rotten wood feels soft and sinks in. Look for dark gray or black staining, a musty smell, and surface that crumbles when poked. Sound the board by tapping it. A dull thud signals rot inside, while a sharp knock means the wood is still healthy and worth keeping.
What screws should I use for deck repairs?
Use exterior-grade deck screws made from stainless steel or coated to resist corrosion. Standard screws rust quickly outdoors, streak the wood, and loosen over time. Match the screw length to your board thickness so the screw bites firmly into the joist below. Two screws per joist crossing gives you a secure, lasting hold that won’t work loose through seasonal expansion and contraction.
How often should I inspect my deck?
Check your deck at least twice a year, in spring and fall. Spring inspections catch winter damage, while fall checks prepare the deck for cold, wet months. Walk every board, test for soft spots, and look for loose fasteners or standing water. Catching small problems early keeps repairs cheap and fast, and stops minor damage from spreading into the framing below.
Can I repair decking boards in winter?
You can, but timing matters. Structural fixes work in any season, yet sealers and stains need dry conditions and temperatures above their minimum cure point, usually around 50°F. Cold, damp weather stops finishes from bonding properly. If you must work in winter, do the cutting and fastening now, then wait for a dry, milder day to seal and stain the wood.
Conclusion
A solid deck starts with small, timely fixes. You now know how to inspect for damage, pull a bad board, check the joists, cut and seal a replacement, fasten it right, and blend the finish so it looks like new. None of it requires a contractor or a big budget.
Remember the habits that make repairs last. Fix the cause, not just the symptom. Seal every cut end. Use corrosion-resistant fasteners. Leave room for drainage. Keep screwheads flush. These small details separate a quick patch from a repair that holds for years.
Inspect twice a year and act fast when you spot trouble. A board you fix today costs a few dollars; the rot you ignore costs hundreds later. When you repair decking boards yourself, you protect your safety, your property value, and your weekends.
Grab your tools, pick your dry day, and get started. Your deck will reward you with years of safe, splinter-free use.