

A clogged garbage disposal can stop your whole kitchen in its tracks. Suddenly the sink won’t drain, the water backs up, and that low humming sound tells you something’s stuck. It happens to almost everyone, and the good news is you usually don’t need a plumber to sort it out.
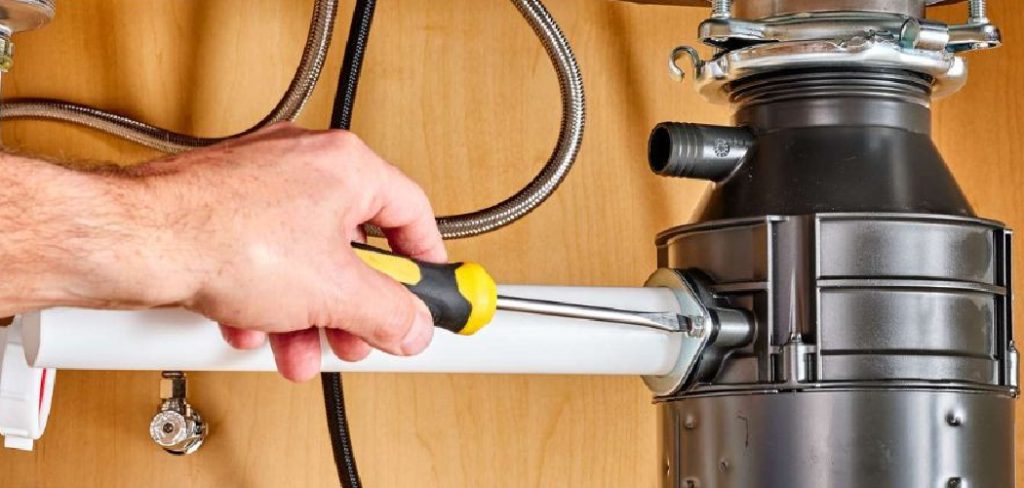
Most clogs come from everyday habits, like rinsing too many food scraps down the drain or running the disposal without enough water. With a few basic tools and a little patience, you can clear the blockage yourself and save money on a service call.
This guide walks you through exactly how to fix a garbage disposal clog, step by step, so you can get your sink draining smoothly again with confidence.
Why Fixing a Garbage Disposal Clog Matters
A clogged disposal is more than a minor annoyance. Left alone, standing water breeds bacteria, gives off a sour smell, and can spill onto your counters or floor. That mess only gets worse the longer you wait.
There’s a financial side too. A plumber visit for a simple clog often costs between $100 and $300, even though the fix takes just a few minutes once you know what to do. Learning this skill puts that money back in your pocket.
Fixing it yourself also protects your appliance. When you clear blockages early, you reduce strain on the motor and extend the life of the unit. For homeowners and renters alike, a working disposal keeps your kitchen clean, your sink usable, and your daily routine running without interruption.
Tools and Materials You’ll Need
You don’t need a fancy toolkit to tackle this job. Most of what you need is probably already in your kitchen or garage. Gather everything before you start so you’re not scrambling mid-repair.
- Flashlight – to see inside the dark disposal chamber
- Allen wrench (hex key) – usually ¼ inch, often comes with the disposal
- Long-handled tongs or pliers – for grabbing stuck objects safely
- Plunger – a flat-bottom sink plunger works best
- Bucket – to catch water when you check the trap
- Baking soda and white vinegar – for breaking down greasy buildup
- Towels or rags – to manage spills and drips
- Rubber gloves (optional) – to keep your hands clean and dry while you work
That optional pair of gloves makes the whole job far more comfortable, especially when you reach into murky water.
Step-by-Step Guide to Clearing Your Garbage Disposal
Step 1 – Cut the Power First
Safety comes before anything else. Reach under the sink and unplug the disposal, or flip the matching breaker in your electrical panel. Never trust the wall switch alone, because a bump could turn the unit on while your hand is inside.
Once the power is off, give the switch a quick flip to confirm nothing happens. You should hear silence, not that familiar hum. This simple check protects your fingers from the sharp grinding components below.
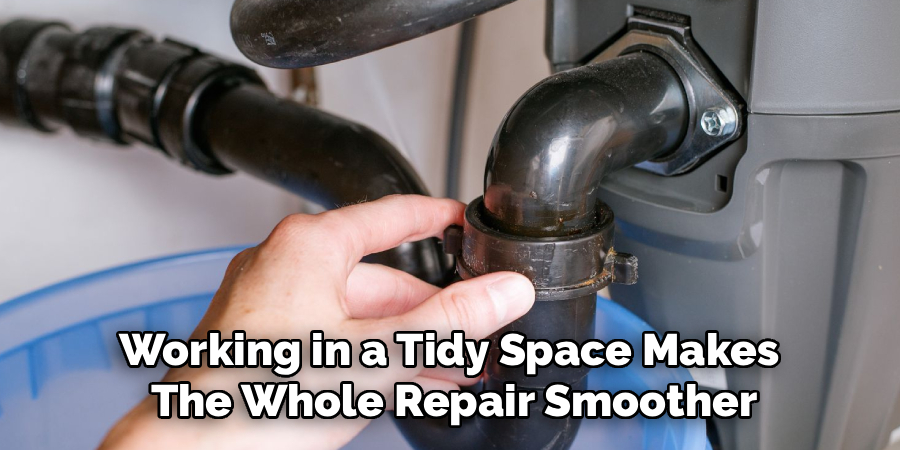
Take a moment to clear out anything stored under the sink. You’ll want room to move and a clear view of the trap and connections. Working in a tidy space makes the whole repair smoother and keeps you from knocking over cleaning supplies while you focus on the clog.
Step 2 – Inspect the Drain With a Flashlight
Now shine your flashlight straight down into the disposal opening. Look past the rubber splash guard and check for anything obvious, like a bottle cap, a chunk of bone, or a wad of stringy vegetable peels wrapped around the blades.
You’ll often spot the culprit right away. The chamber walls may look greasy, and you might notice food packed tightly against the grinding plate. That buildup is usually what’s blocking the flow.
Resist the urge to reach in just yet. First, get a clear picture of what you’re dealing with so you can plan your next move. Knowing whether you’re facing a solid object or a soft, slimy mass tells you which tool to grab next and saves you guesswork.
Step 3 – Remove Visible Objects by Hand
With the power confirmed off, it’s time to clear out what you can see. Use your long-handled tongs or pliers to grab stuck items, never your bare fingers, even when the unit is unplugged.
Reach in slowly and pull out anything lodged against the blades. You might feel resistance as you tug a fibrous clump free, or hear a soft pop as a trapped object releases. Drop each piece into your bucket as you go.
Work patiently around the entire chamber. Small bits hide under the flaps of the splash guard, so lift those edges gently and check underneath. Clearing these physical blockages often solves the problem on its own, and you’ll feel the difference the moment the chamber empties out.
Step 4 – Free the Flywheel With an Allen Wrench
If the motor hums but the blades won’t spin, the flywheel is jammed. This is one of the most common reasons people search for how to fix a garbage disposal clog, and it’s an easy fix.
Look under the unit for a hexagonal hole in the center of the base. Insert your ¼-inch Allen wrench into that socket. Now turn it firmly back and forth, both clockwise and counterclockwise.
You’ll feel the wrench loosen as the jam breaks free, often with a gritty crunch. Keep working it until the wrench spins smoothly in full circles. That smooth rotation means the flywheel is moving again and whatever wedged it has shifted loose, ready to be flushed away.
Step 5 – Press the Reset Button
Disposals have a built-in safety feature that shuts the motor down when it overheats or jams. After freeing the flywheel, you need to wake the unit back up.
Look on the bottom of the disposal for a small red or black button. That’s the reset. Press it firmly until you feel a soft click and it stays pushed in.
If the button pops back out right away, the motor is still too hot. Wait about ten minutes, let it cool, then try again. This pause feels frustrating, but rushing it won’t help. Once the reset holds, you’re one step closer to a working sink. Don’t restore power yet, though, because a couple of checks still remain before you test it.
Step 6 – Plunge the Drain
Sometimes the blockage sits deeper in the pipe, past the disposal itself. A plunger pushes water pressure through to break it loose.
Fill the sink with a few inches of water, enough to cover the plunger’s rubber cup. If you have a double sink, seal the other drain with a wet rag or a stopper so the pressure doesn’t escape sideways.
Center the plunger over the disposal opening and pump up and down firmly about six times. You’ll feel the resistance shift and may hear a satisfying gurgle as the clog gives way. Lift the plunger and watch the water. If it drains, you’ve won. If not, repeat the motion a few more times before moving on.
Step 7 – Clean the P-Trap
Still stuck? The clog may be hiding in the P-trap, that curved pipe under the sink. Place your bucket directly beneath it to catch the water that’s bound to spill out.
Loosen the slip nuts on each side of the curved section by hand or with pliers. As the trap comes free, expect a rush of dark, smelly water, so keep that bucket ready.
Pull the trap off and look inside. You’ll often find a slimy plug of grease and trapped food sitting in the bend. Scrape it clean with an old brush or your gloved finger, rinse it under another faucet, then reattach it snugly. Tighten the nuts until they’re firm but not overtightened, which can crack the fittings.
Step 8 – Flush and Test the System
You’ve done the hard part. Now restore power by plugging the unit back in or flipping the breaker on.
Turn on a steady stream of cold water and run it into the sink. Then flip the disposal switch. Listen closely, because you want a smooth, even grinding sound rather than a strained hum or a rattle.
Let the water flow for thirty seconds while the disposal runs. Watch the sink drain freely and quickly, a sure sign the clog is gone. If everything sounds healthy and the water disappears without backing up, your repair worked. Knowing how to fix a garbage disposal clog this thoroughly means you’ve cleared both the unit and the pipe behind it.
Critical Mistakes When Fixing a Garbage Disposal Clog
The most dangerous mistake is reaching into the disposal while it still has power. Even unplugged, you should use tongs rather than fingers, but skipping the power shutoff entirely invites serious injury. Always cut the electricity first and confirm it before your hand goes anywhere near the chamber.
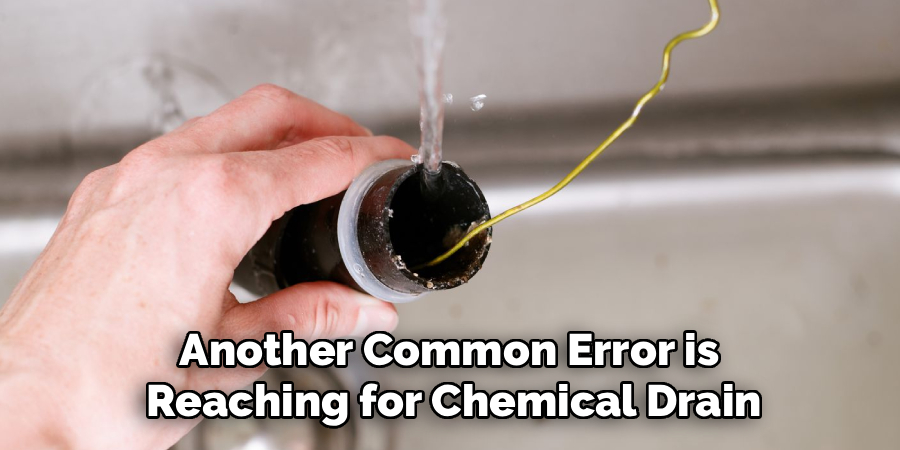
Another common error is reaching for chemical drain cleaners. Those harsh liquids rarely clear a disposal clog and can corrode the seals, damage the blades, and splash back onto your skin. They also sit in the chamber as a hazard when you eventually open the trap.
Many people also overtighten the P-trap nuts when they reassemble it. Cranking them too hard cracks the plastic threads and creates a slow leak that shows up days later under your cabinet. Snug is enough.
Running the disposal with little or no water is another habit that causes trouble. Without a steady cold stream, food doesn’t flush through and the motor overheats. Finally, don’t ignore a humming unit that won’t spin. Forcing the switch repeatedly burns out the motor instead of fixing the jam.
Expert Tips
Run cold water before, during, and after every use, not just when there’s a problem. Cold keeps grease solid so it chops up and flushes away instead of coating your pipes.
Feed scraps in small batches rather than dumping a full plate at once. Smaller loads grind cleanly and put far less strain on the motor.
Grind a handful of ice cubes and a little rock salt once a month. The mixture scours buildup off the blades and sharpens the grinding edges naturally.
Toss in a few citrus peels afterward for a fresh smell without harsh chemicals. And avoid fibrous foods like celery, potato peels, and coffee grounds, which are the usual suspects behind stubborn clogs. A little prevention saves you a lot of repair time.
Frequently Asked Questions
Can I use a chemical drain cleaner on my garbage disposal?
No, you should avoid chemical drain cleaners in a garbage disposal. They rarely clear the clog and can cause real harm:
- They corrode rubber seals and metal components
- They create dangerous splashback when you open the unit
- They sit in the chamber if the clog doesn’t clear
Stick with mechanical methods like plunging, manual removal, and a baking soda and vinegar rinse instead.
Why does my disposal hum but not spin?
A humming disposal that won’t turn means the flywheel is jammed by a stuck object. The motor is getting power but can’t rotate the blades. Cut the power, then insert an Allen wrench into the hex hole on the bottom and work it back and forth to free the jam. Press the reset button afterward, and the unit should spin normally again.
How often should I clean my garbage disposal?
Clean your disposal about once a week to prevent buildup and odors. A quick routine keeps it running smoothly:
- Grind ice and rock salt to scour the blades
- Pour in baking soda followed by vinegar, then flush with hot water
- Drop in citrus peels for a fresh scent
Regular care reduces clogs and extends the life of your unit.
Is it safe to put my hand in the disposal?
Only with the power completely off, and even then it’s better to use tongs or pliers. Unplug the unit or switch off the breaker before reaching anywhere near the chamber. The blades are sharp, so let tools do the grabbing whenever possible. Confirm the power is off by flipping the wall switch first and listening for silence.
What foods should I never put in a garbage disposal?
Avoid fibrous, starchy, and greasy items that wrap around blades or harden in pipes. The worst offenders include:
- Coffee grounds and eggshells
- Potato peels and celery
- Pasta, rice, and bread that swell with water
- Grease, oil, and fat
Scrape these into the trash or compost to keep your drain flowing freely.
Conclusion
A blocked sink feels like a big problem, but as you’ve seen, the fix is usually quick and well within your reach. By cutting the power, inspecting the chamber, freeing the flywheel, and clearing the P-trap, you tackle nearly every cause of a stubborn blockage without picking up the phone for a plumber.
The real win here is confidence. Once you’ve worked through these steps a single time, you’ll handle the next backup in minutes. You’ll also save the cost of a service call and keep your kitchen clean and usable.
Remember the habits that prevent trouble in the first place: run cold water, feed scraps slowly, skip the fibrous foods, and give the unit a monthly ice-and-salt scrub. A little routine care goes a long way.
Now that you know how to fix a garbage disposal clog from start to finish, you’re ready to face any sink slowdown head-on. Keep this guide handy, trust your tools, and enjoy a smooth-draining kitchen for years to come.