

A dripping faucet wastes water, stains your sink, and chips away at your water bill. The good news? You can stop it today. Learning how to fix a leaky delta kitchen faucet takes less time than you think, and you don’t need a plumber to do it.
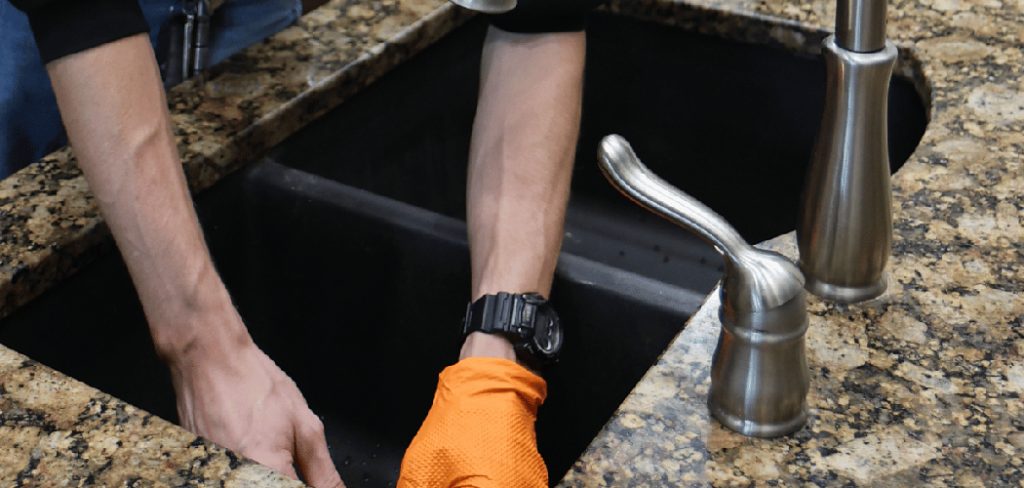
Delta faucets use simple, well-built parts. Most leaks come from worn seals, springs, or a tired cartridge—all easy to swap out. With a few basic tools and 30 minutes, you can silence that drip for good.
This guide walks you through every step, from shutting off the water to testing your repair, so you can fix the leak yourself with confidence.
Why Fixing a Leaky Delta Kitchen Faucet Matters
A small drip adds up fast. One leak can waste over 3,000 gallons a year. That’s money down the drain—literally.
Beyond the cost, a steady drip damages your fixtures. Mineral buildup forms around the spout. Water pools at the base and corrodes the finish. Left alone, a minor leak turns into a bigger, pricier problem.
There’s also the noise. That late-night drip echoes through a quiet kitchen and disrupts your sleep.
Fixing it yourself saves you a service call, which often runs $150 or more. You gain a useful skill, protect your home, and keep your faucet working like new. The repair is simple, the parts are cheap, and the payoff is immediate.
Tools and Materials You’ll Need
Gather everything before you start. A quick trip to the hardware store now saves frustration later.
- Allen wrench (hex key) – removes the handle set screw
- Adjustable wrench – loosens the bonnet nut and cap
- Delta repair kit – includes seats, springs, and O-rings for your model
- Replacement cartridge – needed if the old one is worn or cracked
- Plumber’s grease – keeps seals smooth and watertight
- Phillips screwdriver – handles screws on some handle styles
- Clean rag – wipes parts and protects the sink finish
- White vinegar – dissolves mineral deposits on stuck parts
- Flashlight or headlamp (optional) – lights up dark cabinet space under the sink
Match the repair kit to your exact Delta model. Check the underside of the spout or your original receipt for the model number.
Step-by-Step Guide: How to Fix a Leaky Delta Kitchen Faucet
Follow these steps in order. Take your time, and keep your parts laid out so reassembly stays simple.
Step 1 – Shut Off the Water Supply
Reach under the sink and find the two shutoff valves. Turn both clockwise until they stop. This cuts the hot and cold supply.
Now open the faucet handle to release any pressure left in the lines. You’ll hear a soft hiss, then water trickling out. Wait until the flow stops completely.
Plug the drain with a stopper or rag. Small screws and springs love to vanish down an open drain, and you don’t want to lose them.
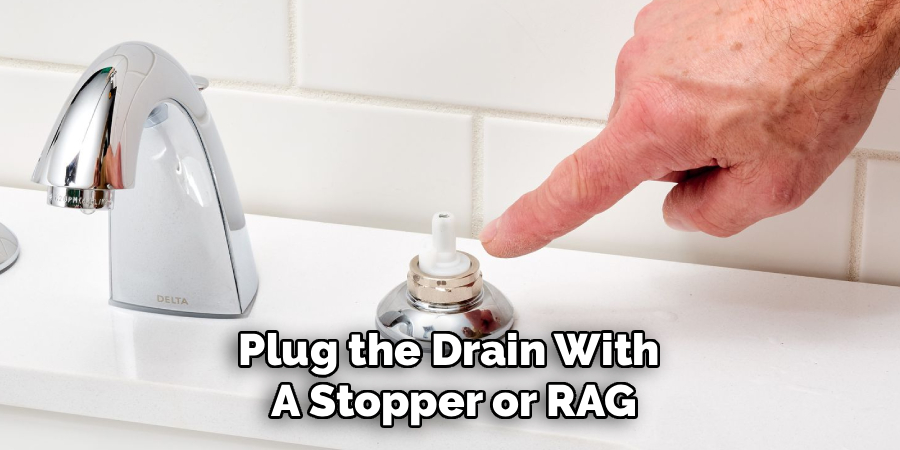
Knowing how to fix a leaky delta kitchen faucet starts with this safety step. Skip it, and you’ll get a face full of cold water the moment you loosen a part. A dry workspace makes the rest of the job smooth.
Step 2 – Remove the Faucet Handle
Look for the set screw at the base or back of the handle. On most Delta models, it sits under a small decorative cap. Pop the cap off with a flathead screwdriver.
Insert your Allen wrench into the screw and turn counterclockwise. The screw is small, so go slow and keep steady pressure. Once it loosens, set it somewhere safe—a magnetic dish works well.
Now lift the handle straight up and off. It may stick from old grease or mineral buildup. Wiggle it gently while pulling.
Wipe the exposed area with your rag. You’ll see the cap or bonnet nut underneath, ready for the next step.
Step 3 – Take Off the Cap and Bonnet Nut
With the handle gone, you’ll see a dome-shaped cap or a hex-shaped bonnet nut. Wrap a rag around it first to protect the finish from scratches.
Use your adjustable wrench to turn it counterclockwise. If it’s stuck, apply white vinegar and wait five minutes to loosen the corrosion. Then try again with firm, even pressure.
You’ll feel it break free with a small jolt. Unthread it the rest of the way by hand.
Look inside the faucet body now. Depending on your model, you’ll spot either a ball-and-spring assembly or a cylinder cartridge. Note how everything sits before you remove anything—a quick phone photo helps during reassembly.
Step 4 – Remove the Cartridge or Ball Assembly
Grip the cartridge or ball and pull it straight up and out. It should slide free, though years of use can make it cling. Rock it gently side to side if needed.
Inspect what you pull out. A worn cartridge feels rough or shows cracks. A ball assembly may have pitted spots or gunk caked on the surface.
Below the cartridge, you’ll find two rubber seats and small metal springs. These tiny parts cause most leaks. Use a flathead screwdriver to lift them out carefully.
Lay each piece on your rag in order. Seeing the parts in sequence makes putting them back fast and stress-free.
Step 5 – Inspect and Clean the Parts
Hold each part up to the light. Look for cracks, flat spots, or grit on the rubber seats and O-rings. These small flaws let water seep past and cause the drip.
Soak any mineral-crusted parts in white vinegar for ten minutes. The deposits soften and wipe away with a rag. Run your finger along the inside of the faucet body—it should feel smooth, not gritty.
Rinse everything with clean water. Dry the parts fully before reassembly. Moisture trapped under a seal can speed up wear.
This inspection tells you exactly what to replace. Often, fresh seats and springs solve the problem. A damaged cartridge means you’ll swap in the new one.
Step 6 – Install New Seals, Springs, and Cartridge
Start with the springs and rubber seats. Drop each spring into its slot, narrow end down. Set the rubber seat on top, cone side facing up. Press them firmly into place with your fingertip.
Smear a thin layer of plumber’s grease on the new O-rings and cartridge. The grease helps everything slide together and keeps the seal watertight.
Now lower the new cartridge into the faucet body. Line up the tabs or notches with the slots inside—they only fit one way. Push down until it seats fully and sits flush.
This is the heart of how to fix a leaky delta kitchen faucet. Get these parts aligned right, and your drip disappears.
Step 7 – Reassemble the Faucet
Work backward through your earlier steps. Thread the bonnet nut or cap back on by hand first, then snug it with your wrench. Don’t overtighten—firm is enough. Too much force cracks the parts.
Slide the handle back onto the stem. Line up the set screw hole and insert the screw. Tighten it with your Allen wrench until the handle feels solid with no wobble.
Snap the decorative cap back over the screw if your model has one.
Give the handle a test wiggle. It should move smoothly through hot, cold, and off positions. A stiff or grinding feel means a part isn’t seated right—back up and check before moving on.
Step 8 – Turn the Water Back On and Test
Head back under the sink. Turn both shutoff valves counterclockwise, slow and steady. You’ll hear the lines refill with a low rush.
Move the faucet handle to the on position. The first burst of water may sputter as air clears the lines. That’s normal.
Run hot and cold for 30 seconds each. Watch the spout, the base, and the handle closely. Check under the sink too—dry hands mean a dry connection.
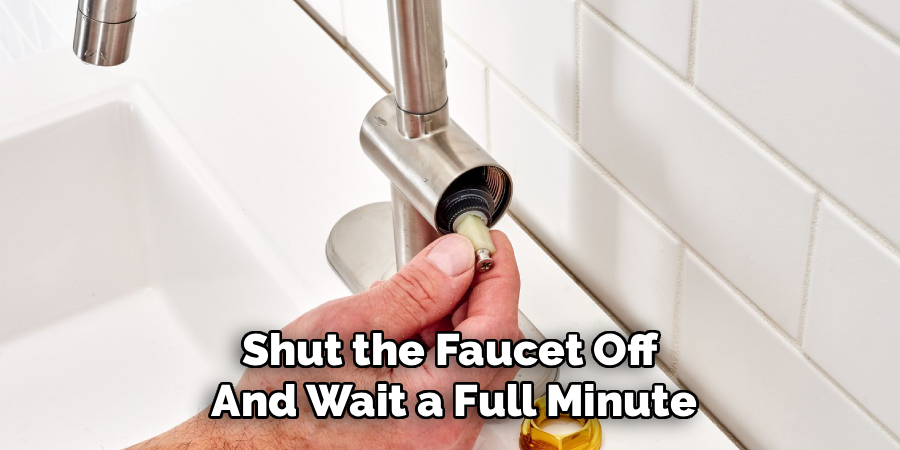
Shut the faucet off and wait a full minute. Look hard for any drip from the spout. No drops? You did it. If you spot a leak, retighten the bonnet nut or recheck the cartridge seating.
Critical Mistakes When Fixing a Leaky Delta Kitchen Faucet
The biggest mistake is skipping the water shutoff. People assume they can move fast and avoid the soak. Then they loosen the cap and get sprayed across the kitchen. Always close both valves and release the pressure first. It takes 30 seconds and saves you a mess.
Another common error is buying the wrong repair kit. Delta makes dozens of models, and the parts aren’t interchangeable. Grab a kit that doesn’t match, and you’ll find yourself making a second trip to the store mid-repair. Confirm your model number before you buy anything.
Overtightening ranks high on the list too. Cranking the bonnet nut or set screw with all your strength feels productive, but it cracks plastic parts and crushes new seals. Tighten until snug, then stop. The seals do the sealing, not brute force.
Many people also forget to plug the drain. One dropped spring rolls straight down the pipe, and now you’re missing a part. A simple rag in the drain prevents this.
Finally, some skip cleaning the faucet body. Old mineral grit scratches new seals and causes leaks within weeks. Wipe everything down before you reassemble.
Expert Tips
Replace all the seals and springs at once, even if only one looks worn. The parts are cheap, and you’ve already done the work to open the faucet. This saves you from another teardown next month.
Keep your old cartridge until the repair tests clean. If something goes wrong, you can reinstall it and still have running water while you troubleshoot.
Snap photos at each step with your phone. Reassembly gets confusing fast, and a quick reference picture beats guesswork every time.
Buy a genuine Delta repair kit, not a generic copy. The factory parts fit precisely and last longer. Delta also offers a lifetime warranty on many parts—a quick call may get you free replacements.
Lastly, apply plumber’s grease to every rubber seal. It prevents sticking and extends the life of your repair.
Frequently Asked Questions
How long does it take to fix a leaky Delta faucet?
Most repairs take 30 to 45 minutes for a first-timer. If you’ve done it before, expect closer to 20 minutes. The job slows down only when parts are stuck with mineral buildup or corrosion. Soaking those parts in vinegar adds about ten minutes but makes removal easy. Gather your tools first to keep the process quick.
Why is my Delta faucet still dripping after I replaced the cartridge?
A few things cause a drip after replacement:
- The cartridge isn’t seated fully—push it down until flush
- The bonnet nut needs another quarter turn to seal
- Old seats and springs are still worn—replace those too
- Debris is trapped under a seal—disassemble and clean again
Recheck each connection, and the drip usually stops.
Do I need to call Delta for replacement parts?
Not always, but it’s worth it. Delta offers a lifetime limited warranty on many faucets, covering cartridges, seals, and springs at no cost. Call their support line with your model number, and they’ll often ship parts free. Otherwise, buy a matching repair kit at any hardware store for $10 to $20. Both options work fine.
What’s the difference between a cartridge and a ball-type faucet?
Cartridge faucets use a single insert that controls water flow and temperature. They’re common on newer Delta single-handle models. Ball-type faucets use a rotating ball with springs and seats underneath. Both are easy to repair, but they use different parts. Check inside your faucet body after removing the cap to identify which type you have before buying a kit.
Can I fix the leak without turning off the water?
No. Always shut off the water at the valves under the sink first. Opening the faucet under pressure sprays water everywhere and floods your cabinet. The two shutoff valves take seconds to close. If you can’t find them or they won’t turn, shut off your home’s main water valve instead. Safety first, always.
Conclusion
A leaky faucet is one of the easiest home repairs you can tackle, and now you have the full roadmap. You’ve learned to shut off the water, pull the handle, swap worn seals and cartridges, and test your work. None of it requires special training—just patience and the right parts.
Remember the key points: match your repair kit to your model, replace all the seals at once, and never overtighten. Plug that drain so you don’t lose small parts, and clean the faucet body before reassembly. These small habits make the difference between a quick fix and a frustrating do-over.
You’ve saved yourself a service call, cut your water bill, and gained a skill you’ll use again. That dripping sound is gone for good.
Now you know how to fix a leaky delta kitchen faucet from start to finish. Grab your tools, follow the steps, and enjoy a quiet, drip-free kitchen tonight. You’ve got this.