

A puddle under your dishwasher means trouble. Left alone, water seeps into your floors, warps cabinets, and feeds mold. The good news? Most leaks come from simple, fixable parts you can reach yourself.
You don’t need a technician for this. A leaking dishwasher usually points to a worn door seal, a loose hose clamp, or a clogged filter. Each one has a clear cause and a clear repair. With a few basic tools and an hour of your time, you can stop the water and save the cost of a service call.
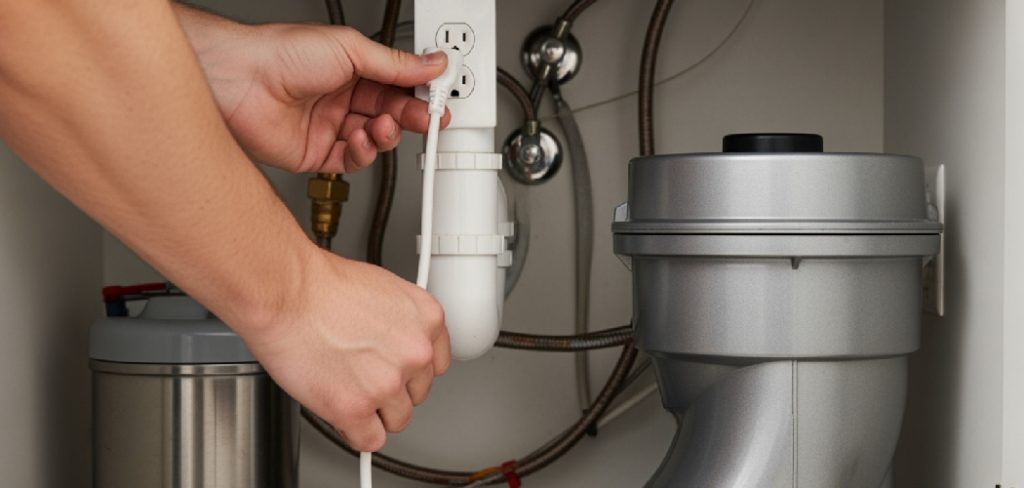
This guide walks you through how to fix dishwasher leaking step by step, so you can find the source, repair it, and get back to clean dishes with no surprises on the floor.
Why Fixing a Leaking Dishwasher Matters
Water damage spreads fast. A small leak today becomes a swollen subfloor and a cabinet replacement in a few months. Catching it early protects your home and your wallet.
Fixing it yourself also saves money. A service call runs $150 or more before parts. Most leak repairs cost under $30 in materials and take less than an hour.
There’s a safety angle too. Standing water near an electrical appliance is a hazard. Mold thrives in damp, dark spaces under your dishwasher and affects the air you breathe.
When you handle the repair yourself, you learn how your appliance works. You spot warning signs sooner. You gain the confidence to tackle the next problem without reaching for the phone.
Tools and Materials You’ll Need
Gather everything before you start. A quick trip mid-repair with wet hands slows you down.
- Phillips and flathead screwdrivers — remove access panels and tighten clamps
- Adjustable wrench or pliers — loosen hose fittings and water-supply nuts
- Flashlight — light up the dark space under the dishwasher
- Old towels and a shallow pan — catch spills and soak up standing water
- Replacement door gasket — match your model number before buying
- Plumber’s putty or food-safe silicone sealant — reseal connections
- Hose clamps — replace any that are cracked or rusted
- A clean cloth and white vinegar — wipe down seals and clear debris
- Wet/dry shop vacuum (optional) — clears water fast and makes detective work easier
Keep your owner’s manual handy. It shows you where parts sit on your specific model.
Step-by-Step Guide on How to Fix Dishwasher Leaking
Step 1 – Cut the power and water supply
Safety comes first. Unplug the dishwasher or switch off its breaker before you touch anything. Water and electricity don’t mix, and you’ll be working near both.
Next, find the hot water shut-off valve under your sink. Turn it clockwise until it stops. This stops fresh water from flowing while you work.
Place a towel and shallow pan under the unit to catch any drips. You’ll feel a small rush of water when you disconnect hoses, so be ready.
Take a moment to confirm the power is truly off. Open the door and press a button — nothing should light up. Once you’re sure, you can work without risk of shock or surprise spray.
Step 2 – Find the source of the leak
You can’t fix what you can’t see. Pull the dishwasher away from the cabinet a few inches and shine your flashlight underneath.
Run your fingers along the floor and feel for the wettest spot. Water travels, so trace it back to where it starts. Check the door’s bottom edge, the hose connections, and the base of the pump.
Look for telltale signs: a steady drip, a crusty mineral trail, or a rusty clamp. A damp door front points to the gasket. A puddle toward the back usually means a hose or valve.
Knowing the exact source saves you from replacing parts that work fine. This single step is the heart of how to fix dishwasher leaking correctly.
Step 3 – Inspect and replace the door gasket
The door seal is the most common culprit. Open the door and run your finger around the rubber gasket that lines the edge.
Feel for cracks, hard spots, or sticky grime. A seal that’s stiff or torn won’t press tight, and water escapes during the wash cycle. You may even spot mold or food buildup hiding in the folds.
Wipe the gasket with a cloth dipped in white vinegar first. Sometimes a good cleaning restores the seal. If it stays brittle or torn, pull the old gasket out of its channel.
Press the new gasket firmly into place, starting at the top and working down both sides. Make sure it sits flat with no twists or gaps.
Step 4 – Check the hose connections
Hoses carry water in and out, and loose fittings leak. Locate the inlet hose at the bottom and the drain hose that loops to your sink or disposal.
Wrap your fingers around each connection and feel for moisture. Wiggle the hoses gently. A fitting that moves easily needs tightening.
Use pliers or a wrench to snug up the hose clamps. Don’t crank too hard — over-tightening cracks plastic fittings and makes the leak worse.
Inspect the hoses themselves for splits or bulges. A cracked hose sprays a fine mist that’s easy to miss. If you find damage, replace the whole hose rather than patching it. A few dollars now prevents a bigger mess later.
Step 5 – Clean the filter and drain
A clogged filter forces water to back up and overflow. Open the dishwasher and lift out the bottom rack to reach the filter at the base.
Twist the cylindrical filter counterclockwise and pull it free. You’ll likely find trapped food, grease, and gritty debris. Rinse it under warm water until it runs clear.
Check the drain area below for stuck particles. Reach in with a cloth and clear anything blocking the path. A buildup here pushes water sideways and out the door.
Vinegar helps cut through grease and mineral scale. Pour a cup into the clean filter housing and let it sit for a few minutes before rinsing. Then twist the filter back into place until it locks.
Step 6 – Examine the float switch and pump
The float switch tells your dishwasher when to stop filling. When it sticks, water keeps rising and spills over.
Find the small plastic dome on the floor of the tub. Press it down and let go — it should move freely and snap back. If it sticks, clean around its base with a cloth to remove debris.
Now check the pump and its seal at the bottom of the tub. A worn pump seal lets water escape during the spin cycle. Look for moisture or mineral crust around the pump housing.
If the seal looks cracked, replace it with a model-specific part. The pump itself rarely fails, so test the simpler parts first before assuming the worst.
Step 7 – Reseal connections and tighten fittings
With each part inspected, go back and lock everything down. Apply a thin bead of food-safe silicone or plumber’s putty to any threaded connection that showed moisture.
Tighten every hose clamp by hand first, then add a quarter turn with your tool. Snug is the goal, not crushing force. Feel for firmness without strain on the plastic.
Wipe away excess sealant with a clean cloth so it cures properly. Give silicone the time the label suggests before running water — usually an hour or two.
Double-check the door gasket one more time. Close the door and feel for an even, tight press all the way around. A solid seal here is your best defense against future drips.
Step 8 – Test the dishwasher and watch for leaks
The final step proves your work. Restore the water supply by turning the valve counterclockwise, then plug the dishwasher back in or flip the breaker.
Run a short rinse cycle with the door closed. Stay nearby and listen for the steady hum of a normal wash. Keep your flashlight ready.
Halfway through, peek underneath and around the door. Feel for any fresh moisture along the floor and connections. A dry floor means success.
If you spot a drip, stop the cycle and recheck that spot. Often it’s a clamp that needs one more turn. Patience here pays off, and it confirms you’ve mastered how to fix dishwasher leaking from start to finish.
Critical Mistakes When Fixing a Leaking Dishwasher
The biggest mistake is skipping the power and water shut-off. People rush in, eager to find the leak, and risk electric shock or a face full of water. Always cut both before you touch a hose or panel. It takes thirty seconds and protects you completely.
Another common error is guessing the source instead of finding it. Homeowners replace a door gasket when the real problem sits at a loose hose clamp in the back. You waste money and time, and the leak returns. Trace the water to its origin before you buy a single part.
Over-tightening fittings ranks high on the list too. Plastic connections crack under too much torque, turning a minor drip into a steady stream. Snug them firmly by hand, then add only a small turn with your tool.
Many people also ignore the filter, assuming leaks only come from seals and hoses. A clogged filter backs up water until it overflows the door. Clean it as part of every repair.
Finally, don’t reuse a brittle, torn gasket just to save a few dollars. A worn seal never reseats properly, and you’ll be mopping the floor again within days.
Expert Tips
Match parts to your exact model number before you shop. A gasket that’s close but not exact won’t seat right, and you’ll be back to square one. Snap a photo of the model sticker inside the door.
Run a maintenance cycle once a month. Pour two cups of white vinegar into an empty dishwasher and run it hot. This clears grease, dissolves mineral scale, and keeps seals supple.
Inspect your hoses every few months. Cracks start small and spread slowly, so catching them early prevents a sudden flood. Feel along their length for soft or bulging spots.
Keep the door gasket clean and dry. Wipe it after heavy wash days to stop food and mold from breaking down the rubber. A clean seal lasts years longer than a neglected one.
Frequently Asked Questions
Why is my dishwasher leaking from the bottom of the door?
A worn or dirty door gasket is the usual cause. Over time, the rubber hardens, cracks, or collects food debris that breaks the seal. Check for:
- Stiff or torn spots along the gasket
- Trapped grime or mold in the folds
- A door that doesn’t latch snugly
Clean the seal first. If it stays brittle, replace it with a model-specific gasket.
Can I run my dishwasher while it’s leaking?
No. Running a leaking dishwasher spreads water across your floor and risks damaging the subfloor, cabinets, and nearby wiring. Standing water near an electrical appliance is a shock hazard. Stop using it right away, cut the power and water, and find the source. A short delay to repair the leak prevents expensive water damage and keeps your kitchen safe.
How much does it cost to fix a leaking dishwasher myself?
Most DIY repairs cost under $30. A replacement door gasket runs $10 to $25, and hose clamps cost a few dollars. Sealant and a new hose stay inexpensive too. Compare that to a $150-plus service call, and the savings are clear. You only pay for the part that’s actually worn, since you’ve already traced the leak yourself.
How do I know if it’s the hose or the door seal?
Location tells the story. A puddle toward the front under the door points to a worn gasket. Water pooling at the back usually means a loose or cracked hose connection. Trace the wettest spot with a flashlight:
- Front and center: door gasket
- Rear or under hoses: inlet or drain hose
- Around the pump: pump seal
How often should I replace my dishwasher’s door gasket?
Most gaskets last five to seven years with regular care. Heat, harsh detergents, and trapped food shorten that lifespan. Inspect yours twice a year for cracks or stiffness. If it no longer springs back when pressed or you see water at the door, replace it. Wiping the seal clean after heavy use and running a monthly vinegar cycle stretches its life considerably.
Conclusion
A leaking dishwasher doesn’t have to mean a costly service call or a damaged floor. You now know how to track the water to its source, repair the worn part, and test your fix with confidence.
Start with safety: cut the power and water every time. Then find the real source before you replace anything. Check the door gasket, tighten the hose clamps, clean the filter, and inspect the float and pump. Reseal each connection, and run a test cycle to confirm a dry floor.
Most leaks trace back to one simple, affordable part. With basic tools and about an hour, you save money and protect your home from water damage.
Keep up with monthly vinegar cycles and seasonal hose checks, and you’ll catch small problems before they grow. The next time you find a puddle, you’ll know exactly how to fix dishwasher leaking and handle it yourself. Grab your tools, follow the steps, and get back to clean dishes with a dry floor underneath.