

Finding a crack or hole in your beautiful yard boundary can feel incredibly frustrating. Many homeowners face this exact issue after a rough storm or an accidental bump from a lawnmower.
You might think you need to hire a pricey contractor to fix the damage. Fortunately, learning how to repair vinyl fence sections yourself is easier than you think.
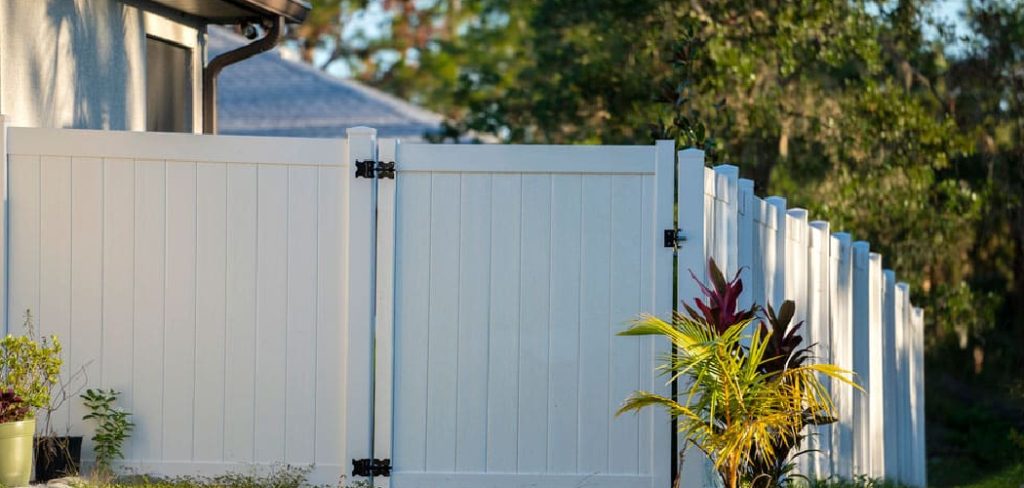
Taking the DIY route saves you a significant amount of money. You also get the satisfaction of protecting your property with your own two hands.
If you can use basic tools, you can handle this project. Let us walk through the exact steps to make your yard look brand new again.
What Causes Damage to Vinyl Fences?
Vinyl is famous for being durable and low-maintenance. However, it is not completely invincible to outside forces.
Understanding what causes the damage helps you prevent future issues. Here are the most common culprits:
- Extreme Weather: Hail, flying debris from high winds, and freezing temperatures can cause the material to crack or shatter.
- Lawn Equipment: String trimmers and riding mowers constantly bumping against the bottom rails often lead to holes or stress fractures.
- Heavy Impact: Falling tree branches or wayward baseballs from neighborhood kids can punch holes right through the panels.
- Age and Sun Exposure: Over many years, intense UV rays can make the plastic brittle. This makes it much more susceptible to cracking.
- Ground Shifting: Soil erosion or freezing ground can heave the posts upward. This shifting forces panels to bend and snap under pressure.
Tools & Materials Needed
Before we dive into how to repair vinyl fence damage, you need the right gear. Gathering everything first makes the job smooth and frustration-free.
For patching small holes and cracks, you will need:
- A bucket of warm, soapy water and a sponge
- Medium-grit and fine-grit sandpaper
- Expanding construction foam (spray foam)
- Auto body filler (like Bondo) or specialized vinyl fence putty
- A plastic putty knife
- Spray paint specifically made for plastics (matching your fence color)
- Clean rags or shop towels
For replacing entire panels or posts, gather these items:
- Replacement vinyl panel or post
- Rubber mallet
- Screwdriver or power drill
- Tape measure
- Level
- PVC cement (if required for your specific model)
Step-by-Step Fix Guide: Patching Holes and Cracks
Small holes and minor cracks do not require a full replacement. You can patch them up so they look almost completely invisible.
Follow these simple, beginner-friendly steps to patch the damage.
Step 1: Clean the Damaged Area
Dirt and grime will stop your filler from sticking properly. Use your warm, soapy water to wash the area around the hole or crack.
Rinse it thoroughly with a hose. Wipe it down with a clean rag and let it dry completely.
Step 2: Prep the Edges
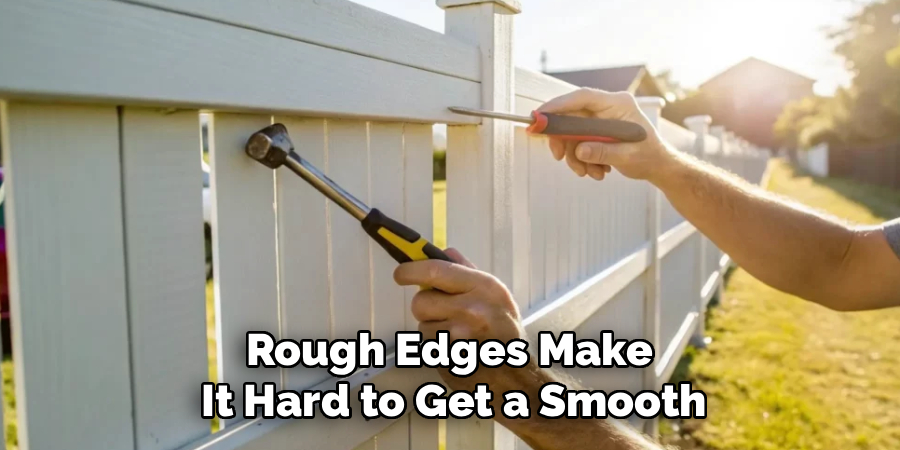
Rough edges make it hard to get a smooth, invisible patch. Take your medium-grit sandpaper and gently sand the borders of the hole.
This removes any jagged plastic bits. It also gives the filler a slightly textured surface to grab onto.
Step 3: Apply Expanding Foam
If you have a larger hole, filler alone will just fall inside the hollow panel. You need to create a backing.
Spray your expanding foam directly into the hole. Let it expand and cure according to the can’s instructions.
Step 4: Trim the Foam
Once the foam is rock solid, grab a utility knife. Carefully slice away the excess foam so it sits just slightly below the surface of the plastic.
This creates the perfect base for your body filler.
Step 5: Apply the Filler
Mix your auto body filler or vinyl putty as directed by the manufacturer. Scoop a small amount onto your plastic putty knife.
Press the filler firmly into the hole or crack over the foam. Smooth it out as best as you can, leaving a slight mound over the damage.
Step 6: Sand it Smooth
Let the filler dry completely. This usually takes about 30 minutes to an hour.
Take your fine-grit sandpaper and sand the patched area. Keep rubbing until the patch is perfectly flush with the rest of the surface.
Step 7: Paint the Patch
Wipe away the sanding dust with a damp cloth. Let the surface dry.
Shake your plastic-bonding spray paint and apply a light, even coat over the patch. Add a second coat if needed to blend it seamlessly.
Step-by-Step Fix Guide: Replacing a Damaged Panel
Sometimes, learning how to repair vinyl fence sections means replacing a shattered piece entirely. Here is how you tackle a full panel swap.
Step 1: Detach the Old Panel
Look closely at how the horizontal rails connect to the posts. Most snap into place using internal clips or tabs.
Use a screwdriver to press the tabs inside the post slot while gently pulling the rail outward. Do this for the top and bottom rails.
Step 2: Remove the Damaged Piece
Once the rails are free, carefully pull the entire damaged section out. Lay it flat on the ground.
If only one vertical picket is broken, slide the pickets out of the rails until you reach the broken one. Swap it with a new picket.
Step 3: Install the New Panel
If you are replacing the whole section, lift the new panel into place. Slide the bottom rail into the post slots first.
Push firmly until you hear the tabs click into place. Repeat this process for the top rail.
Step 4: Check for Plumb
Grab your level and place it against the newly installed section. Make sure everything sits perfectly straight.
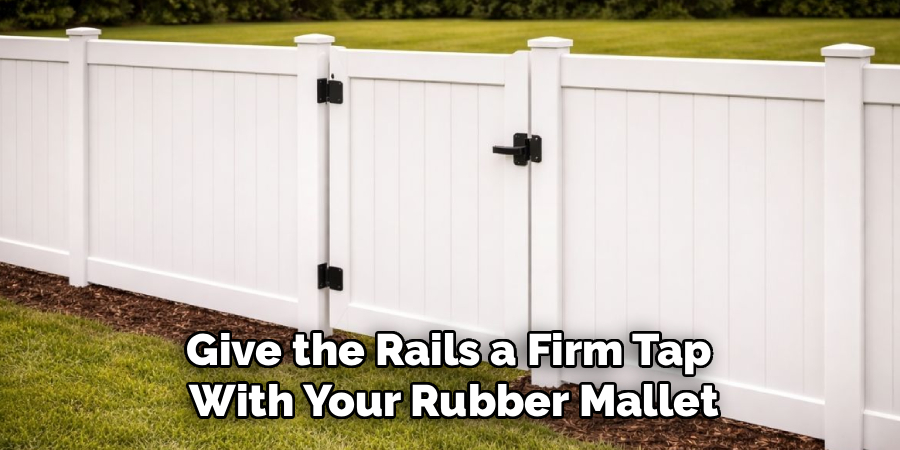
Give the rails a firm tap with your rubber mallet if they need to be seated deeper into the posts.
Safety Warnings
DIY projects are fun, but safety always comes first. Protect yourself from common hazards while working.
Always wear safety glasses when sanding or cutting plastic. Tiny shards can easily fly into your eyes.
Wear gloves when handling expanding foam and body filler. These chemicals are very sticky and can irritate your skin.
Work in a well-ventilated area. Spray paint and PVC cements release strong fumes that you should not breathe in heavily.
When to Call a Professional
Most patching and panel swapping is easy for the average person. However, some situations require a pro.
Call an expert if heavy winds have uprooted multiple posts from their concrete footings. Digging out and repouring concrete requires heavy labor.
Reach out to a contractor if your yard sits on a steep slope. Grading and leveling new sections on uneven terrain can be incredibly complex.
Finally, hire help if the damage stretches across more than three or four panels. A professional crew will save you days of exhausting work.
Cost Estimate: DIY vs. Professional Repair
Money is the biggest reason people fix things themselves. Let us look at the potential savings.
If you patch a small hole yourself, materials like foam, filler, and paint will cost you about $30 to $50. Replacing a single panel DIY style usually costs $100 to $150 for the part.
If you hire a professional, patching a hole might run you $150 to $250 due to minimum labor charges.
Having a pro replace a single section often costs between $300 and $500. Doing the work yourself keeps hundreds of dollars in your pocket.
Frequently Asked Questions
Can you use Bondo to fix a vinyl fence?
Yes, you absolutely can. Auto body filler like Bondo works perfectly for filling holes and cracks in rigid plastic. It dries hard and is easy to sand and paint.
What is the best glue for vinyl fences?
PVC cement is the best choice for gluing broken plastic pieces back together. It chemically melts and bonds the plastic for a permanent, waterproof hold.
Can you paint over vinyl fencing?
Yes, but you must use the right paint. Choose a spray paint or exterior paint specifically formulated to bond with plastic to prevent peeling and flaking.
Does homeowners insurance cover this damage?
It depends on the cause. If a tree falls on it or a storm wrecks it, your policy might cover the replacement. It usually will not cover standard wear and tear.
Conclusion
Fixing a damaged yard boundary does not have to be a stressful or expensive ordeal. Now that you know how to repair vinyl fence damage, you can tackle the project with total confidence.
Whether you are filling a tiny hole from a rogue lawnmower or swapping out a wind-battered panel, you have the skills to handle it. Take your time, follow the steps, and work safely.
You will save a ton of money and feel great every time you look at your flawless yard. Grab your tools today, head outside, and give your property the care it deserves!