

That favorite leather chair, jacket, or bag that’s started to crack? You don’t have to toss it or pay a pro to bring it back. Learning how to repair crack leather is a satisfying weekend project that saves money and breathes new life into pieces you love. Whether it’s a worn sofa cushion or a scuffed boot, small cracks usually start on the surface, which means you can fix them at home with a few simple supplies.
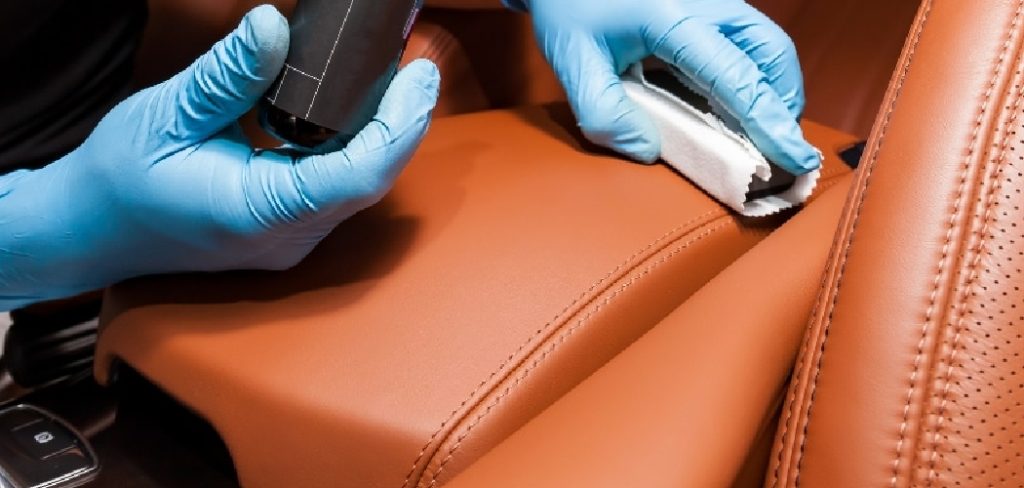
Cracked leather happens when natural oils dry out and the fibers stiffen. Once you understand that, the repair makes a lot more sense. This guide walks you through every step, from cleaning to sealing, so you can restore cracked leather confidently and get years more use out of your favorite items.
Why Repairing Cracked Leather Matters
If you camp, hike, or spend weekends outdoors, you know leather takes a beating. Boots get soaked, gloves dry stiff by the fire, and gear bags crack from sun and dirt. Learning this repair skill keeps your equipment reliable when you’re far from a store.
For beginners, it builds confidence fast. You don’t need a workshop or fancy gear, just patience and a little practice. Once you’ve fixed one crack, you’ll spot worn leather everywhere and know exactly how to handle it.
Beyond camping, the skill pays off at home too. Renters can rescue thrift-store finds, and homeowners can revive expensive furniture instead of replacing it. Every repair saves money, cuts waste, and keeps gear you trust in service longer. That’s a win for your wallet and the planet.
Tools and Materials You’ll Need
Gather your supplies before you start so the job flows smoothly. Here’s everything you’ll want within reach:
- Mild leather cleaner or a gentle soap-and-water mix for surface prep
- Soft cloths for cleaning and buffing
- Fine-grit sanding pad (around 600 grit) to smooth rough edges
- Leather filler or repair compound to fill the cracks
- Small palette knife or spatula for applying filler
- Leather colorant matched to your item’s shade
- Leather conditioner to soften and restore the fibers
- Protective finish or sealant to lock in your repair
- Painter’s tape to protect surrounding areas
- Disposable gloves to keep hands clean
- Optional: a hair dryer to speed drying between coats and make the whole project faster
A clean, well-lit workspace rounds out your setup nicely.
Step-by-Step Guide on How To Repair Crack Leather
Step 1 – Clean the surface thoroughly
Start by wiping the leather with a damp cloth to lift away dust and grime. Then apply a small amount of mild leather cleaner and work it in with gentle circles. You’ll feel the surface go from gritty to smooth as the dirt lifts.
This surface prep step matters more than people think. Leftover oils or dust stop filler and colorant from bonding, which leads to repairs that peel later. Take your time here.
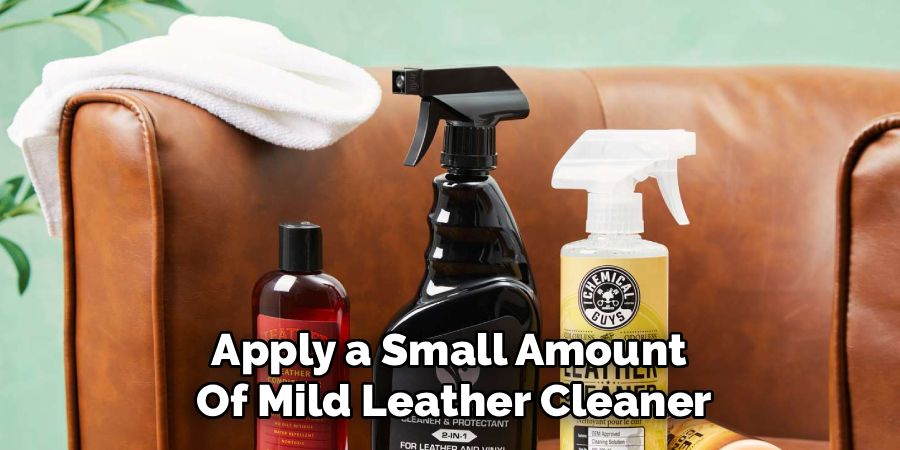
Once cleaned, let the leather dry completely. Patience pays off, so resist the urge to rush. A truly clean, dry surface gives every following step a solid foundation. When the leather feels cool and matte to the touch, you’re ready to move on.
Step 2 – Sand the cracked area
Grab your fine-grit sanding pad and lightly buff the cracked sections. Use feather-light pressure and small motions. You’re not trying to remove material, just knocking down rough, flaky edges so the surface feels even under your fingertips.
Listen for the soft, whispery sound of the pad gliding across the leather. If you hear scratching, ease up. Heavy sanding can thin the leather and create new damage.
Wipe away the fine dust with a dry cloth afterward. Run your hand across the spot and you should feel a smoother transition between cracked and healthy leather. This smoothing helps the leather filler sit flush later, giving you a cleaner, more invisible repair once everything dries.
Step 3 – Mask the surrounding area
Before you apply anything, protect the leather around your repair zone with painter’s tape. Press the edges down firmly so filler and colorant stay exactly where you want them.
This small step keeps your work tidy and saves cleanup time. Stray colorant on healthy leather is a pain to remove and can ruin an otherwise clean job.
Take a moment to plan your repair boundaries too. Decide how far the cracked upholstery extends and tape just beyond it. You want full coverage of the damage without bleeding onto good leather.
When the tape is set, the area should look framed and ready. This bit of prep makes the messy steps ahead feel controlled and confident.
Step 4 – Apply the leather filler
Scoop a small amount of leather filler onto your palette knife. Spread it thinly across the cracks, pressing gently so the compound settles deep into each groove. You’ll watch the lines start to disappear as the filler levels out.
Work in thin layers rather than one thick blob. Thin coats dry faster and crack less, giving you a stronger result. Drag the knife flat to smooth the surface as you go.
Wipe excess filler from the edges before it sets. The repair compound should sit flush with the surrounding leather, not raised or sunken. Knowing how to repair crack leather well comes down to this patience with thin, even layers. Let each coat dry before adding another.
Step 5 – Let it dry and sand again
Give the filler plenty of time to cure. Most products need a few hours, though a hair dryer on low heat speeds things up nicely. Hold it a few inches away and keep it moving so you don’t scorch the surface.
Once fully dry, the filler should feel firm and look slightly dull. Now lightly sand the repaired area again with your fine-grit pad. This levels any tiny ridges and blends the patch into the surrounding leather.
Run your fingertips over the spot. It should feel seamless, with no bumps catching your skin. Wipe away dust with a clean cloth. A smooth, even base here makes the color blend beautifully in the next step.
Step 6 – Match and apply colorant
Choose a leather colorant that matches your item’s shade as closely as possible. Test a tiny dab on a hidden spot first to confirm the match before committing to the visible repair.
Apply the colorant in thin, even coats using a sponge or soft cloth. Dab rather than wipe to build coverage gradually. You’ll see the patched area slowly blend with the worn leather around it, almost like magic.
Let each coat dry, then add another until the color looks uniform. Two or three light layers usually beat one heavy coat. Rushing this leaves streaks or patchy tones that stand out. When the repaired area matches its surroundings under good light, you’ve nailed it.
Step 7 – Condition the leather
Now bring softness back to the leather. Apply a quality leather conditioner with a clean cloth, working it in with small circles. You’ll feel the surface drink it up, especially around the once-cracked spots that had dried out.
Conditioner replaces the natural oils that leather loses over time. Without it, your repaired leather can stiffen and crack again. Think of this as feeding the material so it stays flexible and strong.
Let the conditioner soak in for the time the product recommends, then buff away any excess with a dry cloth. The leather should look richer and feel supple, not greasy. This step protects your hard work and keeps the whole piece healthier for years.
Step 8 – Seal with a protective finish
Finish strong by applying a protective finish over the repaired area. This sealant locks in the color and shields your repair from water, dirt, and daily wear.
Spread a thin, even layer with a clean cloth or sponge. Move slowly and watch for full coverage without pooling. A light touch keeps the finish from looking glossy or uneven.
Allow the sealant to dry completely before using the item again. Rushing this risks smudging all your careful work. Once cured, the surface should feel smooth and slightly protected to the touch.
Step back and admire the result. The crack should be nearly invisible, and the leather should look refreshed and ready for everyday life again.
Critical Mistakes When Repairing Cracked Leather
The biggest mistake people make is skipping proper surface prep. If you apply filler over dirt or oils, nothing bonds correctly, and the repair peels within weeks. Always clean and dry the leather fully before you touch the filler. It feels slow, but it’s the foundation of a lasting fix.
Another common slip is applying filler or colorant too thickly. Thick layers look smooth at first, then crack and flake as they dry. Thin, patient coats always win. Build up gradually and let each layer cure before adding more.
Many beginners also forget to test colorant before applying it. A mismatched shade stands out badly and is hard to undo once it’s on. Always test on a hidden spot first to confirm the match.
Skipping conditioner is a quieter mistake but a costly one. Dry leather cracks again fast, undoing all your effort. Feed the leather so it stays flexible.
Finally, don’t rush drying times. Impatience smudges colorant and weakens the protective finish, leaving you to redo the whole job.
Expert Tips
Work in good natural light whenever you can. Color matching looks completely different under warm indoor bulbs, and a daylight check helps you blend the repair so it disappears.
Keep a spare cloth handy for every stage. Switching between cleaning, filling, and conditioning with the same rag spreads residue and muddies your results.
When matching color, mix two shades if your exact tone isn’t available. A little patience blending colorant gives you a far better match than settling for “close enough.”
Test your repair compound on an old leather scrap before tackling the real piece. You’ll learn how it spreads and dries without pressure.
Finally, condition all your leather goods a few times a year, not just when they crack. Regular care prevents most damage before it starts, saving you future repairs.
Frequently Asked Questions
How long does a leather crack repair last?
A well-done repair can last several years, especially with regular care. Longevity depends on three things:
- Quality of prep: clean, dry surfaces bond best
- Thin application: light layers of filler and colorant resist cracking
- Ongoing conditioning: feeding the leather a few times a year keeps it flexible
Skip the maintenance and cracks may return sooner. Treat your repaired item gently and recondition it regularly to stretch the results far longer.
Can I fix deep cracks or only surface ones?
Surface cracks are the easiest to fix at home, and most repairs fall into this category. Deeper cracks that expose the leather’s inner layers need extra filler and more coats, but they’re often still doable. The key is patience, building thin layers until the groove fills. If a crack goes completely through the leather, a patch backing may be needed before filling.
Do I need special tools to repair cracked leather?
No fancy tools required. A soft cloth, fine-grit sanding pad, palette knife, and basic repair products cover most jobs. The most important “tool” is patience. A hair dryer helps speed drying, but it’s optional. Most beginners already own half the supplies, and the rest are affordable at any hardware or craft store.
Will the repaired area match the rest of the leather?
It can match very closely when you take your time. The secret is testing colorant on a hidden spot first and applying thin, even coats until the shade blends with the worn leather around it. Checking your match in natural daylight makes a big difference. Mismatches usually come from rushing or applying color too heavily in one go.
How do I stop leather from cracking again?
Prevention comes down to moisture and protection. Cracks form when leather dries out, so condition your items two or three times a year to keep the fibers supple. Keep leather away from direct sunlight and heat sources, which speed drying. Wipe up spills quickly, and apply a protective finish on high-use areas. Consistent, gentle care prevents most future cracking.
Conclusion
Bringing cracked leather back to life is easier than it looks, and incredibly rewarding. With a clean surface, a little leather filler, a matched colorant, and a protective finish, you can rescue chairs, jackets, boots, and bags you thought were done for. The process rewards patience above all, so work in thin layers, let everything dry, and never skip the conditioning that keeps leather soft.
Remember the big lessons: prep thoroughly, build color gradually, and test before you commit. Avoid the rush that ruins so many first attempts. Once you’ve completed one repair, you’ll see just how manageable the whole thing really is.
Now that you know how to repair crack leather, you’ve got a skill that saves money, reduces waste, and keeps your favorite gear in service for years. So grab that worn item you’ve been meaning to fix, set up your supplies, and give it a try. Your future self will thank you every time you reach for that piece and find it good as new.