

Notice a few crumbling bits of concrete in your fireplace, or water stains creeping down your interior walls? Those clues often point straight to the top of your chimney. The crown is that flat slab of concrete or mortar sitting at the very top, and it’s your home’s first line of defense against rain, snow, and ice.
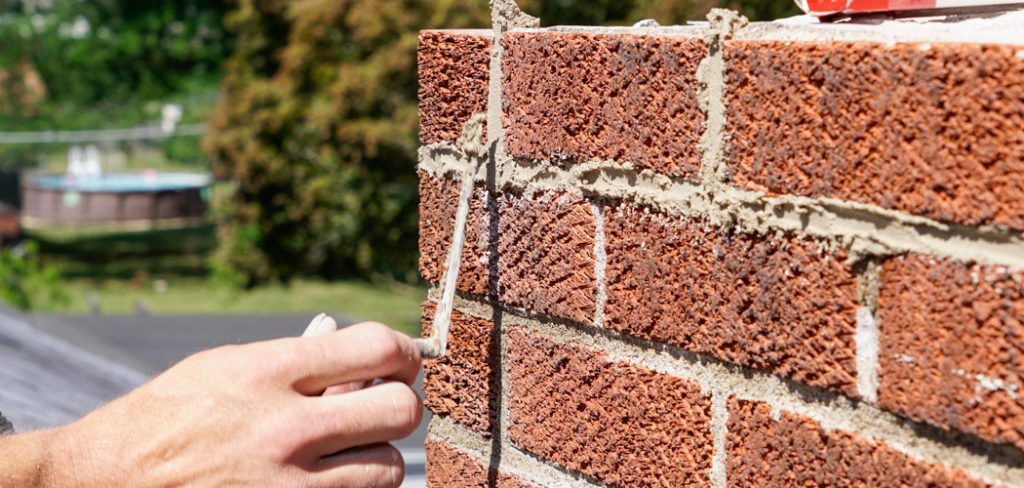
Over the years, weather wears it down, and small cracks turn into big problems. The good news is that you can handle how to repair chimney crown with patience and the right materials. You don’t need to be a mason to seal cracks and stop water from sneaking in. This guide walks you through the entire process, step by step, so you can protect your chimney and your home with confidence.
Why Learning Chimney Crown Repair Matters
Knowing how to fix a cracked crown saves you serious money and prevents far worse damage down the road. Water that seeps through tiny cracks freezes, expands, and tears your masonry apart over time. Catching the problem early means you avoid costly repairs to the flue, the flashing, and even your ceilings.
For homeowners, this skill protects one of your biggest investments. For renters and DIY beginners, it builds real confidence working at heights and with masonry sealant.
There’s a bonus for outdoor lovers, too. The same patching and waterproofing skills carry over to camping gear, stone fire pits, and cabin maintenance. Once you understand how to seal against water and survive a freeze-thaw cycle, you’ll spot and fix similar trouble almost anywhere.
Tools and Materials You’ll Need
Gather everything before you climb up, because nobody wants to make extra trips on a ladder. Here’s what gets the job done:
- Crown repair sealant or crown coating – a flexible, waterproof coating made for this job
- Wire brush – to scrub away loose debris and crumbling concrete
- Putty knife or trowel – for spreading and smoothing material
- Caulk gun and masonry caulk – to fill larger gaps and seal edges
- Stiff broom or shop vacuum – to clear dust before you start
- Work gloves and safety glasses – masonry dust is rough on skin and eyes
- Sturdy extension ladder – rated for your height and weight
- Painter’s tape – to keep lines clean around the flue
- A roofing harness (optional) – an extra layer of roof safety that’s well worth it
Lay everything out and double-check the weather forecast first.
Step-by-Step Guide on How To Repair Chimney Crown
Step 1 – Inspect the crown and assess the damage
Climb up safely and take a slow, close look at the crown. You’re searching for hairline cracks, chips, and spots where the concrete has flaked away. Run your fingers along the surface, and you’ll feel the rough, gritty texture where weather has chewed it up.
Pay attention to the edges and the area around the flue, since water loves to pool there. Larger cracks wider than a quarter-inch need filling before you coat anything.
Check the flashing and chimney cap while you’re up there, too. If they’re loose or rusted, note it for later. A thorough inspection now tells you exactly what materials you’ll need and saves you from surprises halfway through the job.
Step 2 – Wait for the right weather
Timing matters more than people expect. You want a dry, mild day with no rain in the forecast for at least 24 to 48 hours. Most coatings and sealants need that window to cure properly.
Aim for temperatures between 50 and 80 degrees. Too cold, and the material won’t set right. Too hot, and it dries before you can spread it smoothly.
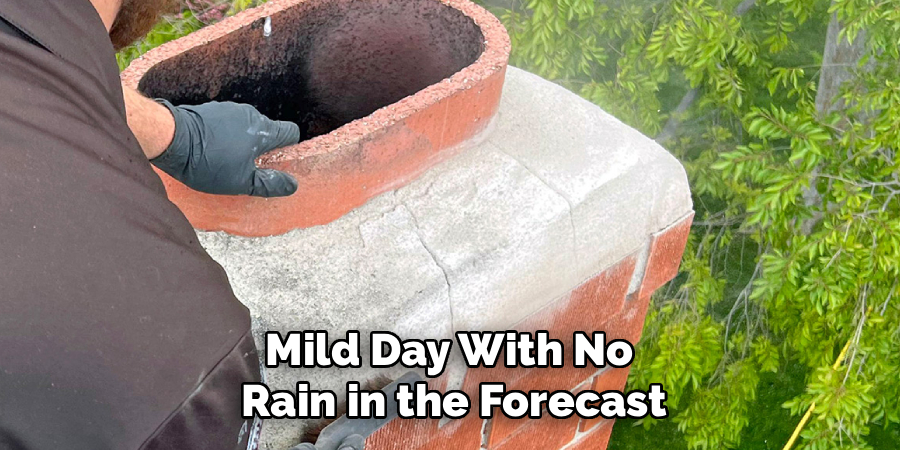
Check the sky and the humidity before you commit. Working on a calm morning gives you the best results and the safest footing. A damp or windy day makes ladder work risky and ruins your sealant, so patience here pays off in a stronger, longer-lasting repair.
Step 3 – Clean the surface thoroughly
A clean crown is the secret to a bond that lasts. Grab your wire brush and scrub the entire surface hard, knocking off every loose chip and bit of crumbling concrete. You’ll hear the grit scrape away and see fresh, solid material underneath.
Sweep up the debris with a stiff broom, then follow with a shop vacuum to catch the fine dust. Any leftover grit stops the coating from sticking.
Wipe down the area around the flue and let everything dry completely. If you skipped Step 2 and the surface is even slightly damp, stop and wait. Clean, dry concrete grips the new material tightly, and that’s exactly what protects against future water damage.
Step 4 – Fill the larger cracks and gaps
Now tackle the bigger problems. Load your caulk gun with masonry caulk and press it deep into any crack wider than a hairline. Run a steady bead along the gap, then smooth it with a putty knife so it sits flush with the surface.
Work the caulk firmly into each crack so it reaches the bottom, not just the top. A surface-only fill pops out the first time the freeze-thaw cycle hits.
Pay special attention to the joint where the crown meets the flue. That seam is a common leak point. Wipe away excess with your finger or a damp rag, then give the caulk the time the label recommends before moving on.
Step 5 – Tape off the flue and edges
Before you spread any coating, protect the parts you don’t want covered. Press painter’s tape around the base of the flue tile and along the outer edges of the crown. This keeps your lines crisp and your flue clean.
Run your finger firmly along each strip so the tape seals down tight. Sloppy taping lets coating bleed underneath, and peeling it off later gets messy.
This small step makes a big difference in how professional your finished work looks. It also keeps coating off the chimney cap and brickwork below. Take five extra minutes here, and you’ll thank yourself when you peel the tape away to reveal clean, sharp edges.
Step 6 – Apply the waterproof coating
Here’s where your work really starts to show. Stir the crown coating well, then spread an even layer across the entire surface with a trowel or brush. Push it into the small hairline cracks and feather it smoothly over the flat areas.
Aim for a consistent thickness, about an eighth of an inch, with no thin spots or puddles. You’ll smell the slightly tarry scent of the sealant as you work, and the surface will turn a uniform color.
Knowing how to repair chimney crown surfaces well comes down to this layer, so take your time. Coat right up to the taped edges and around the flue base. A complete, even coat is what seals out water for years.
Step 7 – Smooth, slope, and check coverage
A good crown sheds water away from the flue, so shape your coating with a gentle slope toward the outer edges. Drag your trowel outward in smooth strokes, guiding water off the surface rather than letting it pool.
Step back and scan for missed spots, bubbles, or thin areas. The surface should look glossy and continuous, with no bare concrete peeking through.
Touch up anything that looks uneven while the material is still workable. Press lightly with the trowel to flatten ridges and bubbles. This final shaping step is what separates a quick patch from a proper chimney crown repair that genuinely protects your home through harsh seasons.
Step 8 – Remove tape and let it cure
While the coating is still slightly wet, gently peel away the painter’s tape at a low angle. Pull slowly to reveal clean, sharp lines around the flue and edges. Waiting too long lets the coating dry to the tape and tears your neat work.
Now leave it alone. Most coatings need a full day or two to cure completely, and rain during that window ruins everything.
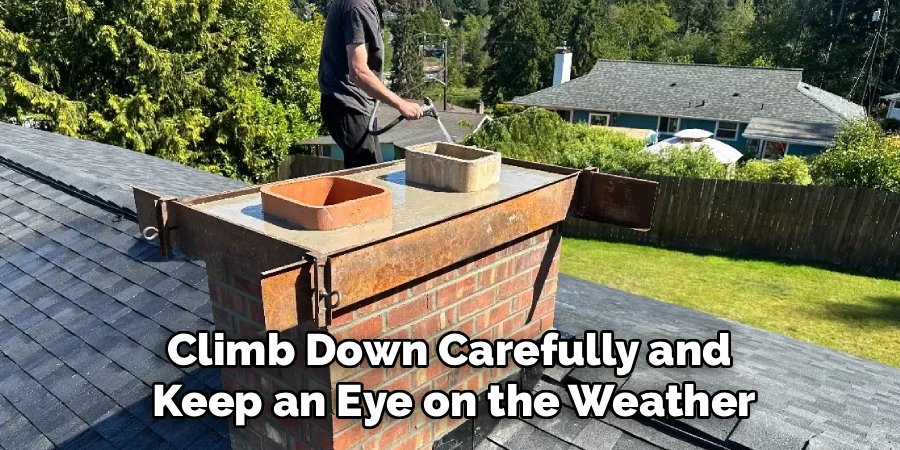
Climb down carefully and keep an eye on the weather. Once it’s fully cured, the surface feels hard and looks uniform. Learning how to repair chimney crown slabs always ends the same way: with patience while the material sets into a tough, waterproof shield.
Critical Mistakes When Repairing a Chimney Crown
The biggest mistake is ignoring roof safety. People focus so hard on the crown that they forget how dangerous heights are. Always use a sturdy, properly rated ladder, work with a spotter when possible, and consider a harness. No repair is worth a fall, so never rush your footing or lean out past your balance.
Another common error is coating over a dirty or damp surface. Loose debris and moisture stop the sealant from bonding, and within a season it peels right off. Scrub the crown clean and let it dry fully before you spread anything, even if that means waiting another day.
Many beginners also apply the coating too thin or in patchy layers. Skimping leaves gaps where water sneaks in, defeating the whole purpose. Aim for an even, generous layer that covers every inch.
Skipping the larger cracks is a costly shortcut, too. A thin coating won’t bridge a wide gap, so fill those with masonry caulk first. Finally, plenty of folks pick the wrong day. Working in rain, cold, or extreme heat keeps the material from curing, wastes your effort, and forces you to do the entire job over again.
Expert Tips
Always test your footing and secure your ladder on solid, level ground before climbing. Roof safety beats speed every single time.
While you’re up there, inspect the flashing and chimney cap, too. Sealing a perfect crown does little good if water pours in through rusted flashing or a missing cap right beside it.
Buy a little more coating than you think you need. Running short halfway through forces an awkward second trip and leaves a visible seam where the layers meet.
Keep a damp rag in your pocket to wipe stray sealant off your hands and the flue as you go. Cleanup is far easier before the material sets.
And here’s a pro habit worth adopting: snap a few photos of the finished crown. Next year, you’ll spot any new hairline cracks instantly by comparing.
Frequently Asked Questions
How often should I repair or reseal my chimney crown?
Inspect your crown at least once a year, ideally in the fall before heavy weather hits. A well-applied waterproof coating typically lasts several years, but harsh climates wear it faster. Watch for these warning signs:
- New hairline cracks or flaking concrete
- Water stains on interior walls or the ceiling
- Pooling water around the flue after rain
Catching small issues early keeps repairs quick and cheap.
Can I repair a chimney crown myself, or do I need a pro?
Many crown repairs are well within reach for a confident DIYer, especially sealing cracks and applying coating. If you’re comfortable on a ladder and the damage is limited to surface cracks, you can handle it. Call a professional when the crown is severely crumbling, structurally failing, or when the flue and flashing need major work. Knowing your limits keeps both you and your chimney safe.
What’s the difference between the chimney crown and the chimney cap?
The crown is the solid concrete or mortar slab that covers the top of the masonry and sheds water away from the structure. The chimney cap is the metal cover with mesh sides that sits over the flue opening. The cap keeps out rain, animals, and debris, while the crown protects the masonry itself. You often need both working together for full protection.
How long does the coating take to cure?
Most crown coatings need 24 to 48 hours to cure fully, though they may feel dry to the touch sooner. The exact time depends on the product, the temperature, and the humidity. Always check the label and avoid any repair if rain is expected within that window. Rushing the cure or letting it get wet too soon ruins the bond and forces you to start over.
Will sealing the crown stop my chimney from leaking?
Sealing a cracked crown often stops leaks, but only if the crown is actually the source. Water also sneaks in through damaged flashing, a missing chimney cap, or deteriorating mortar joints. Before you celebrate, inspect all those areas, too. A thorough waterproof coating on a clean, properly prepped crown blocks one major entry point, but address every weak spot for a truly dry chimney.
Conclusion
Fixing the top of your chimney is one of those projects that feels intimidating until you break it into clear steps. Inspect the damage, wait for dry weather, clean the surface well, fill the larger cracks, then spread an even waterproof coating with a gentle slope. Peel the tape, let it cure, and you’ve built a tough shield against rain, snow, and the freeze-thaw cycle.
The real secret to a lasting chimney crown repair is patience and prep. Clean, dry concrete and a generous, even coat beat any rushed shortcut. Pair that with solid roof safety habits, and you’ll protect your home for years.
You don’t need to hire someone for every fix at the top of your house. With the right materials and a careful approach, you can stop water damage before it starts and save real money in the process. The next time you spot a hairline crack up there, you’ll know exactly what to do. Grab your gear, pick a clear day, and protect your chimney with your own two hands.