

That sinking feeling when your favorite mug slips from your hand and shatters on the tile? We’ve all been there. The cracked pottery scattered across the floor feels like a loss, but here’s the good news: most broken ceramic pieces can be saved with a little patience and the right approach.
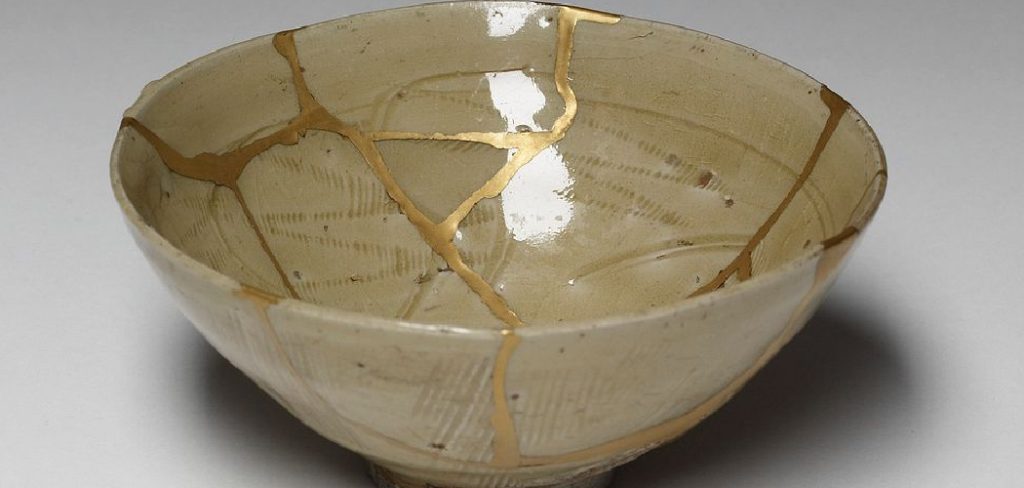
Learning how to repair ceramics is one of the most satisfying skills you can pick up, and you don’t need fancy equipment or a professional studio. Whether it’s a chipped mug, a cracked vase, or a beloved serving bowl, you can bring it back to life right at your kitchen table. This guide walks you through the entire process, from prepping the pieces to letting the glue cure, so you can fix your treasures yourself with confidence.
Why Learning Ceramic Repair Matters
Knowing how to mend a broken dish saves you money and keeps sentimental items in your life. Replacing a handmade bowl or an heirloom plate isn’t always possible, and tossing it out feels wasteful. For homeowners, renters, and DIY beginners, this skill turns a frustrating accident into a quick afternoon project.
There’s an environmental win, too. Every repaired piece is one less thing in the landfill, and that adds up over time.
It’s handy beyond the kitchen, as well. Campers and outdoor lovers often deal with chipped enamelware or cracked ceramic gear far from any store. Knowing a simple fix means you’re never stuck. Best of all, repairing something with your own hands brings a quiet pride that buying new just can’t match.
Tools and Materials You’ll Need
You probably have half of this list already. Gather everything before you start so you’re not hunting for supplies with sticky fingers:
- Ceramic or epoxy adhesive – a two-part epoxy gives the strongest, most durable bond
- Disposable gloves – to keep glue off your skin and oils off the breaks
- Toothpicks or small applicators – for spreading adhesive precisely
- Painter’s tape – to hold pieces in place while they set
- Fine-grit sandpaper – for smoothing rough edges and dried glue
- A soft, clean cloth – to wipe away dust and excess adhesive
- Cotton swabs and rubbing alcohol – to clean each surface before bonding
- Clamps or rubber bands (optional) – they hold awkward shapes steady so you can walk away while the bond cures
Lay out a flat work surface with good lighting. A little prep makes the whole job smoother.
Step-by-Step Guide on How To Repair Ceramics
Step 1 – Gather and inspect all the broken pieces
Start by collecting every fragment, even the tiny slivers. Spread them out on a clean towel so nothing rolls away or gets lost. Good lighting helps here, so work near a window or under a bright lamp.
Run your fingers gently along the broken edges. You’ll feel which pieces fit together by the way the jagged lines match up. Sharp shards can nick you, so handle them carefully.
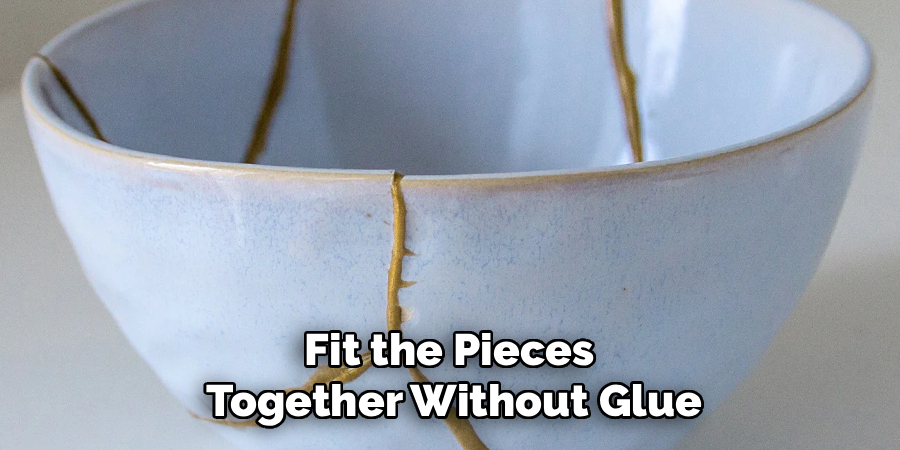
Take a moment to do a dry run. Fit the pieces together without glue, like a puzzle, to see how they connect and in what order. Knowing how to repair ceramics well starts with understanding exactly how the breaks line up before any adhesive touches the surface.
Step 2 – Clean every surface thoroughly
Dust, grease, and old residue are the enemies of a strong bond. Dip a cotton swab in rubbing alcohol and wipe down each broken edge. You’ll see grime lift away, leaving a clean, dull surface that glue can grip.
For a chipped mug that held coffee for years, this step matters even more. Oils soak into porcelain and ceramic over time, and they’ll weaken your repair if you skip the cleaning.
Let each piece air-dry completely. Any moisture left behind interferes with the adhesive and creates weak spots. Give it a few minutes, then run a dry fingertip across the edge to confirm it feels clean and free of dust before you move on.
Step 3 – Choose the right adhesive for the job
Not every glue works for every break. For dishes you’ll eat from, pick a food-safe epoxy. For decorative pieces, a strong two-part epoxy gives you the best hold and a longer working time.
Read the label and note the cure time. Some set in five minutes, which feels rushed for beginners. Others take longer but give you room to adjust the pieces, which is exactly what you want.
Squeeze out only what you need onto a scrap surface. Epoxy with two parts requires mixing equal amounts until the color turns uniform. You’ll smell a sharp, chemical scent, so crack a window. The right adhesive choice sets the foundation for a repair that actually lasts.
Step 4 – Apply adhesive to the broken edges
Now for the careful part. Using a toothpick, spread a thin, even layer of adhesive along one broken edge. Thin is key here. Too much glue squeezes out and creates a messy, raised seam that’s hard to hide.
Work on one joint at a time, especially if you’re piecing together several broken ceramic pieces. Trying to glue everything at once leads to slipping and frustration.
Coat just the surface where the pieces meet. You want enough to bond but not so much that it oozes across the visible glaze. If you’re fixing cracked pottery with a hairline split, work the adhesive gently into the crack so it reaches deep inside for a solid hold.
Step 5 – Press and align the pieces firmly
Bring the two edges together and press them with steady, even pressure. You’ll feel them settle into place as the jagged lines lock together. Hold for a minute or two so the adhesive grabs.
A little glue will likely squeeze out along the seam. That’s normal. Wipe it away immediately with a cotton swab before it hardens, because dried epoxy is much tougher to remove later.
Check the alignment from several angles. Even a slight shift throws off the whole shape, and porcelain seams show every misstep. If something looks off, gently reposition while the glue is still wet. Getting this alignment right is what separates a clean, near-invisible fix from an obvious one.
Step 6 – Secure with tape or clamps and let it cure
Some breaks won’t stay put on their own, especially curved surfaces or a chipped mug handle. This is where painter’s tape and clamps save the day. Wrap tape snugly across the seam to hold everything in position.
For trickier shapes, gentle clamps or even rubber bands work wonders. Just don’t crank them too tight, or you’ll crack the piece all over again.
Now comes the hard part: waiting. Set the piece somewhere safe and let it cure for the full time listed on the label. Rushing this stage ruins all your careful work. Most epoxies need several hours, and a full day gives you the strongest, most reliable bond.
Step 7 – Sand and smooth the repaired area
Once the adhesive is fully cured, peel off the tape and inspect your work. You’ll probably find a thin ridge of dried glue along the seam. Fine-grit sandpaper smooths it down beautifully.
Sand gently in small circles, checking often with your fingertip. The goal is a seam that feels flush with the surrounding glaze, not a divot or a bump. Go slow, since aggressive sanding scratches the surrounding finish.
Wipe away the dust with a damp cloth to see your progress clearly. The seam should nearly disappear under good light. For decorative items, you can touch up the spot with matching paint or glaze if you want, but a smooth, clean line often looks great on its own.
Step 8 – Inspect, clean, and let it rest
Give your finished piece a final once-over. Check the seam from every angle and run your hand across it to feel for rough spots you may have missed. A clean repair feels smooth and looks tidy.
Wipe the whole item down with a soft cloth to remove sanding dust and fingerprints. The piece should look refreshed and ready.
Resist using it right away, even though it’s tempting. Let the repair rest an extra day to reach full strength, particularly for anything that holds water or food. After that, hand-wash gently rather than tossing it in the dishwasher. Treated kindly, your mended piece can serve you faithfully for years to come.
Critical Mistakes When Repairing Ceramics
The most common slip-up is rushing the cure time. We get it, you want to use your favorite bowl again. But pulling off the tape early or putting the piece to work before the adhesive fully sets guarantees a weak bond that pops apart at the worst moment. Patience here pays off every single time.
Another frequent error is using too much glue. Beginners often think more adhesive means a stronger hold, but the opposite is true. Excess epoxy squeezes out, creates an ugly raised seam, and actually pushes pieces apart. A thin, even layer always wins.
Skipping the cleaning step trips up a lot of people, too. Dust, grease, and old food oils sit invisibly on the surface and stop the adhesive from gripping. Always wipe each edge with rubbing alcohol and let it dry first.
Many folks also grab the wrong glue. Using a basic craft glue on a dinner plate won’t survive water or heat, and it isn’t safe for food contact. Match your adhesive to the item’s purpose.
Finally, forcing mismatched pieces together damages the edges and ruins the fit. Take your time aligning them correctly instead of muscling them into place.
Expert Tips
Work in a warm, dry room whenever possible. Cold or humid air slows the cure and weakens the bond, so timing your project for a mild day helps.
Keep a damp cloth within reach at all times. Wiping squeezed-out glue the instant it appears saves you tedious sanding later.
For valuable or sentimental items, practice on a cheap broken plate first. A quick trial run builds your confidence and your technique before you tackle the real treasure.
If you’re repairing something that holds water, run a quick leak test after curing. Fill it over a sink and watch the seam closely.
And here’s the part people miss: less is always more. Thin glue layers, gentle pressure, and slow alignment beat heavy-handed effort. Treat each piece with care, and your results will look surprisingly professional.
Frequently Asked Questions
Is repaired ceramic safe to eat or drink from?
It depends on the adhesive you use. For mugs, plates, and bowls that touch food, choose a glue clearly labeled food-safe and non-toxic once cured. Even then, keep these tips in mind:
- Avoid placing the seam directly against hot liquids when possible
- Hand-wash instead of using the dishwasher
- For heavily used items, consider decorative-only repairs
When in doubt, reserve mended dishes for display.
How long does ceramic glue take to fully cure?
Most two-part epoxies set within five to thirty minutes but need much longer to reach full strength. Plan on letting the piece rest for 24 hours before using it, especially for items that hold water or food. The label gives you the exact cure time, so always check it. Rushing this step is the number one reason repairs fail, so patience truly makes the difference here.
Can I fix a hairline crack without taking the piece apart?
Yes, and it’s easier than you’d think. For a thin crack, gently work a runny epoxy or specialized ceramic adhesive into the split so it seeps deep inside. Wipe away the excess right away, then tape across the crack to hold it closed while it cures. Let it set fully before handling. This works beautifully on cracked pottery that hasn’t fully separated into pieces.
What’s the best glue for a chipped mug handle?
A strong two-part epoxy is your best bet for a handle, since it bears weight and stress every time you lift the mug. Clean both surfaces thoroughly, apply a thin layer, press firmly, and tape or clamp the handle in place while it cures. Give it a full day before testing. If the chip is missing a piece entirely, epoxy putty can rebuild the gap.
How do I hide the repair seam on porcelain?
Start by sanding the cured glue flush with fine-grit sandpaper until the seam feels smooth. Wipe away the dust, then touch up the line with matching enamel paint or a dab of food-safe glaze. Build color slowly in thin coats for the most natural blend. On white porcelain, a careful paint match can make the seam almost vanish under normal lighting.
Conclusion
Bringing a broken treasure back to life is more satisfying than you might expect. Once you’ve gathered your pieces, cleaned every edge, chosen the right adhesive, and pressed everything carefully into place, the rest is mostly patience. Let it cure fully, sand the seam smooth, and give it time to rest before putting it back to work. That’s the entire process from start to finish.
The real secret to learning how to repair ceramics is taking it slow. Thin glue layers, gentle pressure, and a full cure time protect your work and reward you with a repair that lasts. Pair those habits with a clean surface and the right epoxy, and you’ll fix chips and cracks like a pro.
You’ve got everything you need to save that favorite mug or heirloom bowl yourself, no professional required. The next time something slips and shatters, you won’t reach for the trash can. You’ll reach for your glue, trust the steps, and enjoy the quiet pride of fixing it with your own two hands.