

Few things bug a homeowner more than a patio that dips in all the wrong places. You walk across it, feel that little stumble, and notice a puddle sitting where the surface should be flat. Sunken pavers happen to almost everyone with a paved walkway or patio, and the good news is you don’t need a pro to fix them. With a few basic tools, some patience, and a free afternoon, you can lift, level, and reset those stones like new. Learning how to repair sunken pavers saves you money and gives your outdoor space a smooth, safe finish again. This guide walks you through every step, from spotting the cause to locking everything back in place, so your patio looks great and stays level for years.
Why Repairing Sunken Pavers Matters
A dipping patio is more than an eyesore. Those low spots collect rainwater, and over time that standing water creates drainage problems that loosen even more stones. Uneven patio pavers also turn into tripping hazards, especially for kids, older family members, and anyone carrying a tray of drinks outside.
For homeowners and outdoor beginners, fixing these dips is one of the most rewarding starter projects you can tackle. You learn how a paver base works, how settling soil affects your yard, and how proper compaction keeps surfaces flat. These skills carry over to walkway repair, garden edging, and future patio repair jobs. Best of all, a level patio boosts curb appeal and protects your investment. Once you understand the basics, you’ll feel confident handling small outdoor fixes without ever calling a contractor.
Tools and Materials You’ll Need
Gather everything before you start so you’re not running to the hardware store mid-project. Most of these items are affordable and reusable for future yard work.
Here’s what you’ll need:
Pry bar or two flathead screwdrivers
Rubber mallet
Garden trowel or small shovel
Stiff-bristle broom
Bucket
Long level (a 4-foot level works best)
Hand tamper or wood block
Leveling sand or paver sand
Compacted gravel or crushed stone for the base
Polymeric sand for the joints
Work gloves and knee pads
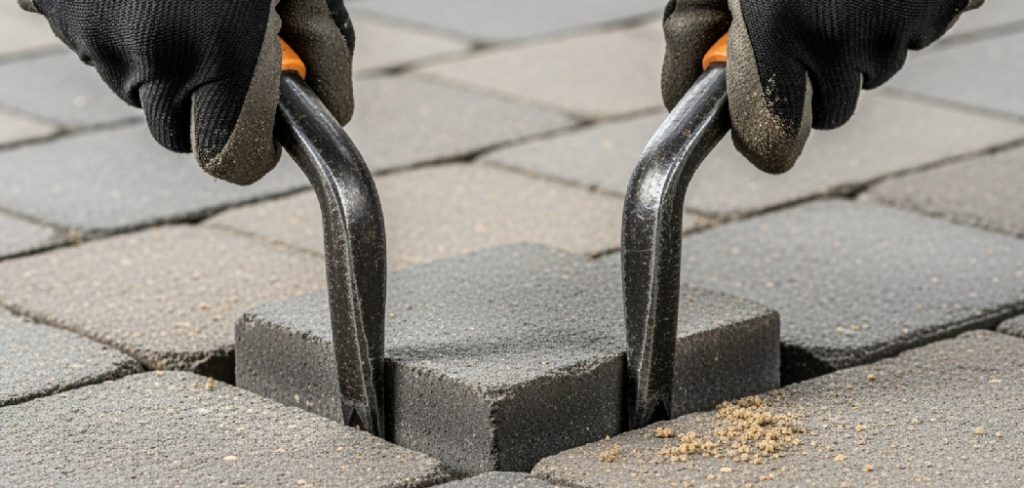
Optional but handy: a pair of paver extraction tools, which grip stones cleanly and save your fingertips from scraping against gritty edges. They make lifting tight pavers far easier and speed up the whole job, especially on larger patios.
Step-by-Step Guide on How to Repair Sunken Pavers
Take your time with each step. Rushing the base work is the number one reason repairs fail, so slow and steady wins here.
Step 1 – Inspect and Mark the Sunken Area
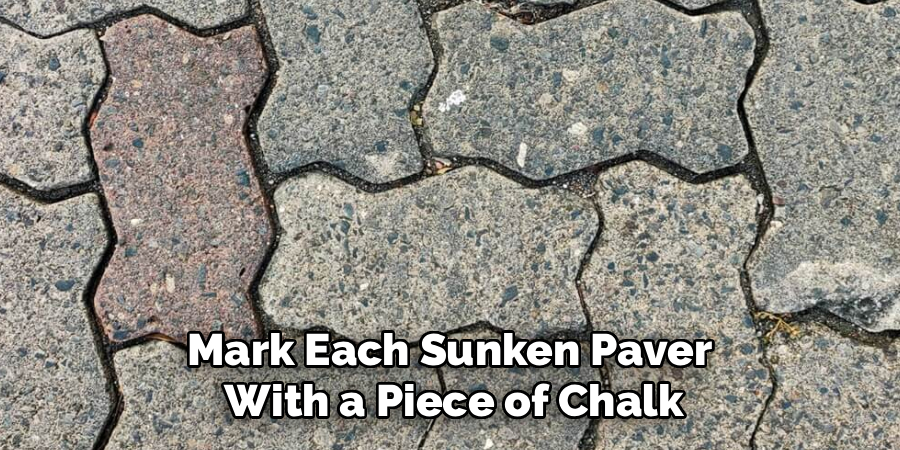
Start by walking your patio slowly and watching for dips. Lay your long level across suspicious spots and look for the gap underneath. You’ll feel the wobble before you see it, so trust your feet too. Mark each sunken paver with a piece of chalk or a small sticky note so you don’t lose track once the dust starts flying.
Pay attention to where water pools after rain. Those puddles usually point to drainage problems or settling soil beneath the surface. Knowing how to repair sunken pavers begins with understanding why they sank in the first place. A quick inspection now saves you from lifting the wrong stones and doing twice the work later.
Step 2 – Remove the Affected Pavers
Slide your pry bar or two flathead screwdrivers into the joint on either side of a sunken paver. Wiggle gently and lift straight up. The first stone is always the trickiest because the joints grip tight, but once one comes free the rest follow easily.
Set each paver aside in the order you remove them, almost like puzzle pieces. This makes resetting them a breeze later. You’ll feel grit and old sand cling to the bottoms, which is normal. If a paver cracks or chips while you pull it, set it aside as a replacement candidate. Work calmly, since prying too hard can snap the edges of good stones you want to reuse.
Step 3 – Dig Out and Inspect the Base
Once the pavers are out, you’ll see the base material underneath. Scoop away the loose leveling sand with your trowel until you reach the firmer gravel layer. Run your fingers through it and notice the texture. Good paver base feels dense and slightly damp, while failed base feels soft, muddy, or washed out.
This is where most dips begin. Settling soil, poor compaction, or water erosion hollow out the base and let stones drop. Dig a little deeper if you spot mushy spots, removing anything that crumbles or smells musty. You want a clean, stable foundation before adding fresh material. A solid base is the secret to a repair that actually lasts.
Step 4 – Fix Drainage and Add Fresh Gravel
If you noticed pooling earlier, now is the moment to fix it. Slope the base slightly away from your house, about a quarter inch of drop per foot. This gentle grade lets rainwater run off instead of sinking back into the soil and causing future drainage problems.
Pour in fresh compacted gravel or crushed stone to rebuild the missing depth. Spread it evenly with your trowel, then press it down firmly. The gravel should crunch and settle as you tamp it. Adding material in thin layers gives you better control than dumping it all at once. Take a minute to eyeball the slope from a few angles, since drainage corrections here prevent the same sinking from happening again.
Step 5 – Compact the Base Firmly
This step makes or breaks your repair. Grab your hand tamper or a sturdy wood block and pound the gravel until it feels rock solid underfoot. You’re aiming for a surface so firm that pressing your boot into it leaves no dent.
Compact in small sections, working from the edges toward the center. Listen for the sound to change from a dull thud to a sharp, tight pack. That shift tells you the base is ready. Loose gravel will shift again within months, so don’t skimp on muscle here. A properly compacted base supports the weight of foot traffic, furniture, and weather for years, keeping your patio repair from turning into a repeat project next season.
Step 6 – Spread and Level the Sand
Now add a layer of leveling sand on top of your firm gravel. Aim for about one inch of thickness, spreading it smooth with your trowel. The sand should feel slightly gritty and hold its shape when you press it, not run through your fingers like dry beach sand.
Drag a straight board or your level across the surface to create an even bed. This screeding motion smooths out high and low spots so your pavers sit flat. Take your time matching the height of the surrounding stones. If the sand sits too high, your repaired pavers will bulge; too low, and you’re back where you started. A clean, level sand bed is what makes uneven patio pavers finally line up.
Step 7 – Reset the Pavers and Tap Them Level
Place each paver back in its original spot, following the order you laid them out earlier. Lower them gently rather than dropping them, since a hard landing pushes sand unevenly underneath.
Set your long level across the repaired stones and the surrounding ones. Where a paver sits high, give it a few firm taps with the rubber mallet until it drops flush. Where it sits low, lift it, sprinkle a little more sand beneath, and reset it. You’ll feel the satisfying moment when each stone clicks into a flat, snug fit with its neighbors. Run your palm across the surface to check for ridges. Smooth pavers mean you’ve nailed the leveling.
Step 8 – Lock the Joints with Polymeric Sand
Finish strong by sealing the gaps. Pour polymeric sand over the repaired area and sweep it into the joints with your stiff-bristle broom. Work it back and forth until every gap is packed tight and the surface looks clean.
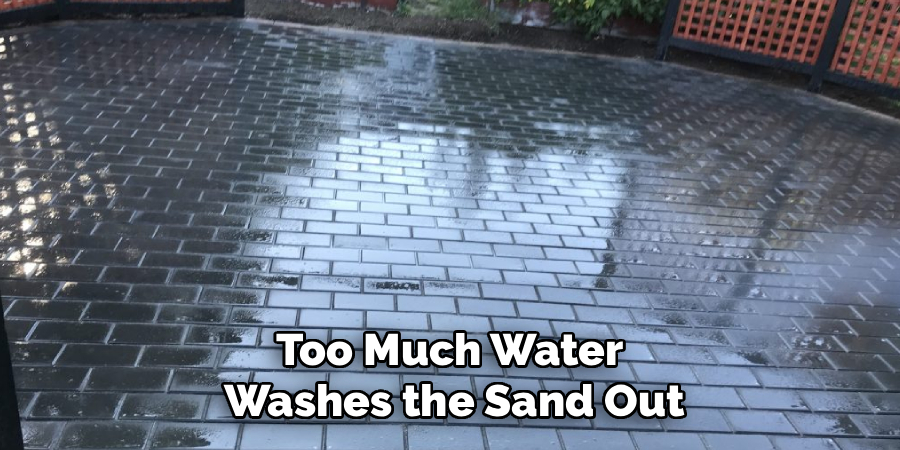
Sweep away the leftover dust so it doesn’t haze your pavers, then lightly mist the area with water. The polymeric sand hardens as it dries, locking your stones in place and blocking weeds. Avoid soaking it, since too much water washes the sand out. Let everything cure overnight before walking across it. Once set, this final layer keeps your pavers from shifting again and gives your patio that crisp, finished look.
Critical Mistakes When Repairing Sunken Pavers
The biggest mistake people make is skipping proper compaction. They rebuild the base, drop the pavers back, and call it done. Without firmly tamping the gravel and sand, the stones sink again within a season. Always pack each layer until it feels solid, because loose material is the root of nearly every failed repair.
Another common slip is ignoring the cause of the dip. If settling soil or poor drainage created the problem, simply leveling the pavers treats the symptom, not the disease. Fix the slope and address pooling water, or you’ll repeat the job soon.
People also rush the sand bed. An uneven layer of leveling sand throws off every paver above it, leaving you with new bumps. Screed carefully and check with your level often.
Finally, many beginners use regular sand instead of polymeric sand for the joints. Regular sand washes out, invites weeds, and lets stones wander. Spend a little extra on the right product, mist it correctly, and your patio repair will hold strong for years.
Expert Tips
Work on a dry, mild day so your sand stays easy to handle and your polymeric sand cures properly. Damp weather makes everything clumpy and slows the whole project down.
Keep a small bucket of extra leveling sand nearby for quick adjustments. You’ll constantly tweak paver heights, and having sand within reach speeds things up.
When checking level, set your tool in several directions, not just one. Pavers can look flat side to side but still tilt front to back. A few extra checks save you from redoing the work.
For larger jobs, rent a plate compactor instead of using a hand tamper. It compacts gravel faster and more evenly, which matters for big patios. Finally, snap a before photo. It helps you match the original pattern and feels great to compare once you’re finished.
Frequently Asked Questions
Why do pavers sink in the first place?
Pavers sink when the material beneath them shifts or erodes. The most common causes include:
- Settling soil that compresses over time
- Poor drainage that washes out the base
- A base that was never compacted properly during installation
Heavy rain, tree roots, and constant foot traffic speed up the process. Fixing the underlying cause, not just the surface, is the only way to keep your repair from sinking again.
How long does a paver repair take?
A small section of three to five pavers usually takes two to three hours, including base work and cleanup. Larger areas or full walkway repair jobs can stretch across a weekend. Most of your time goes into digging out the base and compacting it properly. Don’t rush these steps, since careful prep is exactly what makes the repair last for many years.
Can I reuse my old pavers?
Yes, in most cases you can reuse them. Brush off the old sand, check each stone for deep cracks, and set aside any that are badly chipped. Solid pavers go right back into place, saving you money. Only replace stones that are broken or crumbling. Matching new pavers to weathered ones can be tricky, so reusing originals keeps your patio looking consistent.
What sand should I use between pavers?
Use polymeric sand for the joints. It hardens when misted with water, locking your pavers in place and blocking weed growth. Regular sand washes away in the first heavy rain and lets stones drift apart. For the base layer beneath the pavers, use leveling sand or paver sand instead. Each type does a different job, so don’t swap one for the other.
How do I stop pavers from sinking again?
Prevention comes down to a strong, well-drained foundation. Focus on these:
- Compact every layer of gravel and sand firmly
- Create a slight slope so water drains away
- Seal the joints with polymeric sand
Address any drainage problems near the area too. When the base is solid and water flows away properly, your pavers stay flat and stable for the long haul.
Conclusion
Fixing a dipping patio is far more doable than it looks, and now you have a clear roadmap to follow. You’ve learned how to spot the cause, lift the stones, rebuild and compact the base, level the sand, and lock everything in with polymeric sand. The real secret isn’t fancy tools, it’s patience with the base work and a careful eye on your level.
Take pride in the smooth, safe surface you create. No more puddles, no more stumbles, and no more staring at those frustrating low spots every time you step outside. Knowing how to repair sunken pavers turns a yearly headache into a quick, confident fix you can handle anytime.
So grab your gloves, pick a dry afternoon, and start with that one stubborn dip you’ve been ignoring. Once you feel that first paver click back into a flat, solid fit, you’ll wonder why you waited so long. Your patio, your walkway, and your weekend guests will all thank you for it.