

Are you waking up to find your pool water level dropping faster than usual? You might have a leak on your hands.
Losing a little water to evaporation or splashing is completely normal. But a steady, unexplained drop in water level is a massive headache.
Figuring out how to repair swimming pool leaks yourself can save you a fortune. Professional leak detection and repair bills can easily ruin your summer budget.
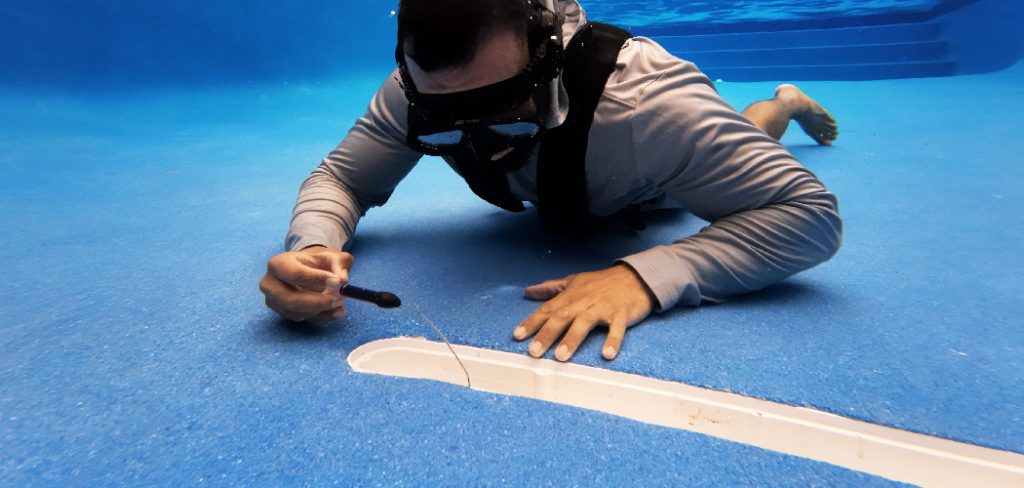
The good news is that most common pool leaks are incredibly easy to fix. You do not need to be a master plumber to get your backyard oasis back in shape.
With a few simple tools and a free afternoon, you can track down the culprit. Let us dive in and fix that leak together so you can get back to relaxing.
What Causes This Problem?
Pool leaks rarely happen without a reason. Understanding the root cause helps prevent future issues.
Here are five common reasons your pool might be losing water:
- Tears in the vinyl liner: Sharp objects, pet claws, or just general wear and tear can puncture a pool liner.
- Cracks in the concrete or plaster: Ground shifting and freezing temperatures can cause the pool shell to crack.
- Deteriorated skimmer seals: The plastic skimmer housing can separate from the pool wall over time.
- Plumbing blockages or breaks: Underground PVC pipes can crack due to root intrusion or settling dirt.
- Broken pump or filter components: Worn-out O-rings and cracked pump housings often lead to steady drips.
Tools & Materials Needed
Before you learn how to repair swimming pool leaks, gather your supplies. Having everything nearby makes the job much easier.
Here is what you need for a basic DIY pool repair:
- A plastic bucket (for the bucket test)
- Dark food coloring or pool leak detection dye
- Swimming pool patch kit (for vinyl pools)
- Underwater pool putty or epoxy (for concrete/plaster pools)
- Pool skimmer seal or silicone sealant
- A pair of goggles or a diving mask
- A clean rag or soft sponge
- Scissors (for trimming patches)
- A weighted object (like a brick)
How to Repair Swimming Pool Leaks: Step-by-Step Fix Guide
Ready to get to work? We will break this down into simple, manageable steps.
This guide covers the most common repairs for vinyl and concrete pools. Take your time, and do not rush the preparation.
Step 1: Confirm the Leak with the Bucket Test
First, we need to prove that you actually have a leak. Evaporation can trick you into thinking your pool is broken.
Grab a standard five-gallon plastic bucket. Fill it with pool water until it is about two inches from the top.
Place the bucket on the second step of your pool stairs. The water inside the bucket should be the same temperature as the pool water.
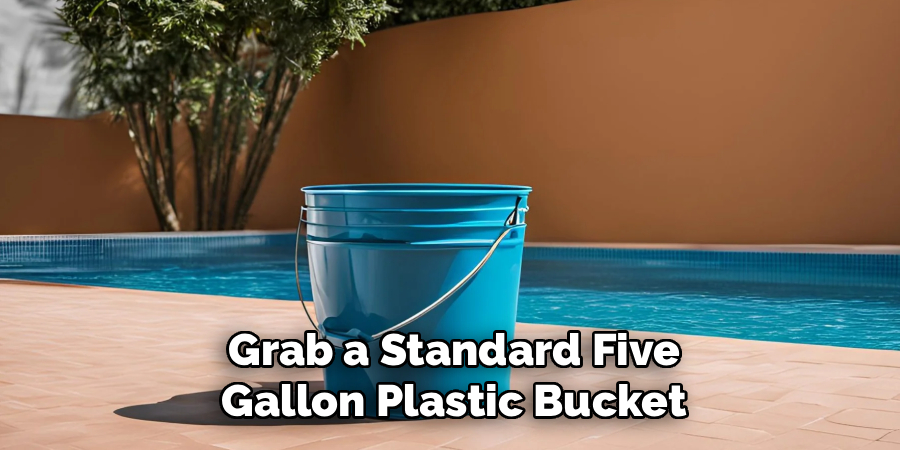
Mark the water level on the inside of the bucket with tape or a marker. Then, mark the pool’s water level on the outside of the bucket.
Wait 24 hours. If the pool water level drops significantly more than the bucket water, you have a leak.
Step 2: Locate the Leak with the Dye Test
Now you know there is a leak, but where is it? Turn off your pool pump to make the water completely still.
Put on your goggles and grab your leak detection dye. You can also use dark food coloring if you prefer.
Slowly squirt a small amount of dye near suspected leak areas. Check around the skimmer, return jets, pool lights, and any visible cracks.
Watch the dye closely. If there is a leak, the water current will pull the dye directly into the crack or tear.
Mark the exact spot with a piece of waterproof tape or a heavy object. Now you are ready to patch it up.
Step 3: Prep the Repair Area
Preparation is the key to a permanent fix. Do not skip this step!
Take your soft rag or sponge underwater. Gently scrub the area around the leak to remove algae, dirt, and sunscreen oils.
If you are patching a vinyl liner, the surface must be totally smooth. For concrete, ensure there is no loose plaster or debris in the crack.
The cleaner the surface, the better your patch or putty will adhere. Take an extra minute to get it right.
Step 4: Apply the Patch or Putty
The repair method depends on your pool type.
For Vinyl Liners: Cut a circular or oval patch from your kit. Square corners tend to peel off underwater.
Apply a generous amount of waterproof adhesive to the patch. Fold the patch in half (glue side to glue side) and bring it underwater.
Unfold it right over the tear and press down firmly. Smooth out any air bubbles from the center toward the edges.
For Concrete or Plaster Pools: Break off a piece of underwater pool putty. Knead it in your hands until the color is uniform.
Push the putty directly into the crack, working it deep into the gap. Smooth the surface with your thumb so it sits flush with the pool wall.
Step 5: Test Your Skimmer and Fittings
Sometimes the pool shell is fine, but the skimmer is the problem.
Check the gap where the plastic skimmer meets the pool wall. If you see separation, pool putty or underwater silicone is your best friend.
Squeeze the sealant into the gap to create a watertight bond. Smooth it out with your finger for a clean finish.
Step 6: Let It Cure and Retest
Your patch or putty needs time to bond properly.
Keep swimmers out of the pool for at least 24 hours. Do not brush or vacuum near the repaired area.
After a day or two, repeat the bucket test. If the water levels drop evenly, congratulations! You have successfully fixed the leak.
Safety Warnings
DIY repairs are fun and rewarding, but safety always comes first. Keep these warnings in mind before diving in.
Never mix different types of pool chemicals while searching for a leak. Chemical reactions can be incredibly dangerous.
If you are checking the pool light for leaks, always turn off the breaker first. Water and electricity are a deadly combination.
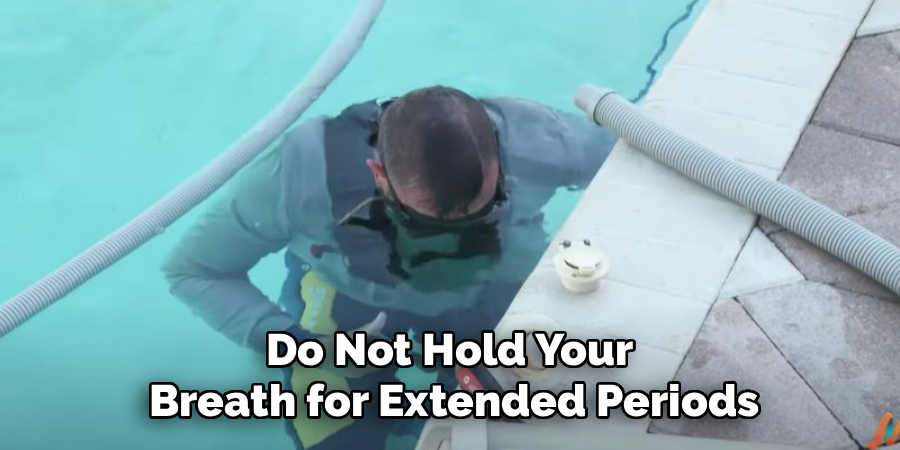
Do not hold your breath for extended periods while patching deep leaks. Have a buddy watch you from the deck just in case.
Avoid using sharp tools near vinyl liners. One slip of a screwdriver can turn a tiny hole into a massive tear.
When to Call a Professional
Not every leak can be fixed on a Saturday afternoon. It is important to know your limits.
Call a pro if you cannot find the leak after trying the dye test multiple times. You might have an underground plumbing break.
If your concrete pool has a massive structural crack that spans several feet, do not use putty. This requires professional resurfacing.
Soggy grass in your yard or unexplained spikes in your water bill usually point to underground pipe issues. Plumbers have specialized sonic equipment to detect these hidden leaks.
There is no shame in calling for backup. Sometimes handing it over to a technician saves you money in the long run.
Cost Estimate: DIY vs. Pro
One of the best parts about learning how to repair swimming pool leaks is the cost savings.
A DIY vinyl patch kit usually costs between $10 and $20. A two-part underwater pool putty runs about $15 to $25.
Adding in leak detection dye and basic supplies, your total DIY cost is rarely over $40.
On the other hand, a professional pool technician charges for labor, travel, and materials.
Professional leak detection alone can cost $300 to $500. Having a pro patch a vinyl liner or seal a skimmer often brings the total bill to $400 or more.
By spending $40 and an hour of your time, you can easily save hundreds of dollars.
Frequently Asked Questions
Can I patch a pool leak while the pool is full?
Yes, you absolutely can! Most vinyl patch kits and two-part epoxy putties are designed specifically for underwater use. You do not need to drain your pool.
How do I find a leak without using dye?
If you do not have dye, you can use dark liquid food coloring. Alternatively, you can let the pool leak until it stops; the water level will naturally rest just below the leak.
Will duct tape fix a swimming pool leak?
Duct tape is not a permanent fix for a pool leak. It might hold for a day or two, but pool chemicals and water will quickly break down the adhesive.
How long does underwater pool putty take to dry?
Underwater putty typically hardens within 45 to 60 minutes. However, it takes a full 24 hours to cure completely, so wait before brushing the area.
Conclusion
Finding a puddle where it shouldn’t be is stressful for any homeowner. But now you know exactly how to repair swimming pool leaks without panicking.
By using the bucket test and a little dye, you can easily track down the culprit. Patching it up with a kit or putty is a quick, beginner-friendly task.
You just saved yourself hundreds of dollars and a ton of hassle. Your pool is officially ready for the weekend!
Do you have other things around the house that need fixing? Browse our other DIY repair guides to keep your home in perfect shape all year round!