

Nothing ruins your day quite like hearing the sharp crack of glass in your kitchen. You stare down at your sleek stove, and there it is—a nasty scratch or a terrifying web of cracked glass.
Don’t panic just yet. You are definitely not the first homeowner to face this exact kitchen disaster.
If you are wondering how to repair glass cooktop surfaces on your own, you have come to the right place. Hiring an appliance repair technician can cost a small fortune in labor fees alone.
By taking the DIY route, you can save hundreds of dollars and get your kitchen back in working order. I am going to walk you through exactly how to handle this, step by step.
Grab your tools, take a deep breath, and let’s get your stove looking brand new again.
What Causes Glass Cooktop Damage?
Before we dive into the fix, it helps to understand why your stove got damaged in the first place. This knowledge will help you prevent future heartbreaks once your repair is complete.
Here are the most common culprits behind glass cooktop damage:
- Dropping heavy cookware: A cast-iron skillet slipping from your grip is the number one cause of shattered stove glass.
- Dragging rough pots and pans: Sliding heavy or unglazed cookware across the surface leads to ugly, deep scratches.
- Thermal shock: Placing a freezing cold pot on a blazing hot burner can cause the glass to crack instantly.
- Burnt-on sugar spills: Sugary foods actually fuse with the glass as they cool, leading to pitting and micro-cracks if scraped aggressively.
- Abrasive cleaning pads: Using steel wool or harsh scouring pads will ruin the smooth finish and leave hazy scratch marks.
- Trapped moisture: Using a wet pot on a hot element can sometimes cause micro-fractures due to rapid steam expansion.
Tools & Materials Needed for the Fix
Having the right gear is the secret to a smooth, stress-free repair project. You do not want to be halfway through a step and realize you are missing something crucial.
Gather these items before you begin.
For Minor Scratches and Blemishes:
- Baking soda
- Soft microfiber cloths
- Non-abrasive sponge
- Glass cooktop polishing cream
- Buffing pad
For Full Glass Replacement (Cracks and Shatters):
- Replacement glass main top (specific to your stove’s model number)
- Screwdriver set (Phillips and flathead)
- Work gloves (safety first with broken glass)
- Putty knife or scraper
- Nut driver set (commonly 1/4-inch)
- Two sturdy sawhorses or a large, clear workspace
- Masking tape to secure loose glass
Step-by-Step Fix Guide: How to Repair Glass Cooktop Scratches
If your stove only has minor scratches, you are in luck. You do not need to replace the entire top.
Here is how you can polish those annoying blemishes away and restore that mirror-like shine.
Step 1: Clean the Surface Completely
You cannot fix a scratch if there is grease and grime in the way. Wipe down the entire stove with a dedicated cooktop cleaner.
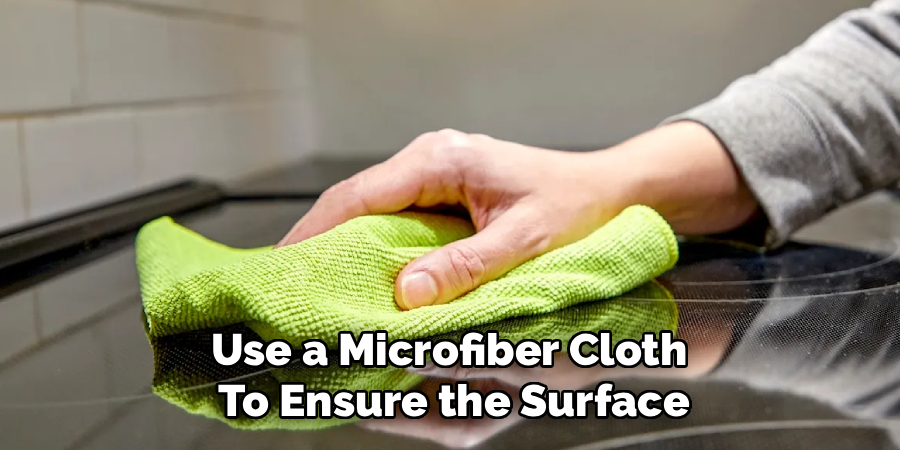
Use a microfiber cloth to ensure the surface is completely dry and free of debris.
Step 2: Mix Your Baking Soda Paste
Grab a small bowl and mix two tablespoons of baking soda with just enough water to form a thick paste.
You want the consistency to feel like wet toothpaste. Baking soda is a mild abrasive that will gently buff out shallow scratches without harming the glass.
Step 3: Apply and Buff the Paste
Apply the paste directly onto the scratched area. Use a soft, damp cloth to rub the paste in gentle, circular motions.
Do not press down too hard. Let the baking soda do the heavy lifting for you.
Step 4: Wipe Clean and Inspect
Use a clean, damp cloth to wipe away the baking soda residue. Dry the area completely.
If the scratch is gone, great! If it is still visible, you can repeat the process one more time.
Step 5: Apply Commercial Polish
For a flawless finish, apply a few drops of commercial glass cooktop polish. Buff it into the glass using a dry microfiber cloth.
This seals the surface and leaves your stove looking factory-fresh.
Step-by-Step Fix Guide: How to Repair Glass Cooktop Cracks (Full Replacement)
If your glass is cracked or shattered, there is no magic glue that can safely fix it. You absolutely must replace the glass top to prevent fire hazards and electrical shocks.
Replacing the main top sounds intimidating, but it is actually a straightforward process of removing screws and swapping the part. Let’s tackle it together.
Step 1: Disconnect the Power
This is the most critical step. Unplug your stove from the wall outlet completely.
If it is hardwired or you cannot reach the plug, go to your breaker box and flip the switch to turn off power to the kitchen range. Never skip this step.
Step 2: Open the Oven Door and Remove Screws
Open your oven door and look up under the lip of the main cooktop. You will usually find two to three screws holding the glass top to the frame.
Use your Phillips screwdriver to remove these screws and set them aside in a safe spot.
Step 3: Lift and Prop the Glass Top
Gently lift the front edge of the glass cooktop. It should lift up on a hinge, similar to the hood of a car.
Prop it up using a sturdy piece of wood or a specialized support rod if your stove includes one.
Step 4: Disconnect the Burner Element Brackets
Look underneath the glass top. You will see the heating elements attached to the glass via metal support brackets.
Take a quick photo with your phone so you remember exactly how everything is positioned. Use your nut driver to remove the screws holding the burner brackets to the glass.
Step 5: Lower the Heating Elements
Once the screws are out, gently lower the heating element assembly so it rests on the bottom frame of the stove.
Do not pull or tug on the fragile electrical wires connected to the burners.
Step 6: Remove the Old Glass Top
Lower the glass cooktop back down slightly. Carefully unhook it from the rear hinges.
Lift the broken top away from the stove. Be extremely careful, and wear gloves to protect your hands from sharp edges.
Step 7: Install the New Glass Top
Take your shiny new replacement glass top and align it with the rear hinges of the stove.
Slide it into place and lift the front up, propping it open just like you did with the old one.
Step 8: Reattach the Heating Elements
Reference the photo you took earlier. Lift the heating element assembly up to the bottom of the new glass top.
Line up the mounting brackets and drive the screws back in using your nut driver. Make sure the elements are snug and properly centered.
Step 9: Secure the Front Screws
Remove your prop and lower the new cooktop completely flat against the frame.
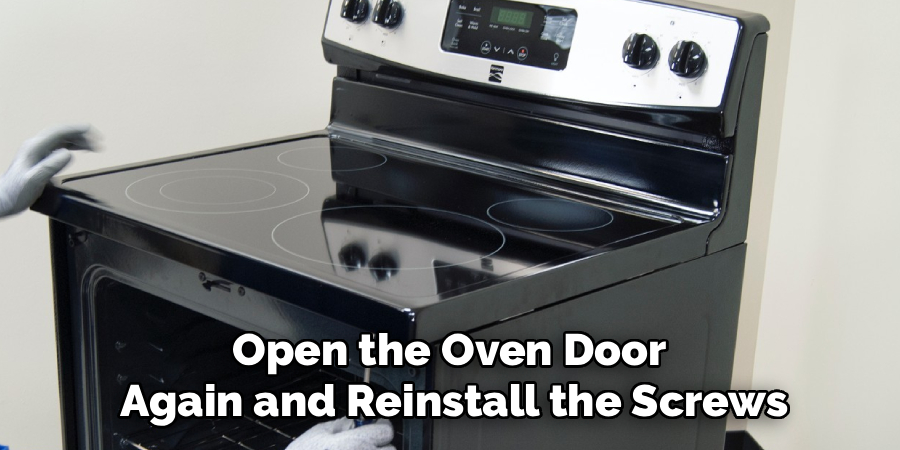
Open the oven door again and reinstall the screws you removed in Step 2. Tighten them down securely, but do not overtighten and risk cracking your new glass.
Step 10: Restore Power and Test
Plug your stove back in or flip the breaker back to the “on” position.
Turn on each burner one by one to ensure they heat up properly. Congratulations, you just completed a major appliance repair!
Important Safety Warnings for This Repair
Working with appliances is highly rewarding, but you need to respect the risks involved. Taking shortcuts can lead to injuries or further damage to your home.
Keep these essential safety tips in mind.
Never repair a cracked top with glue or epoxy. High heat will melt standard adhesives, releasing toxic fumes or causing a fire. Cracked tops must always be fully replaced.
Always verify the power is off. Do not just trust the knobs are in the off position. Unplug the unit or flip the breaker, and use a multimeter if you want to be completely certain.
Wear protective gear. Shattered stove glass is incredibly sharp. Heavy-duty work gloves and safety glasses are non-negotiable when moving a broken main top.
Handle the new glass gently. Tempered glass is strong against flat impacts but incredibly vulnerable at the edges. Never tap the edge of your new glass against a hard counter.
When to Call a Professional Technician
I love helping folks tackle DIY projects, but part of being a smart homeowner is knowing when to call in backup.
You should definitely reach out to a professional appliance repair service if your stove is still under the manufacturer’s warranty. DIY repairs will instantly void most active warranties.
Call a pro if you notice scorch marks, melted wires, or a burning plastic smell when you open the top. Electrical damage requires a trained technician to ensure your house is safe from fire hazards.
Finally, call a pro if you simply do not feel comfortable handling heavy glass or using tools. There is absolutely no shame in paying for peace of mind.
Cost Estimate: DIY vs. Professional Repair
Money talks, and knowing the financial difference can help you make the best choice for your kitchen.
Here is a quick breakdown of what you can expect to spend.
DIY Repair Costs
If you are just polishing out minor scratches with baking soda and commercial polish, you will spend less than $15.
If you need to replace the entire glass top, the part itself will cost between $150 and $400, depending on your brand and model. Since you are providing the labor, your total cost stops right there.
Professional Repair Costs
Hiring a pro means paying for the part plus a hefty markup, along with a trip charge and hourly labor rates.
A professional glass cooktop replacement usually ranges from $400 on the low end to over $800. In some cases, paying a pro costs almost as much as buying a brand-new stove.
Frequently Asked Questions
You likely still have a few lingering thoughts before you grab your tools.
Here are the most common questions homeowners ask when learning how to repair glass cooktop surfaces.
Can you cook on a cracked glass cooktop?
No, you should never cook on a cracked glass stove. Spills can seep through the cracks, short out the electrical components, and cause a dangerous fire or electrocution.
Can toothpaste fix scratches on a glass stove?
Yes, whitening toothpaste contains mild abrasives that can buff out very light surface scratches. Just rub it in with a soft cloth and wipe it clean.
How do I find the right replacement glass for my stove?
Open your oven door or check the back of the appliance to find the metal tag with your model number. Type that exact model number into an appliance parts website to find the correct glass top.
Will auto glass repair kits work on my stove?
No, windshield repair resin is not designed to withstand the extreme, direct heat of a stove element. It will fail quickly and create a worse mess.
How do I prevent my new glass top from getting scratched?
Always lift pots instead of dragging them, clean spills immediately after the stove cools, and only use cookware with flat, smooth bottoms.
Conclusion
Learning how to repair glass cooktop damage might feel intimidating at first, but it is entirely manageable.
Whether you are buffing out an annoying scratch with baking soda or replacing an entire cracked top, you have the power to fix this yourself. You will save a ton of money and gain serious DIY bragging rights in the process.
Take your time, prioritize safety, and follow the steps closely. Your kitchen will be back to hosting family dinners in no time.
Ready to tackle more home repairs? Bookmark our site and check out our other appliance fix guides to keep your house running smoothly!