

Are you staring at a frustrating puncture in your favorite fishing vessel? Don’t panic.
Learning how to repair hole in aluminum boat is easier than you might think. Many boat owners assume a puncture means the end of their boating season.
That simply is not true. You can fix most small to medium punctures right in your own garage.
Taking the DIY route saves you a massive headache. It also keeps hundreds of dollars in your wallet.
Professional marine mechanics charge premium rates for simple patch jobs. You can achieve the exact same waterproof results yourself.
All you need is a free afternoon, some basic supplies, and a little elbow grease. We will walk you through the entire process step by step.
Soon, you will be back out on the water, casting your line with confidence.
What Causes Holes in Aluminum Boats?
Before we start fixing things, let us look at why this happens. Aluminum is tough, but it is not invincible.
Understanding the root cause helps you prevent future damage. Here are the most common culprits:
- Submerged Rocks and Stumps: Hitting unseen underwater hazards at high speeds easily punctures thin hulls.
- Corrosion from Saltwater: Leaving your vessel in saltwater without rinsing breaks down the metal over time.
- Trailer Damage: Bouncing on improperly adjusted trailer rollers creates stress fractures.
- Dock Collisions: Hitting a wooden or concrete dock too hard leaves deep gouges and tears.
- Galvanic Corrosion: Using the wrong type of metal hardware creates a chemical reaction that eats through aluminum.
- Wear and Tear: Dragging the hull across sand or gravel beaches eventually thins the metal until it breaches.
Essential Tools & Materials Needed
Gathering your supplies beforehand sets you up for success. You do not want to stop midway through a repair to visit the hardware store.
Here is exactly what you need for this project.
Cleaning and Prep Supplies
- Wire brush or wire wheel attachment for a drill.
- Medium-grit sandpaper (80 to 120 grit).
- Clean, lint-free microfiber cloths.
- Acetone or rubbing alcohol (for degreasing).
- Painter’s tape to tape off the work area.
Repair Materials
You have two main options for the actual patch. We will focus on the most beginner-friendly method: marine-grade epoxy.
- Aluminum repair epoxy putty (marine grade).
- Alternatively, aluminum brazing rods and a propane torch (for advanced DIYers).
- Putty knife or plastic spreader.
- Scrap piece of aluminum sheet (only needed for holes larger than a dime).
- Marine sealant.
Safety Gear
Never skip the protective equipment.
- Heavy-duty work gloves.
- Safety goggles to protect your eyes from flying debris.
- N95 dust mask or respirator (for sanding and fumes).
Step-by-Step Guide on How to Repair Hole in Aluminum Boat
Now we reach the fun part. Fixing the damage is a straightforward process if you follow these steps carefully.
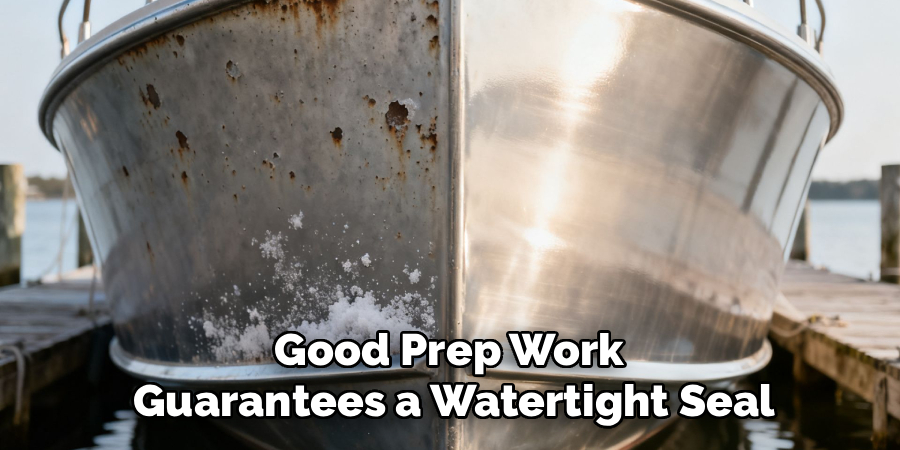
Take your time with the preparation phase. Good prep work guarantees a watertight seal.
Step 1: Locate and Inspect the Damage
First, move your vessel to a dry, well-lit workspace. You need clear visibility to see the full extent of the damage.
Inspect the puncture closely. Look for spiderweb cracks extending outward from the main opening.
If the metal is pushed inward, use a rubber mallet. Gently tap the edges flat from the inside.
Creating a flat surface makes the patch hold much better.
Step 2: Clean the Surrounding Area
Dirt, algae, and oil are the enemies of epoxy. You must remove all of them completely.
Wash the area around the puncture with soapy water. Rinse it thoroughly and dry it with a clean towel.
Next, wipe the entire spot with acetone. This strips away any lingering grease or wax.
Let the acetone evaporate completely before moving on.
Step 3: Sand and Roughen the Surface
Epoxy needs a rough texture to grip properly. A smooth hull will cause the patch to peel off later.
Grab your wire brush or drill attachment. Scrape away all the paint around the damage.
You need to expose bare, shiny metal. Clear at least two inches of space on every side of the opening.
Follow up with your medium-grit sandpaper. Scuff the bare metal deeply in circular motions.
Step 4: Clean the Area One More Time
Sanding creates a lot of fine metal dust. If left behind, this dust ruins your repair.
Wipe the scuffed area down with a dry microfiber cloth first.
Then, apply more acetone to a clean rag. Wipe the bare metal down thoroughly.
Do not touch the cleaned area with your bare hands. The oils from your skin can compromise the bond.
Step 5: Mix the Marine Epoxy
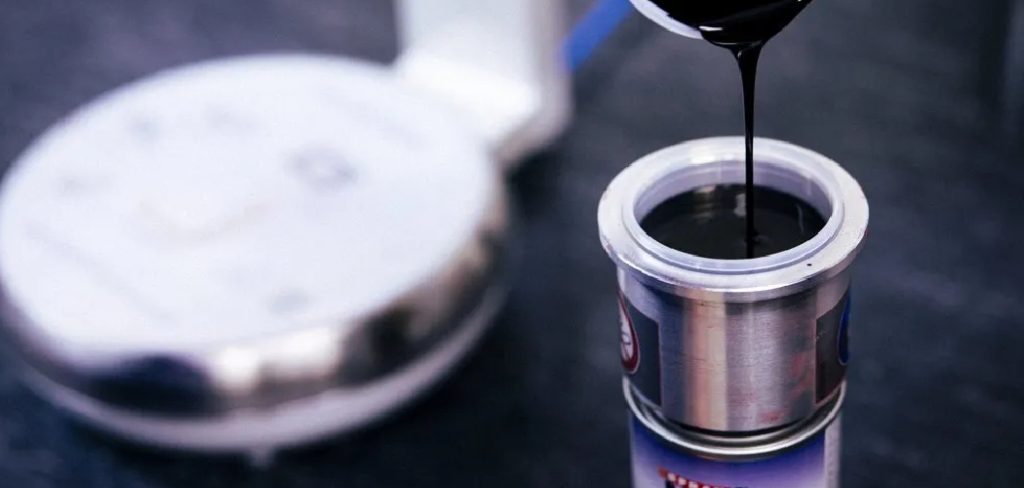
We recommend using a two-part marine epoxy putty for beginners. It is incredibly strong and easy to mold.
Put on your work gloves. Cut off the amount of putty you need.
Knead the putty with your fingers. Mix it until it turns a uniform color.
You usually have about five to ten minutes to work before it hardens. Work efficiently but do not rush.
Step 6: Apply the Repair Material
Press the mixed putty firmly into the puncture. Push it deep into the opening so it grabs the edges.
Smooth the excess putty over the roughened metal around the hole. Feather the edges outward.
Use your putty knife to flatten the surface as much as possible. A smoother finish means less sanding later.
If the opening is larger than a dime, apply a small scrap of aluminum behind it first for support.
Step 7: Let the Patch Cure
Patience is key here. Read the instructions on your specific epoxy package.
Most marine epoxies dry to the touch in an hour. However, they need a full 24 hours to cure completely.
Do not expose the patch to water during this time. Keep it dry and at a moderate temperature.
Step 8: Sand the Cured Patch Smooth
Once the patch is rock solid, it is time to blend it in. Grab your medium-grit sandpaper again.
Sand the hardened epoxy until it sits flush with the rest of the hull.
Switch to a finer grit sandpaper for a completely smooth finish.
Wipe away the dust with a damp cloth when you finish.
Step 9: Paint and Seal (Optional but Recommended)
You can leave the bare epoxy, but painting it protects the patch from UV rays.
Apply a marine-grade aluminum primer over the repaired area. Let it dry completely.
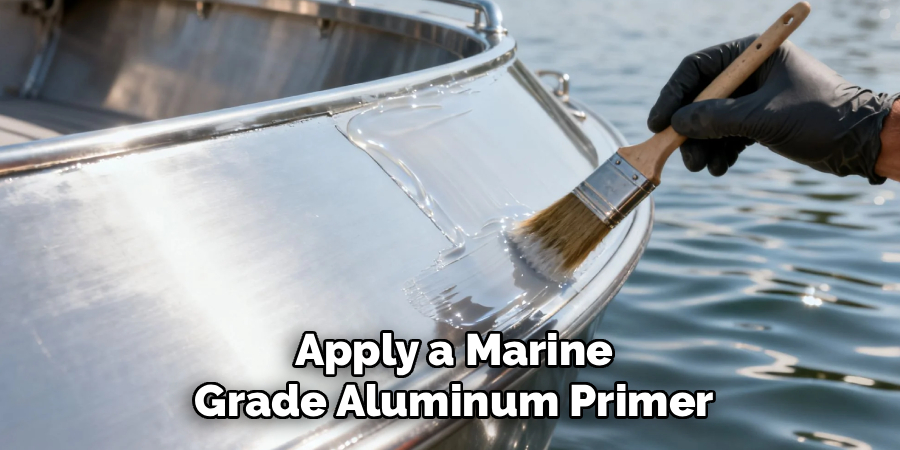
Follow up with a matching marine paint. This makes your fix nearly invisible.
For extra peace of mind, you can outline the patch with marine sealant.
Crucial Safety Warnings to Remember
Working with metal and chemicals requires focus. Keep these safety tips in mind while you work.
Wear a mask while sanding. Aluminum dust is harmful if inhaled into your lungs.
Work in a ventilated area. Acetone and epoxy emit strong, toxic fumes. Open your garage doors or work outside.
Protect your eyes. Wire brushes frequently fling tiny shards of metal. Safety goggles are non-negotiable.
Mind the sharp edges. Torn metal acts like a razor blade. Always wear thick work gloves when inspecting the damage.
When to Call a Professional Mechanic
DIY projects are incredibly rewarding. However, some jobs require professional intervention.
It is important to know your limits. Trying to fix catastrophic damage yourself can sink your vessel.
Call a professional if the damage is located on a critical structural seam. Seams require specialized welding to hold together.
You should also seek help if the hole is larger than a baseball. Epoxy is great for small punctures, but massive tears need welded patches.
If your hull is severely warped or crushed around the impact zone, let an expert handle it. They can reshape the metal safely.
Finally, if you just feel uncomfortable doing the work, hire a pro. Peace of mind is worth the money.
Cost Estimate: DIY vs. Professional Repair
Wondering how much money you actually save? Let us break down the typical costs.
The DIY Cost
Buying everything from scratch is surprisingly affordable.
Marine epoxy putty costs about $15 to $25.
Sandpaper, acetone, and a wire brush will run you another $20.
If you need primer and paint, add $30.
Your total DIY cost is roughly $40 to $75.
The Professional Cost
Marine mechanics charge heavily for their time.
Labor rates typically range from $100 to $150 per hour.
Even a small patch job takes an hour or two with prep time.
With shop materials, a professional fix easily costs $250 to $400.
By spending one afternoon on this project, you keep hundreds of dollars in your pocket.
Frequently Asked Questions
People always have great questions about hull maintenance. Here are the answers you need.
Can I use regular JB Weld on an aluminum boat?
Standard JB Weld works in a pinch, but it is not ideal. Always choose a marine-grade epoxy formulated specifically for continuous water submersion. Standard formulas eventually break down when left underwater.
Is it better to weld or use epoxy for how to repair hole in aluminum boat?
Welding provides a stronger, permanent structural fix. However, welding aluminum is highly difficult and requires expensive gear. Marine epoxy is perfect for small, non-structural punctures and is vastly easier for beginners.
Can I use fiberglass to patch an aluminum hull?
It is not recommended. Fiberglass resin does not bond well to aluminum over the long term. The flexing of the hull eventually causes the fiberglass patch to pop right off. Stick to metal-specific epoxy or brazing.
How long does an epoxy boat patch last?
A properly applied marine epoxy patch can last for many years. If you prep the surface correctly and keep the area painted, the patch will likely outlast the vessel itself.
Do I need to patch the inside and the outside?
For small punctures, patching the outside is usually enough. For larger damage, applying epoxy to both the inside and outside creates a “rivet” effect. This makes the repair significantly stronger.
Conclusion
Dealing with a damaged hull can ruin a great weekend. Thankfully, mastering how to repair hole in aluminum boat puts the power back in your hands.
By following these simple steps, you restore your vessel’s integrity without breaking the bank. Good surface preparation and the right marine epoxy make all the difference.
You do not need to be a master mechanic to get professional results. Just take your time, wear your safety gear, and follow the instructions closely.
Are you ready to fix your hull and get back to fishing? Grab your supplies today and tackle that project this weekend!