

A snapped chain can stop you in your tracks, whether it’s on your bike, a garden swing, or the gate that keeps your yard secure. The good news? You don’t need a workshop full of gear or a pricey trip to a repair shop to fix it. With a few simple tools and a little patience, you can get that chain working like new again.
Learning how to repair a broken chain saves you money, time, and frustration. It also gives you a handy skill you’ll reach for again and again. Most breaks happen at a single weak link, which makes the fix more manageable than you’d expect.
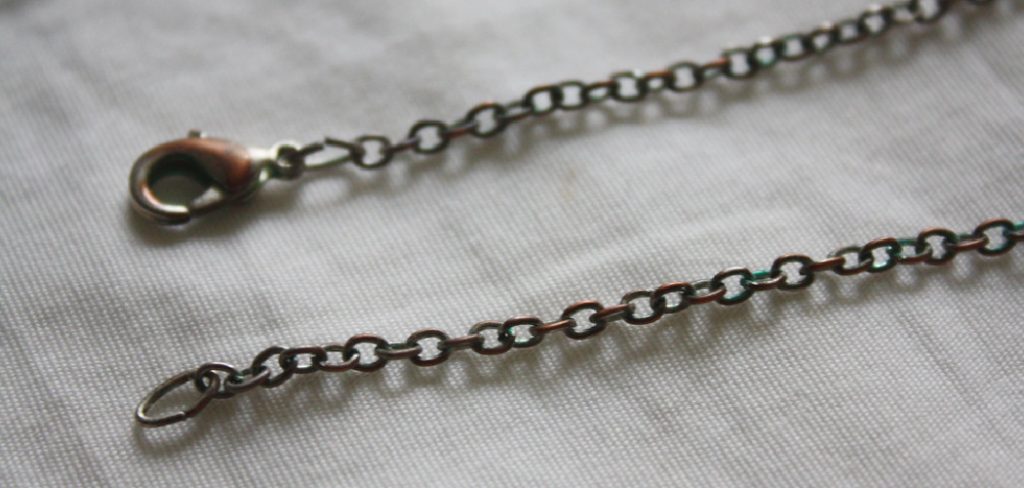
This guide walks you through every step so you can repair your broken chain safely and confidently, right at home.
Why Learning Chain Repair Matters
Chains show up everywhere in daily life. Your bicycle relies on one. So does your camping gear, your dog’s tie-out, and the trailer you haul to the lake. When a link gives out, you’re often stuck somewhere inconvenient, far from help.
Knowing how to fix a chain puts you back in control. You won’t have to abandon a ride halfway home or cut a trip short because a swing snapped. Instead, you’ll carry the confidence that comes with solving the problem yourself.
It’s also kinder to your wallet. Shop repairs add up fast, and many are quick jobs you can handle in minutes. Beginners and outdoor enthusiasts especially benefit, since a roadside or campsite fix can rescue an entire day. One small skill, plenty of payoff.
Tools and Materials You’ll Need
Gather your supplies before you start. Having everything within reach keeps the job smooth and prevents frustrating mid-repair searches.
- Chain tool (chain breaker): The star of the job, used to push out and reset pins.
- Replacement links or a master link: Match the size and type of your chain.
- Needle-nose pliers: For gripping, bending, and guiding stubborn links.
- A small hammer: Helps seat pins and free tight connections.
- Clean rag: Wipes away grime so you can see what you’re working with.
- Work gloves: Protect your hands from sharp edges and grease.
- Lubricant or chain oil: Keeps the repaired section moving freely.
- Safety glasses (optional): A smart add-on when hammering or prying near your face.
A flashlight or headlamp also comes in handy for dim garages or evening fixes.
Step-by-Step Guide on How to Repair a Broken Chain
Step 1 – Inspect the Damage Closely
Start by laying the chain flat on a clean surface and running your eyes along every link. Look for the obvious break first, then check the links beside it.
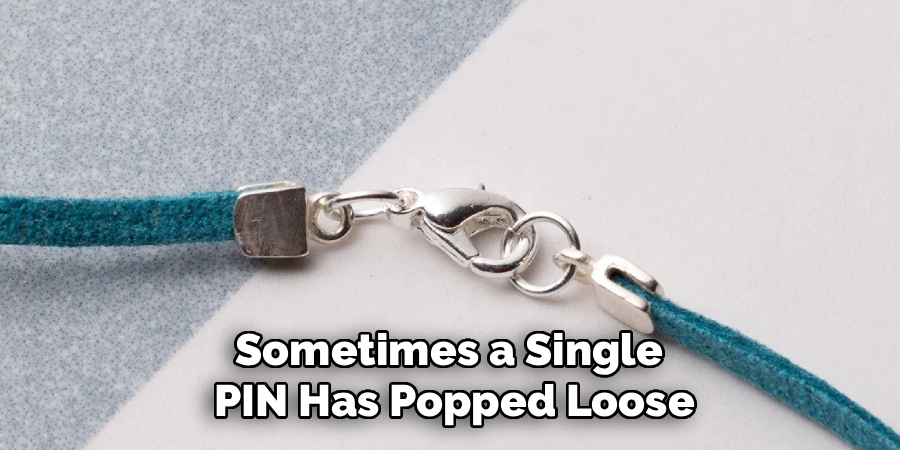
Sometimes a single pin has popped loose. Other times you’ll find a bent plate or a link stretched thin from wear. Feel each section with your fingers, noticing any rough spots or stiffness.
This is the moment to decide whether you’ll replace one link or several. A quick, honest assessment now saves you from redoing the work later. Wipe away grime with your rag so nothing hides from view.
Take your time here. A clear picture of the damage makes every step that follows far easier and faster.
Step 2 – Clean the Work Area
Grease and dirt make small parts slippery and hard to handle. Before you go further, wipe down the damaged section and clear your workspace of clutter.
Lay out a rag or old towel to catch dropped pins and links. Trust me, a tiny chain pin loves to vanish into carpet or grass the second you lose focus.
Good lighting matters too. Position a lamp or headlamp so shadows don’t hide the fine details. You’ll thank yourself when you’re lining up a pin no thicker than a toothpick.
A clean, organized spot turns a fiddly job into a calm one. It also keeps grime out of the freshly oiled section once you finish.
Step 3 – Position the Chain in the Chain Tool
Set the broken chain into your chain tool, lining up the pin you want to push with the tool’s driving pin. Most chain tools have a slot that cradles the link snugly.
Turn the handle slowly. You’ll feel resistance build as the tool presses against the metal pin. Keep the alignment straight, since a crooked push can damage the plates.
Listen for a soft click or feel the pin start to move. That’s your sign the connection is loosening. Don’t rush this part. Steady, even pressure does the work without forcing anything.
If the handle suddenly turns easy, the pin has cleared. Stop before pushing it all the way out unless you plan to remove the link entirely.
Step 4 – Remove the Damaged Link
Now drive the pin far enough to separate the broken link from the rest of the chain. Use your needle-nose pliers to wiggle the damaged piece free.
You might feel slight resistance as the plates release their grip. A gentle back-and-forth motion usually coaxes them apart without stress. If a pin sticks, a light tap with your small hammer can help.
Set the removed link aside so it doesn’t sneak back into your pile of good parts. Inspect the surrounding links one more time to confirm they’re solid and ready to reconnect.
With the bad section gone, you’ve cleared the path for a fresh, strong joint. The hardest part is often already behind you now.
Step 5 – Insert the Replacement Link
Take your new link or master link and fit it into the open ends of the chain. The pieces should slide together with a satisfying, snug feel.
Line up the inner and outer plates carefully. A misaligned plate will fight you, so adjust until everything sits flush and straight. Your pliers help nudge things into place.
If you’re using a master link, you’ll notice it snaps together by design, no pressing required. For a standard link, you’ll press the pin in during the next step.
Double-check that the chain’s direction stays consistent. Twisting a link the wrong way creates a weak spot that could fail again. Patience here pays off in lasting strength.
Step 6 – Press the Pin Back In
Slide the chain back into your chain tool, this time to push the pin into the new link. Turn the handle slowly and watch the pin advance.
Aim for the pin to sit evenly on both sides, flush with the outer plates. An uneven pin sticks out and snags, while one pushed too far loosens the joint.
Pause often to eyeball your progress. The metal should move with smooth, controlled resistance under the handle. If it suddenly jams, back off and check your alignment before continuing.
When the pin looks centered and the plates hold firm, you’ve nearly finished. This careful pressing is the heart of learning how to repair a broken chain the right way.
Step 7 – Test the Repaired Joint
Flex the chain gently at the new link to make sure it bends as freely as the others. A stiff link can cause skipping or jamming during use.
If it feels tight, place the chain tool on the stiff joint and apply the slightest sideways pressure to loosen the plates. Work in tiny increments so you don’t overdo it.
Run your fingers along the section, feeling for any pin that pokes out or any plate that catches. Smooth and even is your goal.
Give the whole chain a slow pull to confirm the repair holds under tension. A solid, flexible joint means your fix will last. Trust your hands here, they’ll tell you when it’s right.
Step 8 – Lubricate and Wipe Down
A fresh repair deserves a fresh coat of lube. Apply chain oil to the new link and the links around it, letting it seep into the moving parts.
Spin or flex the chain a few times to spread the lubricant evenly. You’ll notice the metal start to move more quietly and smoothly almost right away.
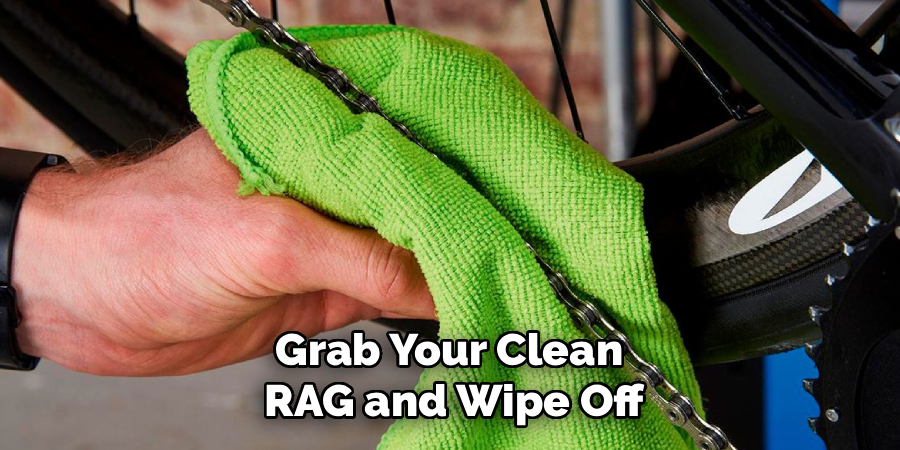
Then grab your clean rag and wipe off the excess. Too much oil attracts dirt, which grinds away at your hard work over time. A light, even film is all you need.
This final touch protects the repair and keeps the whole chain running better. Now step back and admire a job well done, you’ve earned it.
Critical Mistakes to Avoid When Fixing a Chain
Even a simple fix can go sideways if you rush or skip the details. The most common mistake is pushing a chain pin all the way out when you only meant to loosen it. Once a standard pin fully exits, reseating it becomes a real headache, and you may ruin the link entirely. Go slow and stop the moment the connection loosens.
Another frequent slip is using the wrong size or type of replacement link. Chains vary by width, pitch, and pin diameter, so a mismatched link won’t seat properly and often fails fast. Always confirm your chain’s specs before buying parts.
People also forget to check link direction. Installing a link backward or twisted creates a stiff, weak spot that skips under load. Keep the chain’s orientation consistent from one end to the other.
Over-lubricating is sneakier but still costly. A dripping chain grabs dirt and grit, turning into a grinding paste that wears the metal down. Wipe off the excess every time.
Finally, never skip the test. Reinstalling a chain without flexing and tensioning the new joint invites a second break at the worst possible moment.
Expert Tips
Keep a master link in your toolkit or saddlebag at all times. It’s the fastest way to reconnect a chain in the field, often without any tools beyond your hands and a pair of pliers.
When you remove a stiff link, mark it with a dab of paint or tape if you’re not replacing it right away. That way you’ll spot the trouble area instantly next time.
Match your replacement parts to the chain’s exact specifications. Snap a photo of the old chain or bring it to the store so you buy the right fit on the first try.
Finally, build a habit of regular cleaning and lubrication. A well-maintained chain breaks far less often, and the few minutes you spend now prevent the bigger repairs later.
Frequently Asked Questions
Can I fix a broken chain without a chain tool?
Yes, especially if your chain uses a master link, which snaps apart and together by hand. For chains without one, you can sometimes use a hammer and a punch on a hard surface, though it’s trickier. A proper chain tool gives you the cleanest, safest result and is well worth the small investment if you fix chains often.
How do I know which replacement link to buy?
Match three things: the chain’s pitch (distance between pins), its width, and the pin diameter. The easiest approach is to:
- Bring the old chain or a removed link to the store
- Check your equipment’s manual for chain specs
- Take a clear photo to compare against options
Buying the wrong size leads to a poor fit and a repair that won’t hold.
Is a repaired chain as strong as a new one?
A properly repaired chain can be nearly as strong, as long as you use the correct link and seat the pin evenly. The repaired joint should flex freely and hold tension without slipping. That said, if your chain has many worn or stretched links, replacing the whole chain is safer and more reliable than patching multiple spots.
Why does my chain keep breaking at the same spot?
Repeated breaks usually point to a deeper issue. Common causes include a stiff or misaligned link, a worn sprocket, or too much tension. Inspect the surrounding links and the parts the chain runs over. Fixing only the symptom won’t help if the root cause, like a bent plate or grinding gear, keeps stressing that section.
How often should I lubricate my chain?
It depends on use and conditions. A bike chain ridden in dry weather may need oil every couple of weeks, while wet or dusty conditions call for more frequent care. After any repair, always lubricate the new link. Wipe off excess oil each time so dirt doesn’t build up and grind down the metal.
Conclusion
Fixing a chain at home is one of those skills that feels intimidating until you actually try it. Once you’ve done it once, you’ll wonder why you ever paid someone else. The process comes down to a clear set of steps: inspect the damage, clean your space, remove the bad link, fit a new one, press the pin evenly, test the joint, and finish with a light coat of lube.
Take your time at each stage, especially when pressing pins and checking link direction. The small details separate a quick patch from a lasting fix. Keep the right replacement parts on hand and stay consistent with cleaning, and you’ll head off most breaks before they ever happen.
Now that you know how to repair a broken chain, you’ve got a practical, money-saving skill that travels with you anywhere. So next time a link gives out on the trail, in the garage, or at the gate, you’ll roll up your sleeves and handle it yourself. Grab your tools and give it a go.