

Woodpeckers leave their mark fast. One day your siding looks fine, the next you spot ragged holes punched straight into the wood. Left alone, those holes invite water, insects, and even nesting animals into your walls. The good news? You can fix woodpecker holes in house siding yourself, with basic tools and an afternoon of work.
This isn’t a job that requires a contractor or a big budget. Whether you own your home or rent and want to keep things tidy, you’ll find the steps straightforward and beginner-friendly. The materials are cheap, the process is repeatable, and the results last.
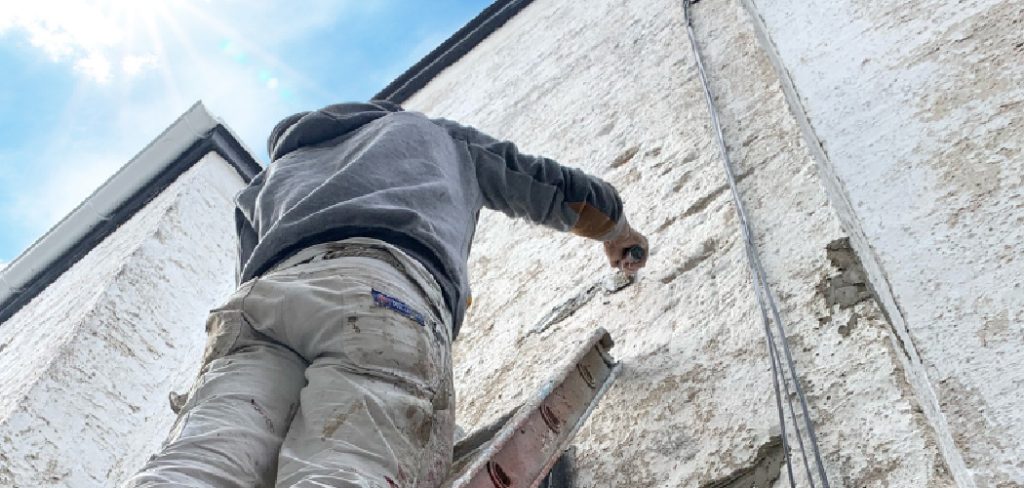
This guide walks you through every step how to fix woodpecker holes in house, from cleaning out the damage to matching paint, so your siding looks solid and protected again.
Why Fixing Woodpecker Holes Matters
Small holes turn into big problems. A single woodpecker hole exposes the raw interior of your siding to rain and humidity. Water seeps in, wood rots, and the damage spreads behind walls where you can’t see it. By the time you notice soft spots or stains inside, the repair bill has multiplied.
Open holes also welcome pests. Carpenter bees, wasps, and squirrels treat them as ready-made entrances. Other woodpeckers see existing holes as proof the spot works, so they keep coming back.
Fixing the damage early protects your home’s structure and its value. Sealed, painted siding looks cared for and discourages repeat visits. You save money, prevent rot, and keep your exterior looking sharp. The skill pays off every time a bird comes knocking.
Tools and Materials You’ll Need
Gather everything before you start. A complete setup means no mid-job trips to the hardware store.
- Seal gaps and stop water — exterior-grade wood filler or epoxy wood filler
- Clear out debris — stiff wire brush and a putty knife
- Smooth the patch — 120-grit and 220-grit sandpaper
- Block future damage — galvanized hardware cloth or metal flashing for deep holes
- Match your siding — exterior primer and paint in your home’s color
- Apply cleanly — putty knife or filler applicator and disposable gloves
- Protect yourself — safety glasses and a dust mask
- Optional for convenience — a cordless drill with a small wire-wheel attachment to clean tough holes fast
Most of these cost a few dollars and last across multiple repairs. Buy exterior-rated products only. Interior fillers fail outdoors within a season.
Step-by-Step Guide on How to Fix Woodpecker Holes in House
Step 1 – Inspect and Map the Damage
Start by walking your home’s exterior with a notepad. Look closely at the siding, especially near the roofline and corners where woodpeckers favor. Mark every hole, even the shallow ones.
Run your fingers around each opening. You’ll feel splintered edges and sometimes soft, spongy wood that signals rot underneath. Press gently. If the wood gives way, the damage runs deeper than the surface.
Note which holes are small dents and which punch through to the cavity behind. Deep holes need backing material; shallow ones only need filler. Photograph each spot for reference.
This mapping step saves time later. You’ll know exactly how much filler and hardware cloth to buy, and you won’t miss a hidden hole that lets water sneak in behind your patches.
Step 2 – Clean Out Each Hole
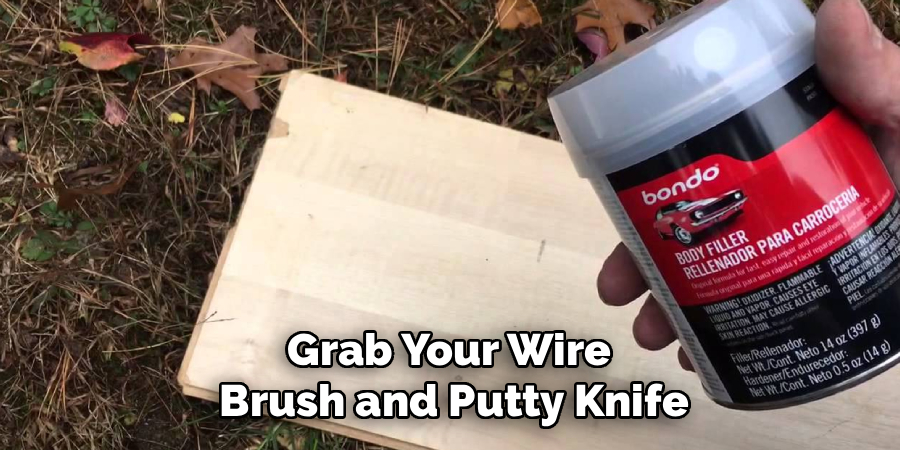
Grab your wire brush and putty knife. Scrub inside every hole to clear loose splinters, sawdust, and old debris. You’ll hear the scratchy rasp of bristles against wood and see fine dust drift out.
Pick out any nesting material, leaves, or insect remains with the putty knife. Birds and bugs often pack these holes, and trapped material holds moisture against the wood.
For stubborn holes, the optional wire-wheel drill attachment cuts your work in half. Let the spinning bristles do the scrubbing while you guide the tool.
A clean cavity is non-negotiable. Filler bonds to bare, solid wood, not to dust and debris. Skip this step and your patch pops out within weeks. Wipe the area down and let it dry fully before moving on.
Step 3 – Treat Any Rot or Soft Wood
Press around each cleaned hole one more time. If you find soft, crumbling wood, it’s rotted and must go. Dig out the damaged material with your putty knife until you reach firm, solid wood underneath.
Apply a wood hardener to the exposed area if the rot was significant. Brush it on and let it soak in. You’ll watch the liquid disappear into the grain as it stabilizes the fibers. Follow the product’s drying time, usually a few hours.
This step stops decay from spreading under your fresh patch. Rotted wood keeps breaking down even when sealed, undermining the repair from the inside.
Solid, treated wood gives your filler a strong anchor. Don’t rush this. A firm foundation determines whether your fix lasts one year or ten.
Step 4 – Add Backing for Deep Holes
Deep holes need support, or the filler sinks in and never sets properly. Cut a piece of galvanized hardware cloth or metal flashing slightly larger than the hole.
Push it into the cavity until it sits flush behind the opening. The metal creates a base that holds filler in place and adds a physical barrier against future pecking. Birds hate hitting metal.
For holes you can reach behind, staple or screw the backing for extra hold. For sealed cavities, wedge the mesh tight against the interior walls.
You’ll feel the difference once it’s set, firm and stable instead of hollow. This backing is the secret to a durable repair on large holes. Shallow dents skip this step and go straight to filling.
Step 5 – Fill the Holes
Scoop exterior wood filler onto your putty knife. Press it firmly into each hole, working it deep to eliminate air pockets. You’ll feel resistance as the filler packs against the backing or solid wood.
Overfill slightly above the surface. Filler shrinks as it cures, so the extra material lets you sand down to a flush finish later.
Smooth the surface with the flat edge of your knife. Drag it across the patch in one steady motion for a clean, level result. Wipe away excess from the surrounding siding before it hardens.
This is where you actually fix woodpecker holes in house siding for good. A solid fill seals out water and pests completely. Let the filler cure fully, following the label, before you sand or paint.
Step 6 – Sand the Patches Smooth
Once the filler cures rock-hard, grab your 120-grit sandpaper. Sand each patch until it sits level with the surrounding siding. You’ll feel ridges flatten under your hand and hear the gritty scrape settle into a smooth glide.
Run your palm across the area. Any bump or dip shows through paint later, so keep sanding until the transition disappears.
Switch to 220-grit for the final pass. This finer paper removes scratches and leaves a surface ready for primer. Wipe the dust away with a dry cloth.
Check your work in raking light. Hold a flashlight at an angle and shadows reveal flaws you’d otherwise miss. Touch up any rough spots now. A smooth patch is the difference between a repair that vanishes and one that announces itself.
Step 7 – Prime the Repaired Areas
Bare filler and exposed wood soak up paint unevenly. Primer fixes that. Brush a coat of exterior primer over every patch, extending slightly onto the surrounding siding.
You’ll see the patches turn a uniform color, hiding the contrast between filler and wood. Primer also seals the surface and helps your topcoat bond, so the finish lasts through sun and rain.
Use a primer rated for exterior use and matched to your siding material. Wood, fiber cement, and engineered siding each have their preferences.
Let the primer dry completely. Rushing to paint over damp primer traps moisture and causes peeling. A proper primer coat locks everything down and gives you a clean canvas for the final color.
Step 8 – Paint to Match Your Siding
Now bring it all together. Stir your exterior paint thoroughly and apply it over the primed patches with a small brush. Feather the edges into the existing siding so the repair blends in.
Two thin coats beat one thick coat every time. The first coat covers; the second evens out the color and adds durability. Let each coat dry per the label.
Step back and check the match. In good daylight, a well-matched patch disappears into the wall. If your siding has faded over the years, the fresh paint may look slightly brighter, but it settles in within a few weeks.
This final coat protects your work and restores your home’s clean look. Your repair is now sealed, painted, and ready to face the next curious woodpecker.

Critical Mistakes When Repairing Woodpecker Holes
The biggest mistake is using interior wood filler outdoors. Interior products aren’t built for temperature swings, rain, or UV exposure. They crack, shrink, and fall out within a season, leaving you to redo the whole job. Always reach for exterior-grade or epoxy filler that handles weather.
Another common error is skipping the cleaning step. Filler needs bare, solid wood to bond. When you pack filler over dust, old nesting material, or loose splinters, the patch never grips. It looks fine for a week, then pops loose. Take the extra few minutes to scrub each hole clean.
Many people also ignore rot hiding behind the hole. Sealing over soft, decaying wood traps the problem and lets it spread under the patch. Dig out every bit of rot and treat the area before filling. A patch is only as strong as the wood beneath it.
People often forget backing on deep holes, so the filler sinks and never sets right. And finally, repairing without addressing why the woodpeckers came invites them straight back. Insects in your siding often draw them in. Treat the cause, not just the symptom.
Expert Tips
Pick a dry, mild day for the whole project. Filler, primer, and paint all cure best in moderate temperatures with low humidity. Damp or freezing conditions ruin adhesion and stretch your timeline.
Buy your paint to match before you start. Take a chip of siding to the hardware store for a custom color match, or check your home’s paint records. A precise match means your repair vanishes.
Address the root cause too. Woodpeckers often peck for insects living in your siding. Inspect for carpenter bees or beetles and treat any infestation. Deterrents like reflective tape or netting near problem areas discourage repeat visits.
Keep leftover filler and paint sealed for touch-ups. Birds tend to return to favorite spots, so having materials ready turns the next repair into a ten-minute fix instead of a full project.
Frequently Asked Questions
How long does a woodpecker hole repair last?
A properly done repair lasts ten years or more. The key is using exterior-grade filler, removing all rot, adding backing on deep holes, and sealing with primer and paint. Skip any of these and the patch fails fast. When done right, your repair holds up through rain, sun, and seasonal temperature swings as well as the original siding.
Can I fix woodpecker holes in house siding without painting?
You can fill and seal the holes without paint, but it won’t last or look right. Bare filler absorbs water, fades, and breaks down under UV exposure. Paint protects the patch and blends it into your siding. For a repair that lasts and stays invisible, always prime and paint as the final steps.
What’s the best filler for woodpecker holes?
Use exterior-grade wood filler for small to medium holes and epoxy wood filler for larger or load-bearing repairs. Both resist weather, shrinkage, and cracking. Avoid these common mistakes:
- Interior fillers — they fail outdoors within a season
- Caulk alone — it stays flexible and won’t sand smooth
- Spackle — it’s made for drywall, not exterior wood
How do I stop woodpeckers from coming back?
Remove the reason they’re pecking. Woodpeckers usually hunt insects in your siding, so treat any carpenter bee or beetle infestation first. Then add deterrents near problem spots: reflective tape, hanging objects, or bird netting all work. Metal backing in repaired holes also discourages return visits. Combine pest control with deterrents for the best long-term results.
Is this a job I can do myself or should I hire someone?
Most woodpecker hole repairs are a solid DIY project. The tools are basic, the materials are cheap, and the steps are repeatable. You’ll handle small and medium holes easily in an afternoon. Consider hiring a pro only if the damage is extensive, sits high on a multi-story wall, or hides serious structural rot you can’t safely reach or assess.
Conclusion
Woodpecker damage looks alarming, but the repair is well within your reach. Clean each hole, treat any rot, back the deep ones with metal, fill, sand, prime, and paint. Follow those steps in order and your siding ends up as solid and protected as the day it was installed.
The work pays off in more than looks. Sealed holes keep water and pests out, protect your home’s structure, and discourage birds from returning. You save money and avoid the bigger repairs that come from ignoring the problem.
You don’t need a contractor to fix woodpecker holes in house siding. You need a free afternoon, a handful of cheap materials, and the steps you just read. Keep leftover filler and paint on hand, because woodpeckers love a familiar spot.
Grab your tools, pick a dry day, and tackle those holes. Your home will look sharp, stay dry, and stand up to the next round of pecking. You’ve got this.