

Your favorite spot on the couch shouldn’t feel like sinking into a hammock. If the middle dips when you sit down, or the cushions disappear beneath you, you’re not alone. Sagging happens to almost every well-loved sofa over time, and the good news is you can usually fix it yourself. Learning how to repair sagging sofa problems saves you money, keeps a comfy piece of furniture out of the landfill, and gives you a satisfying weekend win.
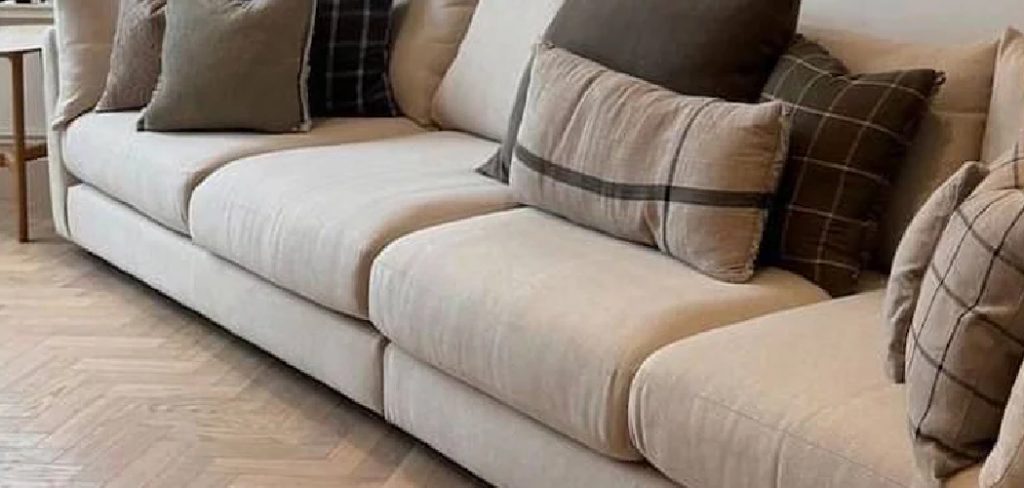
You don’t need fancy skills or a workshop full of tools. With a little patience and the right approach, you can restore that firm, supportive feel you loved when the sofa was new. This guide walks you through the whole process, step by step, so you can fix the sag with confidence.
Why Fixing a Sagging Sofa Matters
A saggy sofa does more than look tired. It changes how you sit, throwing your back and hips out of alignment and leaving you sore after a movie night. For homeowners, a quick repair protects a big investment and keeps your living room looking sharp. For renters, it means comfort without buying a replacement you’ll only have to move later.
Tackling the job yourself also builds practical skills you’ll use again. Once you understand how sofa support, springs, and webbing work together, you’ll spot small problems before they become big ones. That kind of furniture repair knowledge pays off across your whole home. Best of all, fixing a sag costs a fraction of buying new, and you get the pride of doing it with your own two hands.
Tools and Materials You’ll Need
Gather your supplies before you start so you’re not running to the hardware store mid-project. Here’s what works for most repairs.
You’ll want a screwdriver set and a staple gun with heavy-duty staples for re-securing webbing or fabric. Keep needle-nose pliers handy for pulling old staples and bent spring clips. Grab replacement webbing or a sheet of plywood, depending on what kind of support your sofa needs.
For cushion sag, pick up high-density foam inserts or batting to rebuild the fill. A tape measure, a utility knife, and a marker help you cut foam and plywood to size. Have a sturdy work surface or a clean floor ready.
One optional convenience item: a cordless electric staple gun. It saves your hand and speeds up the job nicely.
Step-by-Step Guide on How to Repair Sagging Sofa
Step 1 – Diagnose the source of the sag
Before you fix anything, figure out what’s actually failing. Push down on the seat with your palm and feel where it gives way. A soft, mushy dip usually means tired foam in the couch cushions. A deep drop that hits the floor points to broken springs or worn webbing under the seat deck.
Flip the sofa onto its back and look underneath. You might see torn fabric, sagging straps, or springs that have popped loose from the frame. Run your fingers along the webbing and listen for any creaks. Knowing the real cause saves you from replacing the wrong part. This single step is the foundation of a successful repair, so take your time here.
Step 2 – Remove the cushions and inspect the deck
Pull off every cushion and set them aside in order, so you remember where each one belongs. Now you can see the seat deck, the platform that holds your weight. Press on it firmly and watch how it responds.
If the deck feels loose or you spot gaps, the support system underneath needs attention. Look for a fabric dust cover stapled to the bottom rails. You’ll often need to peel this back to reach the webbing and springs. Smell for any musty odor too, since trapped moisture can rot fabric and weaken support over time. A clear view of the deck tells you exactly what comes next.
Step 3 – Tighten or replace the webbing
Webbing is the woven straps that stretch across the frame and hold up the seat. Over years of use, these straps loosen, fray, or snap, which causes that familiar middle sag.
Use your pliers to remove any torn webbing, pulling out the old staples as you go. Cut fresh webbing a few inches longer than the gap it spans. Staple one end firmly to the frame, then stretch the strap tight, almost like a drum, and staple the other side. Weave new straps over and under each other for extra strength. You’ll feel the difference immediately when you press down. Tight, springy webbing is often all a tired sofa needs to feel solid again.
Step 4 – Fix or replace broken springs
If your sofa uses springs instead of webbing, check each coil or serpentine strip. Press on them and watch for any that don’t bounce back or have separated from the frame.
Reattach loose springs with new clips, securing them snugly to the wooden rails. Listen for that satisfying click when a clip seats properly. If a spring is bent or cracked, snip it out and clip in a matching replacement from the hardware store. Make sure each spring lines up evenly with its neighbors so the seat sits level. Wiggle the whole system when you finish. It should feel firm and quiet, with no rattles. Solid springs give your seat that bouncy, supportive lift you’ve been missing.
Step 5 – Add plywood support for instant firmness
Sometimes the fastest fix is a plywood board. This works great when the frame is sound but the seat deck flexes too much under weight.
Measure the seat opening carefully, then cut a piece of half-inch plywood to fit snugly inside. Sand the edges so nothing snags the fabric or your fingers. Lay the board across the springs or webbing to spread your weight evenly and stop the sinking feeling.
For comfort, set a layer of foam or batting on top so you don’t feel the hard edge. This trick gives older couch cushions a firm base and can transform a sloppy seat in under an hour. It’s the easiest win in the whole repair.
Step 6 – Rebuild sagging cushions with new foam
Flat, lifeless cushions are a common culprit. Unzip each cushion cover and pull out the old foam. You’ll often find it crushed, crumbly, or thinner than you remember.
Cut a new high-density foam insert to match the original size, using your old piece as a template. Wrap the foam in a thin layer of batting for a softer, rounded look that fills the cover corners. Stuff it back into the cover and zip it shut.
Give the cushion a firm squeeze and watch it spring back. That bounce means you’ve nailed it. Fresh foam restores the plump, inviting feel that makes you want to sink in and stay a while.
Step 7 – Reinforce the frame if needed
A wobbly frame undermines every other repair, so check the wooden structure now. Grab the arms and gently rock the sofa to spot any flex or creaking joints.
Tighten every loose bolt and screw you find with your screwdriver. For separated joints, apply wood glue, clamp them tight, and let them dry fully before moving on. You can add small corner braces or L-brackets for extra strength at weak points. Run your hand along each rail to feel for cracks.
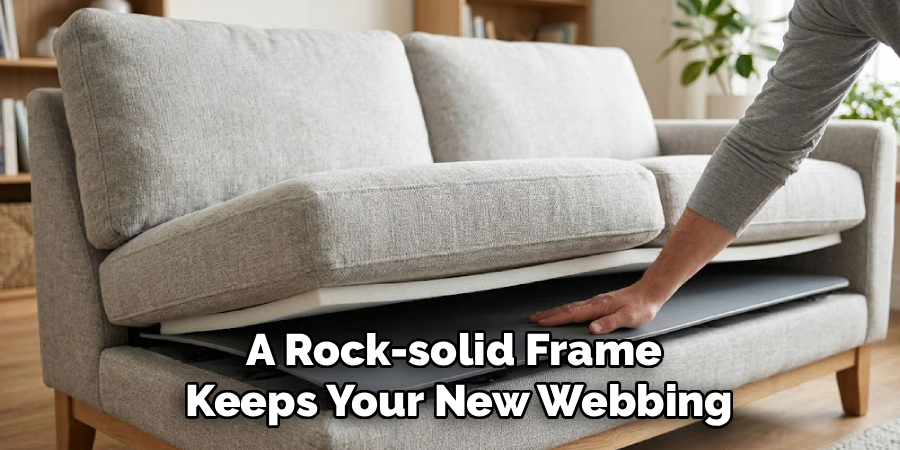
A rock-solid frame keeps your new webbing, springs, and foam working as a team. Skipping this step often leads to repeat sagging, so don’t rush past it. A sturdy skeleton makes the whole sofa feel new.
Step 8 – Reassemble and test your work
Now bring it all back together. Staple the dust cover back onto the bottom rails, pulling it taut so it looks clean and protects the underside. Smooth out any wrinkles in the upholstery as you go.
Set your rebuilt cushions back in their original spots and fluff them up. Then sit down right in the middle, the very spot that used to swallow you. Shift your weight side to side and feel for any dip or wobble.
A properly fixed seat feels firm, level, and supportive across the whole surface. If everything holds steady, congratulate yourself. You’ve finished the job and saved a small fortune on a brand-new couch.
Critical Mistakes When Repairing a Sagging Sofa
The biggest mistake people make is treating the symptom instead of the cause. Stuffing extra pillows under flat cushions hides the problem for a week, but the real fix lives in the webbing, springs, or foam underneath. Always diagnose first, then repair the actual failure.
Another common error is using cheap, low-density foam to rebuild cushions. It feels fine for a month, then flattens right back out, leaving you frustrated. Spend a little more on high-density foam, and your repair will last for years instead of weeks.
Many beginners also forget to stretch the webbing tight enough. Loose straps sag again almost immediately, so pull each one drum-tight before stapling. While you’re at it, don’t ignore a wobbly frame. Reinforcing webbing and springs on a cracked frame just wastes your effort.
Finally, people often skip measuring before cutting plywood or foam. A board that’s too small slips between the rails and a sheet that’s too big won’t fit at all. Measure twice, cut once, and your sofa support will hold strong.
Expert Cleaning Tips
While the cushions are off and the sofa is open, take a few minutes to clean it properly. Vacuum every crevice with a narrow attachment to pull out crumbs, dust, and the surprising treasures hiding under the seat deck.
Spot-clean fabric upholstery with a mild soap-and-water solution, testing a hidden corner first so you don’t fade the color. Blot, never scrub, to protect the weave. For leather, wipe with a damp cloth and follow up with a conditioner to keep it supple.
Let everything dry fully before reassembling, since trapped moisture weakens foam and breeds odors. A quick clean now keeps your freshly repaired sofa looking and smelling great for the long haul.
Frequently Asked Questions
How much does it cost to fix a sagging sofa myself?
A DIY repair usually runs between $20 and $80, depending on what you replace. New webbing and staples are cheap, while high-density foam costs a bit more. A sheet of plywood is inexpensive too. Compare that to hundreds for professional reupholstery or a brand-new sofa, and the savings are clear. Most repairs use tools you already own.
Is plywood or new webbing the better fix?
It depends on your sofa and your goals:
- Webbing or springs: best for restoring the original bounce and comfort, ideal when the support straps have simply worn out.
- Plywood: best for a fast, firm fix when the frame is solid but the deck flexes too much.
Many people combine both, laying foam over plywood for support that feels firm yet comfortable.
How long does a sagging sofa repair take?
Most repairs take one to three hours, depending on the damage. Swapping foam in a few couch cushions is quick, often under an hour. Replacing webbing or springs takes longer because you remove old fasteners and stretch new straps. Reinforcing the frame with glue adds drying time. Set aside an afternoon, and you’ll likely finish with time to spare.
Can I fix a sofa sag without removing the cushions?
Sometimes, yes. If only the cushions feel flat, you can rebuild the foam without touching the support underneath. But if the sag comes from the seat deck, springs, or webbing, you’ll need to remove cushions and access the frame. Always diagnose the real source first, since guessing usually leads to wasted effort and a sofa that sags again soon.
When should I just replace the sofa instead?
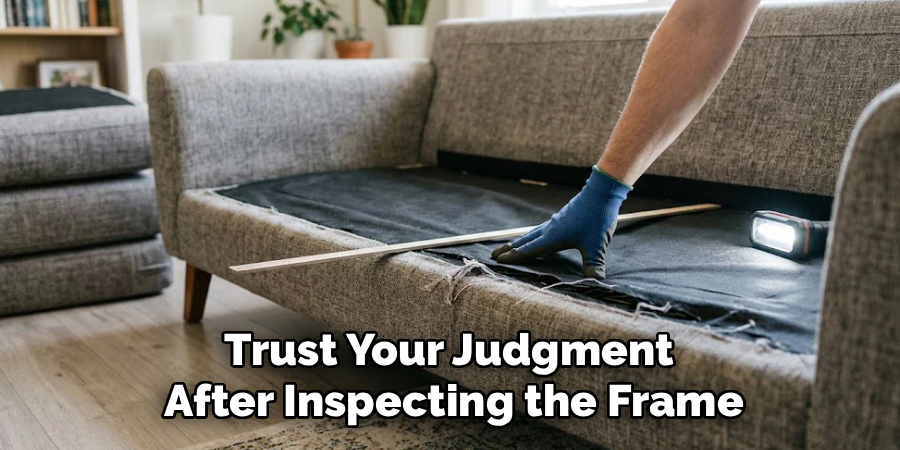
If the frame is cracked in several spots, the wood is rotted, or the cost of materials approaches the price of a new couch, replacement makes more sense. A sofa with sentimental value or solid bones is almost always worth saving. Trust your judgment after inspecting the frame, since a sturdy skeleton means furniture repair is the smarter choice.
Conclusion
Fixing a sunken seat is one of the most rewarding home projects you can tackle, and you now have everything you need to do it. Start by diagnosing the real cause, whether it’s tired couch cushions, loose webbing, broken springs, or a flexing seat deck. From there, tighten or replace the support, rebuild the foam, add plywood if you need extra firmness, and reinforce the frame so your work lasts.
Remember the big lessons: always fix the cause instead of the symptom, choose high-density foam, stretch your webbing tight, and measure before you cut. Knowing how to repair sagging sofa issues turns a frustrating piece of furniture into a comfy favorite once more.
You don’t need a technician or a big budget to bring your couch back to life. Grab your tools, set aside an afternoon, and give it a go. Once you feel that firm, level seat again, you’ll wonder why you waited so long. Your sofa, your back, and your wallet will all thank you.