

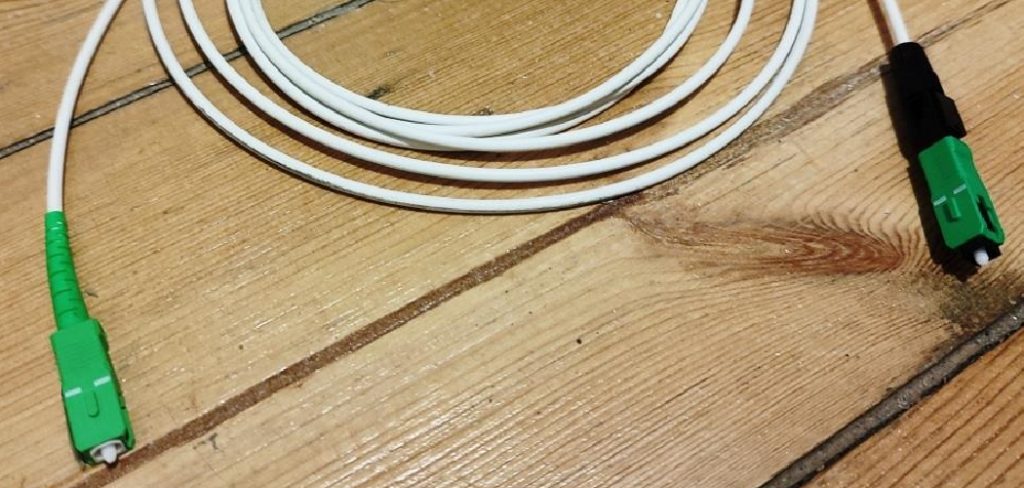
If your internet suddenly drops, a broken line might be the culprit. Knowing how to repair fiber optic cable can seem incredibly intimidating at first glance.
After all, we are talking about transmitting data through tiny strands of glass. However, you do not need to be a network engineer to handle a basic fix.
Learning how to tackle this problem on your own is a fantastic way to save a lot of money. You can skip the expensive technician call-out fees and long wait times.
With the right tools and a bit of patience, you can get your home network back online. This guide will walk you through the entire process step by step.
We will keep things simple, practical, and completely beginner-friendly. Grab your tool kit, and let’s get that connection fixed.
What Causes This Problem?
Before fixing the issue, it helps to know why your line broke in the first place. Fiber optic lines are incredibly fast, but they are also quite fragile.
Understanding the root cause can help you prevent future damage. Here are the most common reasons these lines break:
- Pets and Pests: Dogs, cats, and mice love to chew on exposed cords. Their sharp teeth easily slice through the protective outer jacket and snap the glass inside.
- Accidental Digging: Landscaping projects are a major culprit for outdoor lines. A single misplaced shovel strike can instantly sever your internet connection.
- Severe Bending: These cords cannot bend at sharp angles like regular copper wires. If a cord is pinched behind heavy furniture, the glass core will snap.
- Physical Crushing: Stepping heavily on a line or rolling a heavy chair over it can shatter the delicate internal strands.
- Weather Damage: Extreme temperature swings and ice can degrade outdoor cables over time. Falling tree branches are also a common hazard for aerial lines.
- Improper Installation: If the line was pulled too hard during the initial setup, microscopic cracks can form. These cracks eventually lead to total failure.
Tools and Materials Needed
You cannot fix a glass strand with electrical tape. You need specialized tools to do this job correctly.
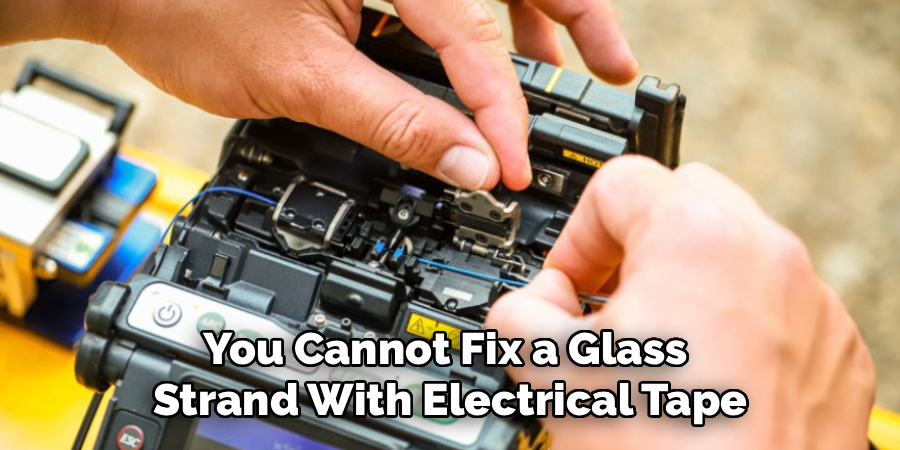
Thankfully, you can buy a beginner-friendly mechanical splice kit online. These kits have everything you need for a quick DIY repair.
Here is a clear list of what you must gather before starting:
- Mechanical Splice Connectors: These small plastic blocks hold the broken ends of the glass together perfectly.
- Fiber Optic Stripper: A specialized tool used to gently remove the outer plastic jacket without crushing the glass.
- Kevlar Scissors: Regular scissors will not cut the tough Kevlar strength members inside the cord.
- Fiber Cleaver: This is the most crucial tool on the list. It makes a perfectly flat, clean cut across the glass strand.
- Lint-Free Wipes: Regular paper towels leave behind dust that ruins the signal.
- Isopropyl Alcohol (99%): Used to clean the bare glass before splicing it together.
- Visual Fault Locator (VFL): A specialized red laser pen used to test the connection once you are finished.
- Safety Glasses: Essential to protect your eyes from microscopic glass shards.
- Black Electrical Tape: Used to secure the final repair housing.
Step-by-Step Guide on How to Repair Fiber Optic Cable
Now that you have your tools, it is time to get to work. Take a deep breath and clear a flat, well-lit workspace.
Patience is key here. Do not rush the delicate steps. Follow this simple process to restore your connection.
Step 1: Put on Your Safety Gear
Before doing anything else, put on your safety glasses. You will be dealing with incredibly tiny pieces of sharp glass.
Make sure your workspace is clean and free of clutter. Lay down a dark-colored mat or towel if possible.
A dark background makes it much easier to see the thin, transparent strands. Keep a small piece of masking tape handy to catch any glass scraps.
Step 2: Locate the Damage
You cannot fix the break until you find it. Sometimes the damage is obvious, like a cord chewed in half by a puppy.
Other times, the break is hidden inside the plastic jacket. This is where your Visual Fault Locator (VFL) comes in handy.
Plug the VFL into one end of the cord and turn it on. Look down the length of the cord for a glowing red spot.
The red glow indicates exactly where the glass is shattered inside. Mark this spot with a piece of tape.
Step 3: Cut Away the Damaged Section
Once you find the break, you need to remove the damaged area completely. Use your Kevlar scissors to cut the cord cleanly in half.
Make sure you cut a few inches away from the damaged spot on both sides. You want to work with fresh, undamaged materials.
You should now have two clean ends of the cord ready to be prepared.
Step 4: Strip the Outer Jacket
Take your fiber optic stripper and carefully remove about two inches of the outer plastic jacket from both ends.
Do this gently to avoid putting pressure on the core. Once the jacket is off, you will see a bunch of fuzzy yellow strands.
These are the Kevlar strength members. Snip these away with your Kevlar scissors so they are out of your way.
Step 5: Strip the Inner Coating
Beneath the Kevlar, you will find a thinner colored coating protecting the actual glass. Use the smallest hole on your stripper tool for this step.
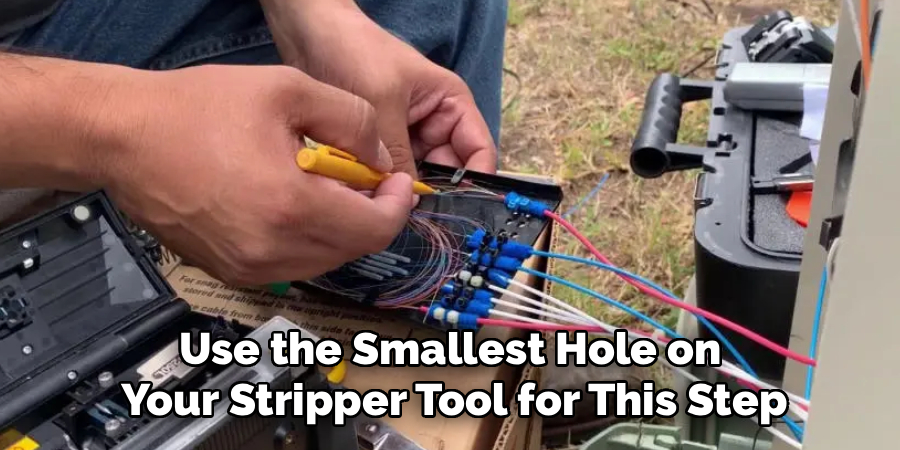
Gently scrape off about one inch of this inner coating. You must be extremely careful here.
If you squeeze too hard, the glass will snap, and you will have to start over. You should now see the bare, transparent glass strand.
Step 6: Clean the Bare Glass
Any dust or oil on the bare glass will ruin your internet signal. Take a lint-free wipe and add a few drops of 99% isopropyl alcohol.
Pinch the wipe around the base of the bare glass and pull it toward the end. You should hear a faint squeaking sound.
The squeak means the glass is perfectly clean. Never touch the bare glass with your bare fingers after cleaning it.
Step 7: Cleave the Glass
This step requires precision. You need perfectly flat ends so the two pieces of glass can seamlessly touch.
Place the clean strand into your fiber cleaver. Follow the specific instructions for your cleaver model to lock it in place.
Slide the cutting wheel across the glass. The tool will create a microscopic score and snap the glass at a perfect 90-degree angle.
Repeat the stripping, cleaning, and cleaving process for the other broken end of the cord.
Step 8: Insert into the Mechanical Splice
Now it is time to join the two ends. Take your mechanical splice connector and open the locking tabs.
Gently slide the first cleaved strand into one end of the splice. Push it in slowly until it stops.
Take the second cleaved strand and slide it into the opposite end. The two glass faces are now touching inside the small block.
Step 9: Lock the Splice and Test
Once both ends are touching, press down on the locking tabs of the mechanical splice. This secures the delicate strands in place.
Do not pull or tug on the cord. Now, grab your Visual Fault Locator again.
Plug it into one end of the newly repaired line. If the splice was successful, the red light will travel all the way through without glowing brightly at the repair site.
Step 10: Secure the Repair
Mechanical splices are somewhat fragile. You need to protect your hard work.
If your kit came with a protective housing case, place the splice inside and snap it shut. If not, carefully wrap the splice and the surrounding cord with a layer of electrical tape.
Keep the repaired section as straight as possible. Finally, plug your network gear back in and test your internet connection.
Important Safety Warnings
Working with these materials requires some common sense precautions. This is not like fixing a standard copper electrical wire.
First, never look directly into the end of an active line. The networking equipment uses infrared lasers that are invisible to the naked eye.
These lasers can cause permanent damage to your retina before you even realize it. Always assume a line is “live” and treat it with respect.
Second, be extremely careful with glass shards. The pieces you cleave off are practically invisible and easily penetrate the skin.
They can travel through your bloodstream if they prick your finger. Always stick your discarded scraps to a piece of masking tape immediately.
Dispose of the tape safely in a hard-sided trash container. Never wipe your workspace with your bare hands.
When to Call a Professional
DIY is great, but knowing your limits is equally important. Some situations are simply too complex for a home mechanical splice kit.
If your main underground utility line is severed, you must call your internet service provider. Digging up your yard requires heavy equipment and professional fusion splicing machines.
Fusion splicers physically melt the glass together for a permanent, waterproof seal. These machines cost thousands of dollars and are not practical for a DIYer.
You should also call a pro if you live in a large apartment building. Messing with the building’s central communication lines can disrupt service for your neighbors.
If you have tried the mechanical splice twice and the connection still fails, it is time to call for help. Sometimes, the damage extends further down the line than a visual check can reveal.
Cost Estimate: DIY vs. Pro
One of the best reasons to learn this skill is the money you keep in your pocket. Hiring a professional technician is rarely cheap.
Most telecom companies charge a minimum call-out fee of $100 to $150 just to show up at your door. The total bill for an hour of labor and materials can easily reach $200 to $300.
Worse yet, you might have to take a day off work to wait for the technician’s appointment window.
On the other hand, the DIY route is surprisingly affordable. A complete, beginner-friendly mechanical splice kit costs between $30 and $50 online.
This kit includes the cleaver, stripper, VFL, and splice connectors. If you make a mistake, replacement connectors cost just a few dollars each.
Plus, once you own the tool kit, any future repairs you need to make will be practically free.
Frequently Asked Questions
Can I just twist the broken wires together and tape them?
Absolutely not. Fiber optics rely on light traveling through a continuous tube of glass. Twisting or taping them will completely block the light signal. You must use a proper mechanical splice to align the microscopic glass cores perfectly.
Does a repaired line slow down my internet speed?
If the splice is done correctly, you will not notice any drop in speed. A good mechanical splice has very low signal loss. However, a dirty or poorly cut splice will cause data packet loss and slow down your connection drastically.
Are fiber optic lines dangerous to touch?
The cords themselves are totally safe to touch and handle. They do not carry high-voltage electricity like power lines. The only dangers are the invisible laser light inside and the sharp glass splinters created during the cutting process.
How fragile is the glass inside the cord?
The bare glass strand is incredibly thin, roughly the thickness of a human hair. It breaks very easily if bent or pinched. Always handle the stripped core with extreme care until it is safely locked inside the splice connector.
Can I use regular scissors to cut the cord?
Regular scissors will ruin the cord. The protective Kevlar fibers inside are designed to stop bullets and will quickly dull normal blades. Furthermore, regular scissors will crush and shatter the internal glass instead of making a clean cut.
Conclusion
Losing your internet connection is incredibly frustrating, but a broken line does not have to ruin your week. Now that you know exactly how to repair fiber optic cable, you can take matters into your own hands.
By taking your time, using the right tools, and following the safety guidelines, you can restore your network in under an hour. You will save money, avoid long service wait times, and gain a valuable new DIY skill.
Do not let tiny glass strands intimidate you. Order a basic splice kit today and keep it in your tool drawer so you are always prepared for the unexpected.