

Seeing a crack or gouge in your boat’s hull can ruin a perfectly good weekend. But before you panic and haul your vessel to an expensive repair shop, take a deep breath. Learning how to repair fiberglass on a boat is easier than you might think.
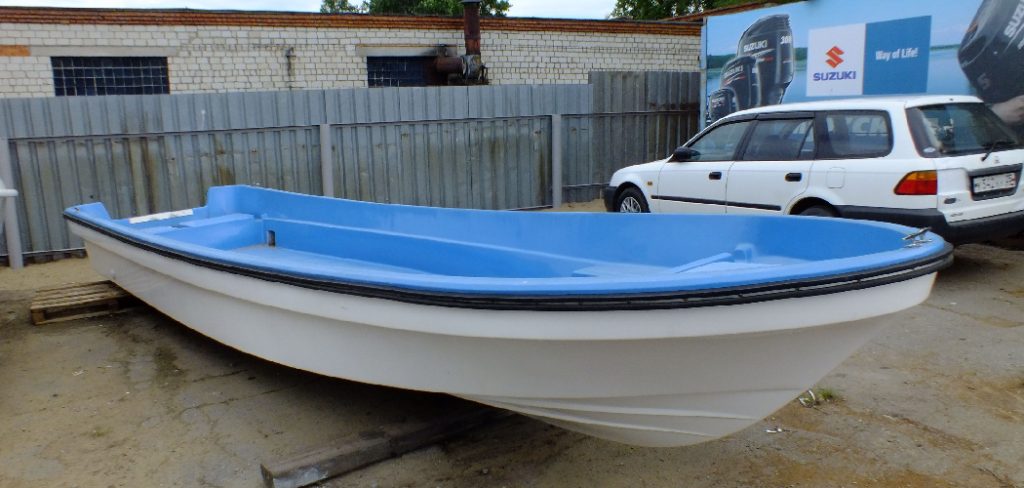
Fixing surface damage yourself is a smart move. It saves you hundreds of dollars in labor costs. Plus, it gets you back on the water much faster.
If you are a handy boat owner or a DIY enthusiast, you can tackle this project. You do not need a degree in marine engineering to get professional results. You just need the right tools, a little patience, and some weekend sunshine.
Let us walk through the process together so your boat looks as good as new.
What Causes Boat Fiberglass Damage?
Fiberglass is tough, but it is not invincible. Normal wear and tear takes a toll over time.
Here are the most common culprits behind hull damage:
- Dock impacts: Bumping into a dock too hard can cause chips or star cracks.
- Debris in the water: Striking submerged logs or rocks easily gouges the bottom.
- Trailer mishaps: Loading and unloading off a trailer can scrape the hull.
- UV exposure: Prolonged sunlight makes older fiberglass brittle and prone to cracking.
- Water intrusion: Water trapped in small scratches can freeze, expand, and crack the fiberglass.
Tools and Materials You Will Need
Before you start sanding, gather your supplies. Having everything within reach makes the job much smoother.
You will need the following items:
- Safety gear (respirator mask, safety goggles, heavy-duty nitrile gloves)
- Rotary tool or drill with a grinding bit
- Sandpaper (80-grit, 120-grit, 220-grit, and 400-grit)
- Acetone and clean rags for wiping surfaces
- Two-part epoxy resin or polyester resin
- Fiberglass cloth or mat
- Mixing cups and wooden stir sticks
- Putty knife or plastic spreader
- Marine-grade gelcoat matching your boat’s color
- Polishing compound and a buffing pad
Step-by-Step Guide: How to Repair Fiberglass on a Boat
Now we reach the fun part. Follow these simple steps to ensure your repair is strong and watertight.
Take your time with each phase. Prep work is just as important as the actual patch.
Step 1: Assess and Clean the Damage
First, figure out how deep the damage goes. If it is just a surface scratch, you might only need gelcoat.
If the fiberglass fibers are exposed or torn, you need a full repair.
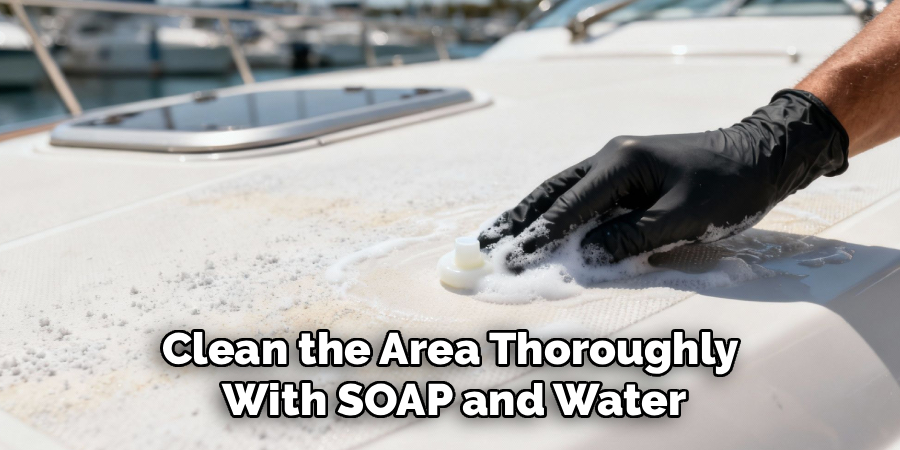
Clean the area thoroughly with soap and water. Once it dries, wipe it down with acetone to remove grease, wax, and dirt.
Step 2: Grind and Sand the Area
You must remove the loose, damaged fiberglass to create a solid base. Grab your rotary tool or a piece of 80-grit sandpaper.
Grind away the cracked material until you hit solid fiberglass.
Create a shallow bowl shape with tapered edges. This slope gives the new resin plenty of surface area to grip.
Wipe away the dust with an acetone-soaked rag. Let the solvent flash off completely before moving forward.
Step 3: Cut Your Fiberglass Cloth
Measure the hole or gouge you just sanded out.
Cut out pieces of fiberglass cloth to fit inside the tapered area.
You want to cut concentric circles or ovals. Start with a small piece for the deepest part of the hole. Make each subsequent piece slightly larger until the final layer sits flush with the original surface.
Step 4: Mix and Apply the Resin
Put on your respirator mask and gloves.
Mix your two-part epoxy or polyester resin according to the manufacturer’s directions. Only mix what you can use in about 15 minutes.
Brush a light layer of resin directly onto the sanded hole.
Press your smallest piece of fiberglass cloth into the wet resin. Use your brush or a plastic spreader to push out any air bubbles.
Step 5: Build Up the Layers
Apply a little more resin over the first piece of cloth.
Lay the next largest piece of cloth directly on top. Press it down flat, working from the center outward to remove air pockets.
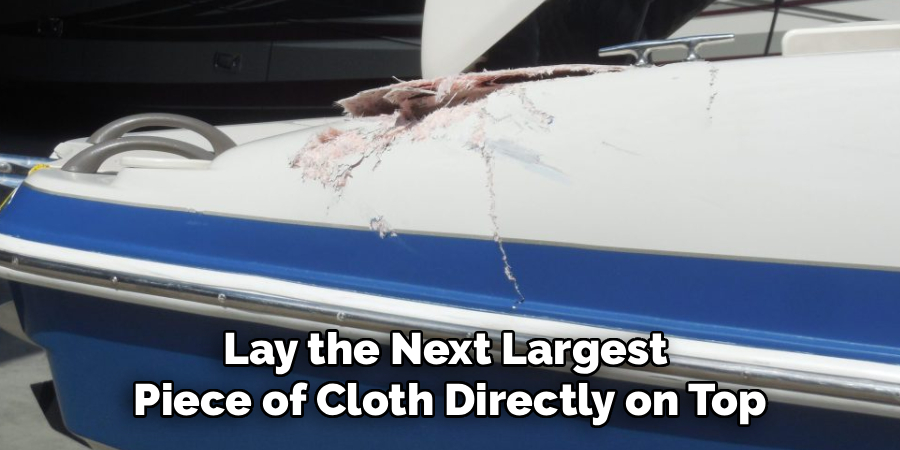
Repeat this process until you have applied all your fiberglass layers. The final patch should sit slightly below the surrounding gelcoat level.
Let the patch cure completely according to the resin instructions. This usually takes a few hours.
Step 6: Sand the Cured Patch
Once the patch feels hard to the touch, grab your 120-grit sandpaper.
Sand the area smooth. You want the patch to blend perfectly into the surrounding hull.
Wipe away the dust with acetone one more time.
Step 7: Apply the Gelcoat Finish
Mix your color-matched gelcoat with its hardener.
Brush or spray the gelcoat over the sanded patch. Apply it slightly thicker than the surrounding area, as it will shrink slightly as it cures.
Let the gelcoat dry completely.
Finally, wet-sand the cured gelcoat with 220-grit, then 400-grit sandpaper until it feels perfectly smooth.
Use a buffing pad and polishing compound to bring back that factory shine.
Essential Safety Warnings for Fiberglass Repair
Safety always comes first when working with marine chemicals. These materials are strong and require careful handling.
Always work in a well-ventilated area, preferably outdoors.
Never skip the respirator mask. Breathing in fiberglass dust or resin fumes is incredibly dangerous.
Wear nitrile gloves to protect your skin from chemical burns and sticky resin. Keep a fire extinguisher nearby, as some solvents are highly flammable.
When to Call a Professional Instead
We love a good DIY project, but some repairs cross the line. You need to know when to put down the tools.
Call a professional marine mechanic if the hole goes completely through the hull.
Structural damage, especially below the waterline, requires expert attention. If a crack spans more than a foot long, or if the internal core of the boat is rotting, leave it to the pros.
Your safety on the water is not worth risking over a tricky repair.
Cost Estimate: DIY vs. Pro Shop
Doing this yourself saves a massive amount of cash.
A basic DIY fiberglass repair kit costs between $50 and $100. This includes your resin, cloth, sandpaper, and basic tools. A pint of color-matched gelcoat might add another $30 to $50.
Total DIY cost: roughly $80 to $150.
Taking your boat to a professional shop tells a different story. Labor rates usually start at $100 per hour. Even a minor gouge can take several hours of prep, patching, and finishing.
Total professional cost: easily $500 to $1,500, depending on the damage size.
FAQs About How to Repair Fiberglass on a Boat
Can I use auto body filler on my boat?
No, standard auto body filler absorbs water. Always use marine-grade epoxy or polyester resins for boat repairs to prevent water intrusion.
How warm does it need to be to do fiberglass work?
Most resins require temperatures between 60°F and 80°F to cure properly. Check the instructions on your specific product for the ideal working temperature.
How long does a fiberglass patch last?
If done correctly, a fiberglass patch can last the lifetime of the boat. Proper preparation and keeping air bubbles out are the keys to longevity.
Is epoxy or polyester resin better for boat repairs?
Epoxy creates a stronger, more waterproof bond and sticks better to older fiberglass. However, polyester resin is cheaper and sometimes bonds better with gelcoat finishes.
Conclusion and Next Steps
Fixing a ding in your hull does not have to ruin your summer. Knowing how to repair fiberglass on a boat empowers you to handle minor damage quickly and affordably.
By gathering the right tools, taking your time with the prep work, and following the steps outlined above, you can achieve a seamless repair. Your boat will look fantastic, and your wallet will thank you.
Ready to tackle that scratch on your hull? Grab your safety gear, pick up a repair kit, and get your boat ready for your next adventure on the water.