

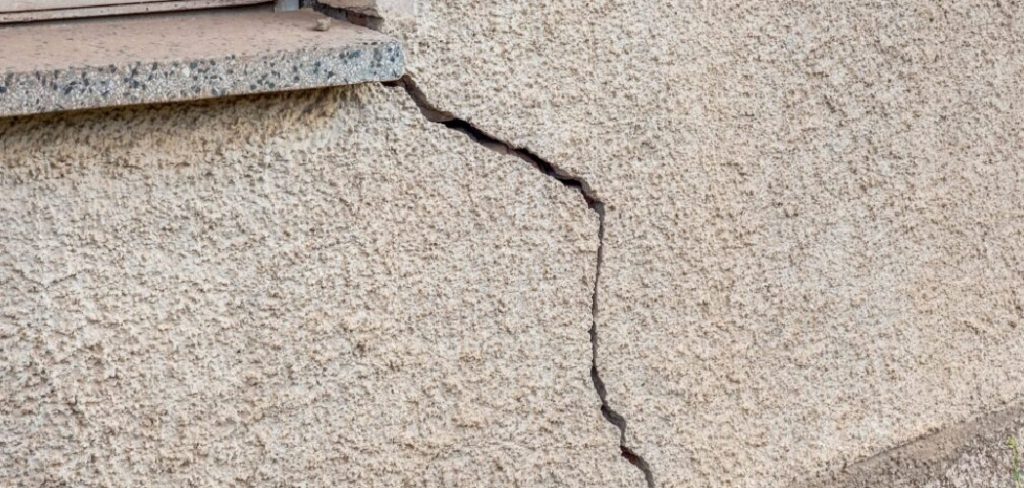
Are you staring at a nasty crack or hole in your house and wondering how to repair stucco exterior wall surfaces on your own? You are definitely not alone.
Many homeowners and renters face this exact same problem every year. Weather and time can easily damage your home’s exterior finish.
But before you panic, take a deep breath. Fixing it yourself is easier than you might think.
Hiring a contractor can cost you hundreds or even thousands of dollars. By learning how to fix this yourself, you save major money. Plus, you get the pride of a job well done.
Let us grab our tools and get your house looking brand new again.
What Causes This Problem?
Before learning how to repair stucco exterior wall damage, you should know why it happens. Stucco is tough, but it is not invincible. Several common factors cause cracks, blisters, and holes.
- House Settling: As your home ages, the foundation naturally shifts and settles. This movement pulls at the rigid exterior, causing stress cracks.
- Water Damage: Moisture is the biggest enemy of your home exterior. If water gets behind the finish, it expands and causes the surface to crumble.
- Extreme Weather: Rapid temperature changes make materials expand and contract. Over time, freezing and thawing cycles break down the protective layers.
- Impact Damage: A stray baseball, a bumpy lawnmower, or heavy hail can easily chip the surface.
- Poor Installation: If the original mix was wrong or applied incorrectly, it will fail much faster than normal.
Tools & Materials Needed for the Fix
Having the right gear makes all the difference. Gather these items before you start working. You can find all of this at your local hardware store.
- Safety goggles and heavy-duty work gloves
- A sturdy wire brush or a stiff putty knife
- Cold chisel and a heavy hammer
- Pre-mixed stucco patching compound (or a bag of dry mix)
- A masonry trowel and a pointing trowel
- Builder’s paper and galvanized wire mesh (for larger holes)
- Metal snips for cutting the wire mesh
- Roofing nails and a hammer
- A clean bucket for mixing
- A spray bottle filled with clean water
- A sponge or damp rag for texturing
Step-by-Step Fix Guide
Now we get to the fun part. Follow these simple steps to tackle this project like a pro. Take your time and do not rush the process.
Step 1: Inspect and Prep the Area
First, you need to assess the damage. Put on your safety goggles and gloves.
Use your hammer and cold chisel to gently chip away any loose, flaking, or crumbling pieces. You want to reach solid, firmly attached material.
If you leave loose pieces behind, your new patch will simply fall off later.
Step 2: Clean the Damage Zone
Once the loose bits are gone, grab your wire brush. Scrub the exposed area vigorously to remove dust and debris.
A clean surface is absolutely necessary. The new patching material needs a clean grip to stick properly.
Step 3: Install the Mesh (For Large Holes Only)
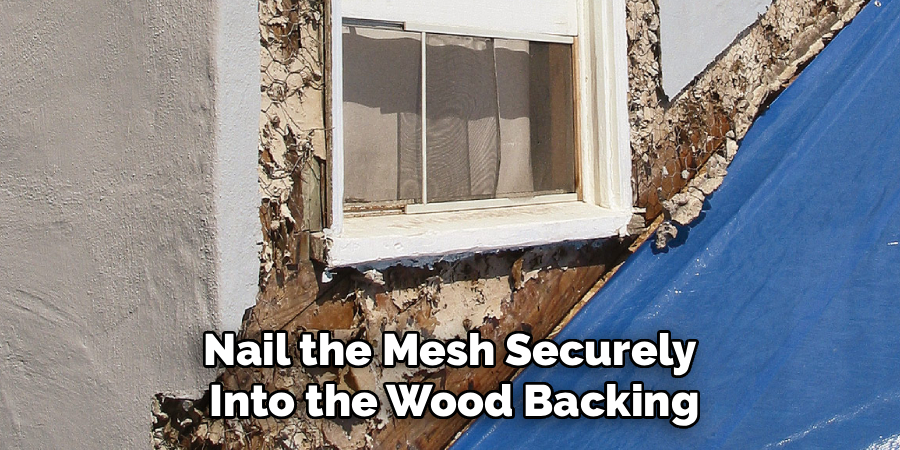
If your hole is deeper than half an inch, you need extra support. Cut a piece of builder’s paper to fit the hole.
Next, use your metal snips to cut a piece of galvanized wire mesh. Place the paper against the wood lath, and put the mesh over it.
Nail the mesh securely into the wood backing using your roofing nails. This gives the new material something to grab onto.
Step 4: Mix Your Patching Compound
If you bought pre-mixed compound, you can skip this step. If you bought dry mix, grab your bucket.
Follow the instructions on the bag carefully. Add water slowly and stir until it looks and feels like thick cake frosting.
Do not mix more than you can use in twenty minutes. It dries quickly!
Step 5: Apply the First Coat (The Scratch Coat)
Grab your spray bottle and lightly mist the edges of the old stucco. This stops the dry wall from pulling moisture out of your wet patch.
Use your masonry trowel to scoop up the wet mix. Press it firmly into the hole or crack.
Fill the hole until it is about a quarter-inch below the existing wall surface. Score the wet patch with your trowel to create rough lines. This helps the next coat stick.
Step 6: Let It Cure
Patience is key here. You need to let this scratch coat dry and cure.
Cover it with a plastic sheet to keep it damp. Let it sit for at least 24 to 48 hours.
Check the manufacturer instructions on your bag, as drying times can vary.
Step 7: Apply the Final Coat
Once the scratch coat is cured, it is time for the final layer. Mist the area with water one more time.
Apply a thin layer of the compound over the scratch coat using your trowel. Smooth it out so it sits flush with the rest of the wall.
Step 8: Match the Texture
While the final coat is still wet, you need to blend it in. Use your sponge or a damp rag to dab the wet material.
Try to match the stippling or sweeping patterns of your existing wall. This takes a little practice, so take your time.
Once it looks good, step back and let the entire patch cure completely for a few days before painting.
Safety Warnings to Keep in Mind
Your safety is always the top priority. DIY projects are fun, but they carry risks.
Always wear safety goggles. Chipping away old material sends sharp shards flying directly at your face.
Wear heavy-duty gloves. Wire mesh is incredibly sharp and will easily cut bare hands.
If you are working on a ladder, ensure it is on level ground. Have a friend hold the ladder steady while you work.
Finally, dry mix contains silica dust. Wear a dust mask when pouring and mixing the powder to protect your lungs.
When to Call a Professional
Knowing your limits is a sign of a smart DIYer. You can handle minor cracks and small holes easily.
However, some jobs require a pro. If the crack is wider than half an inch and runs perfectly straight down your house, stop. This might indicate severe foundation issues.
If you find massive water damage or black mold behind the wall, call an expert immediately.
If the damaged area is larger than three square feet, it is very hard to blend the texture properly. A professional will make it look seamless.
Cost Estimate: DIY vs. Pro
Let us talk numbers. Fixing this yourself is incredibly budget-friendly.
A bucket of pre-mixed patch costs around $20 to $30. Tools might run you another $40 if you need to buy them.
Your total DIY cost is usually under $75.
If you hire a professional contractor, expect to pay a premium. They usually charge between $60 and $120 per hour for labor.
With minimum trip fees and materials, a small professional repair will easily cost $300 to $600. Doing it yourself keeps that money right in your pocket.
Frequently Asked Questions
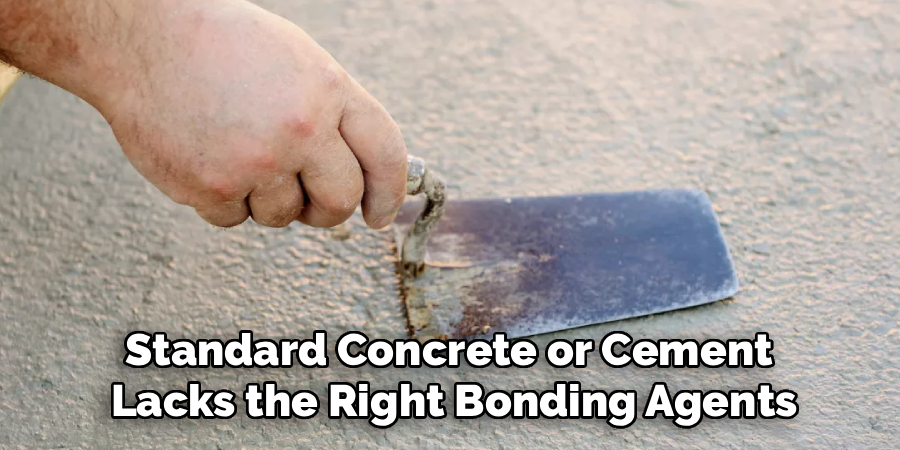
Can I use normal cement for this repair?
No, standard concrete or cement lacks the right bonding agents and flexibility. Always use a dedicated patching compound for the best results.
How long does the patch take to fully dry?
While it feels hard to the touch within a day, it takes up to 28 days to cure entirely. Wait at least a week before applying any masonry paint.
Do I need to paint the patch afterward?
Yes, you should paint it. Painting seals the porous material and protects it from rain and moisture. It also hides the repair job completely.
Can I apply the patch if it is freezing outside?
Avoid doing this repair in freezing weather. The water in the mix will freeze before it cures, causing the patch to crack and fail immediately.
Conclusion
We have covered everything you need to know regarding how to repair stucco exterior wall damage. It is a very manageable weekend project.
By following these simple steps, you can protect your home from water damage and boost its curb appeal. Remember to prep the area well, take your time with the texture, and prioritize safety.
You do not need to spend a fortune on contractors for small fixes. You have the skills to handle this like a total pro.
Ready to get your house looking incredible again? Head to your local hardware store, grab your supplies, and start patching today!