

Do you have a kitchen or dresser drawer that constantly sticks, jams, or falls off its tracks? You are definitely not alone.
Anyone with wooden furniture or modern kitchen cabinets will eventually deal with this frustrating issue. The good news is that learning how to repair drawer slides is much easier than you might think.
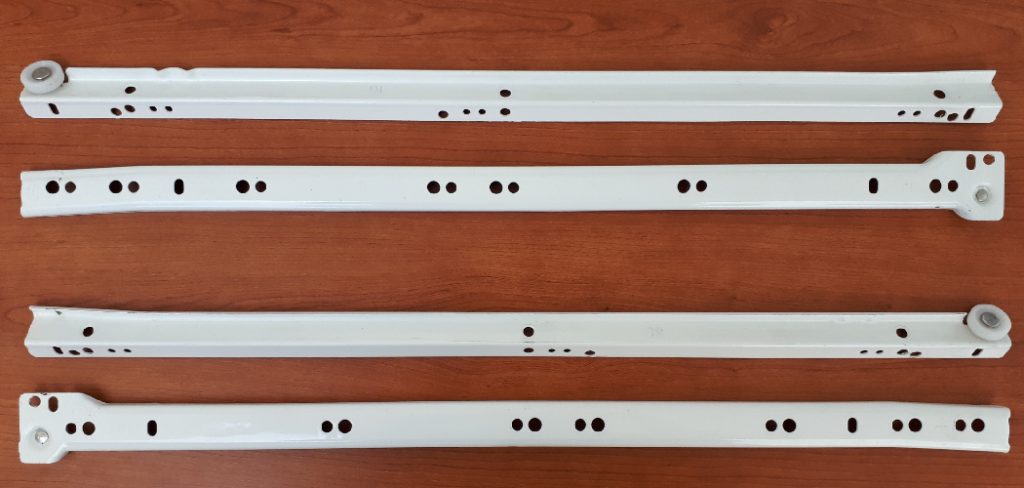
Fixing a stubborn drawer yourself saves you the high cost of hiring a carpenter or replacing the entire furniture piece. Plus, you get the satisfaction of solving the problem with your own two hands. We will walk you through the entire process from start to finish.
Understanding How to Repair Drawer Slides
Before we dive into the fix, it helps to understand why your drawers are acting up. Drawer hardware takes a lot of daily abuse. Over time, friction, weight, and general wear take their toll.
Let’s look at the most common culprits behind sticky or broken drawers.
What Causes This Problem?
- Loose or missing screws: The hardware holding the tracks often wiggles loose after years of opening and closing.
- Bent tracks or glides: Overloading a drawer can warp the metal, preventing smooth movement.
- Worn-out rollers: Plastic or nylon wheels degrade, crack, or flatten out over time.
- Debris and dirt buildup: Dust, pet hair, and grease can clog the runners, causing severe friction.
- Wood swelling: Changes in humidity can make the drawer box or cabinet frame expand and pinch the slides.
Tools & Materials Needed
You do not need a fancy workshop to tackle this project. You likely already have most of these items in your basic toolkit. Grab the following items before we start:
- Phillips and flathead screwdrivers
- A damp rag or paper towels
- A mild degreaser or dish soap
- Needle-nose pliers
- Silicone spray lubricant or dry Teflon spray
- Replacement screws (if your current ones are stripped)
- Replacement drawer slides (only if the current ones are completely broken)
- A tape measure
- A small flashlight
Step-by-Step Guide: How to Repair Drawer Slides at Home
Ready to get that drawer sliding like new again? Follow these beginner-friendly steps to fix the problem safely and quickly.
Step 1: Empty and Remove the Drawer
Start by taking everything out of the drawer. Working with an empty drawer is much safer and lighter.
Next, pull the drawer out as far as it will go. Look for plastic release levers on the side tracks. If you see them, push the levers down (or pull them up) and pull the drawer completely out.
If your drawer uses wooden runners or simple bottom rollers, gently lift the front of the drawer up and pull it toward you to release it. Set the drawer box on a flat, stable surface.
Step 2: Inspect and Clean the Tracks
Grab your flashlight and inspect the tracks inside the cabinet and on the drawer box. Look for obvious signs of damage, like bent metal, cracked plastic, or missing screws.
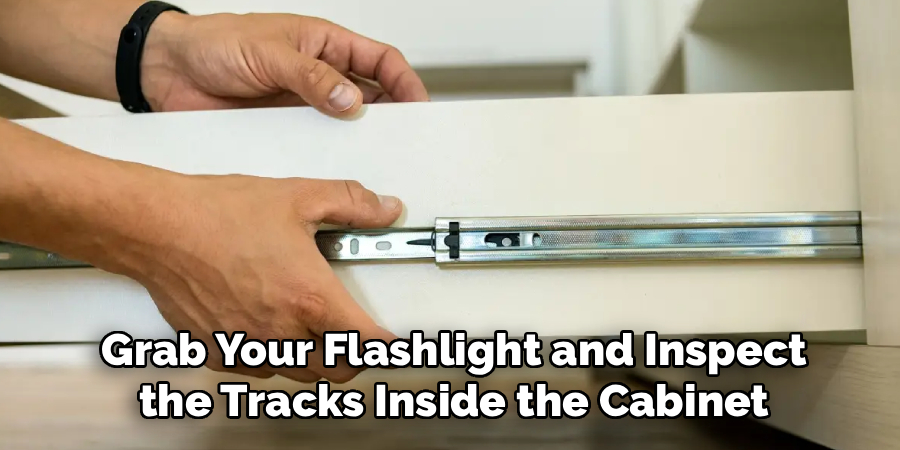
Often, the problem is just years of accumulated grime. Spray your degreaser onto a rag and wipe down all the metal parts.
Make sure you remove all the sticky residue, dust, and old grease. A clean track is essential for smooth movement.
Step 3: Tighten All Screws and Fasteners
Loose hardware is the number one cause of sagging or jammed drawers. Grab your screwdriver and check every single screw on the cabinet tracks and the drawer box.
Tighten any loose screws until they are snug against the metal. Do not over-tighten, or you might strip the wood.
If a screw spins freely and won’t catch, the hole is stripped. You can fix this by stuffing a wooden toothpick and some wood glue into the hole, letting it dry, and reinserting the screw.
Step 4: Straighten Bent Tracks
If your drawer still won’t slide right, check the metal tracks for bends. Overloaded drawers often bend the metal glides out of alignment.
Use your needle-nose pliers to gently bend the track back into a straight line. Pinch the metal firmly and apply slow, even pressure.
Test the straightness by running your finger along the edge. It should feel completely smooth and uniform.
Step 5: Replace Damaged Rollers or Tracks (If Necessary)
Sometimes, the hardware is simply beyond repair. If the plastic rollers are shattered or the metal is heavily rusted, you need new slides.
Measure the length of your current slides with your tape measure. Purchase a matching set of side-mount or bottom-mount slides from your local hardware store.
Unscrew the old hardware and use the included screws to attach the new tracks in the exact same position. Use a small level to ensure they are perfectly straight.
Step 6: Apply the Right Lubricant
Never use WD-40 or heavy oil on your drawer runners. These wet lubricants attract dust and create a sticky, messy paste over time.
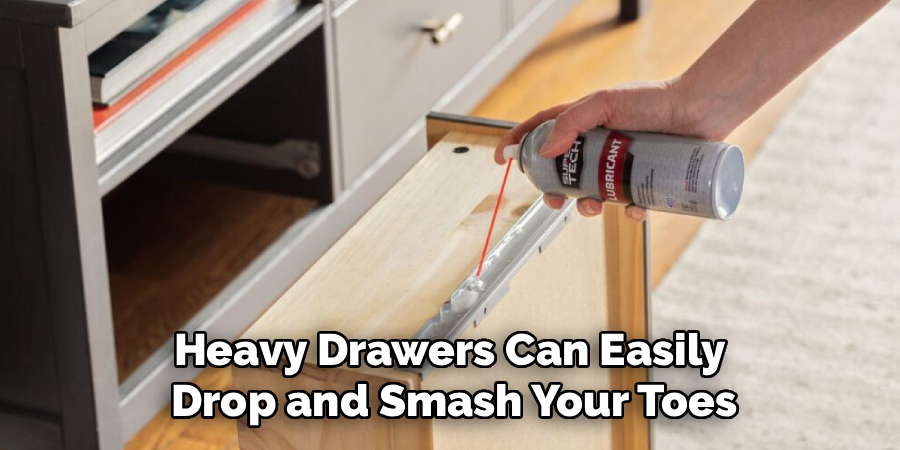
Instead, use a dry silicone spray or a Teflon-based lubricant. Give the tracks and rollers a very light spray.
If you have wooden drawer runners, simply rub a plain white candle or a block of paraffin wax along the sliding surfaces. This provides excellent, mess-free lubrication.
Step 7: Reinstall and Test the Drawer
Carefully line up the rails on the drawer box with the tracks inside the cabinet. Push the drawer in slowly and evenly.
If it feels like it is binding, do not force it. Pull it back out, realign the tracks, and try again.
Once the drawer is seated, open and close it a few times. The movement should be smooth, quiet, and effortless.
Safety Warnings
While this is a very safe DIY project, you should always keep a few basic precautions in mind.
Always remove the contents of the drawer before pulling it out. Heavy drawers can easily drop and smash your toes.
Watch your fingers when testing the sliding mechanisms. The metal tracks can act like scissors and pinch your skin.
When using chemical lubricants or degreasers, keep the room well-ventilated. Always wash your hands thoroughly after applying silicone or Teflon sprays.
When to Call a Professional
Most homeowners can handle basic hardware tightening and lubrication without any issues. However, some situations require an expert touch.
Call a professional carpenter or cabinet maker if the wooden cabinet frame itself is severely cracked or rotted. Structural damage to the furniture requires advanced woodworking skills.
You should also seek help if dealing with priceless antique furniture. A professional can restore the piece without damaging its historical value or delicate woodwork.
Cost Estimate: DIY vs. Pro
One of the best parts about fixing your own home hardware is the money you save.
DIY Cost: Cleaning and lubricating costs almost nothing if you already have the supplies. If you need to buy a brand-new set of heavy-duty drawer slides, expect to pay between $15 and $30 per pair. A can of silicone spray costs about $8. Total DIY cost rarely exceeds $40.
Professional Cost: Hiring a handyman or cabinet repair specialist involves trip charges and hourly labor rates. You can expect to pay anywhere from $100 to $250 for a professional to diagnose and replace a single set of tracks.
FAQs About Drawer Repair
Can I use WD-40 on sticky drawers?
No. Standard WD-40 is a solvent that attracts dust and dirt. Always use a dry silicone spray or beeswax for a smooth glide without the sticky mess.
Why does my drawer keep opening by itself?
This usually happens because the cabinet is not sitting perfectly level. You can fix this by adjusting the furniture legs or installing small magnetic catches.
How do I fix a stripped screw hole in my cabinet?
Dip a wooden toothpick or matchstick in wood glue and push it into the stripped hole. Break it off flush with the surface, let it dry, and drive your screw back in.
Do all drawer slides have release levers?
No. Many older bottom-mount models require you to simply lift the drawer upward and pull. Some side-mount friction slides just require a firm tug to pull free.
How much weight can standard slides hold?
Most standard residential drawer hardware holds between 50 and 75 pounds. Always check the manufacturer’s weight rating if you are storing heavy tools or pots.
Conclusion
Dealing with jammed and crooked furniture is frustrating, but it does not have to be a permanent headache. Now you know exactly how to repair drawer slides using simple tools and basic techniques.
By cleaning the tracks, tightening loose screws, and applying the right lubricant, you can save money and extend the life of your furniture. You do not need to be a master carpenter to get professional results.
Grab your screwdriver, pick a sticky cabinet, and give this easy DIY fix a try today!