

Noticing a long, ugly split running down the corner of your room can be frustrating. You might worry about structural damage or expensive repair bills.
Fortunately, learning how to repair drywall corner cracks is much easier than you think. Homeowners and renters deal with this cosmetic issue all the time.
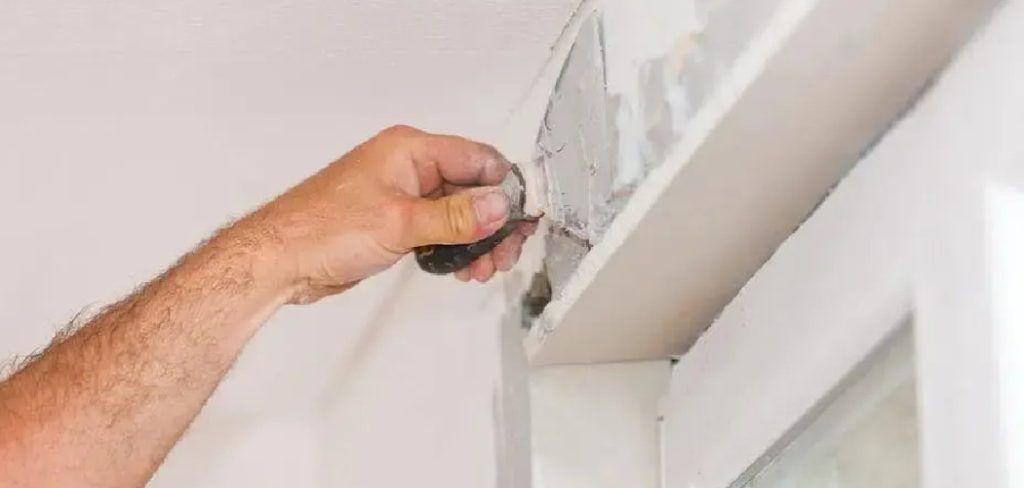
Fixing it yourself is a smart move. It saves you the high cost of hiring a contractor for a simple afternoon project.
In this guide, we will walk you through exactly how to repair drywall corner cracks. You will learn the right techniques to ensure the split never comes back.
Roll up your sleeves, and let us get those walls looking brand new again.
What Causes Drywall Corner Cracks?
Before we fix the problem, it helps to understand why it happened. Wall corners are weak points in your home.
When your house shifts, these joints often take the most stress. Here are the most common culprits behind your damaged walls.
- House Settling: New homes often shift slightly as the foundation settles into the earth. This slight movement easily pulls corner joints apart.
- Temperature Fluctuations: Wood framing expands in the heat and contracts in the cold. This constant shifting causes the rigid mud and tape to split.
- High Humidity: Moisture in the air makes wood studs swell. When they dry out, the resulting movement fractures the drywall seams.
- Poor Installation: Sometimes builders rush the taping process. If they do not use enough mud behind the tape, it will eventually peel and crack.
- Heavy Vibrations: Living near a busy road or railway can literally shake your walls. Over time, these micro-vibrations damage delicate corner seams.
Tools & Materials Needed
You cannot do a good job without the right supplies. Gathering everything beforehand saves you frustrating trips to the hardware store.
Most of these items are cheap and easy to find. Here is what you need for a permanent fix.
Essential Materials
- All-purpose joint compound: Often called “mud,” this is the glue that holds the repair together.
- Paper drywall tape: Paper tape is much stronger for inside corners than fiberglass mesh tape.
- Drywall primer: Essential for sealing the repair before painting.
- Matching interior paint: To blend the repair into the rest of your wall.
Required Tools
- A 4-inch putty knife: Perfect for scraping and applying the first layer of mud.
- A 6-inch drywall taping knife: Needed to feather out the edges smoothly.
- A mud pan: To hold your joint compound while you work.
- A utility knife: For cutting away loose tape and debris.
- A fine-grit sanding block: Essential for getting a perfectly smooth finish.
- A damp sponge: Useful for wet sanding and cleanup.
Step-by-Step Fix Guide on How to Repair Drywall Corner Cracks
Now we get to the fun part. Follow these simple steps carefully.
Taking your time ensures a beautiful, invisible repair. Let us dive into exactly how to repair drywall corner cracks.
Step 1: Assess and Prep the Area
You must start with a clean workspace. Move furniture away from the corner so you have plenty of room.
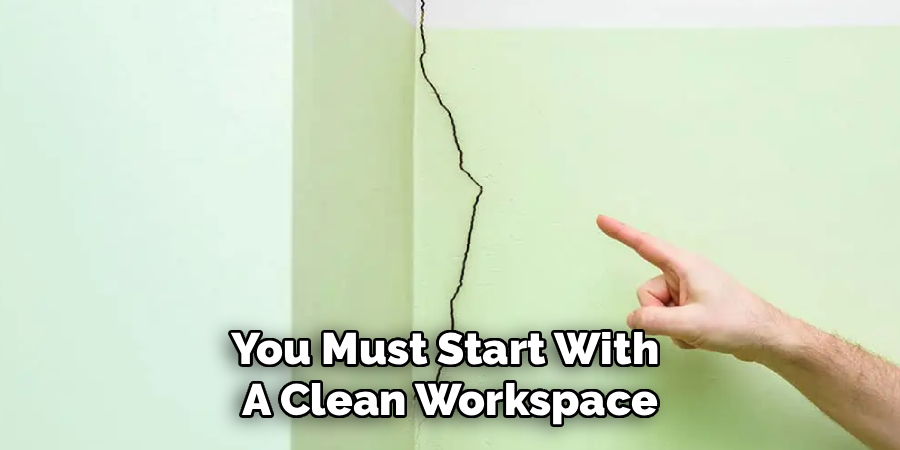
Lay down a canvas drop cloth to protect your floors from falling dust and wet mud.
Shine a bright work light on the corner. This helps you see the true extent of the damage.
Step 2: Cut Away the Damaged Tape
You cannot just smear new mud over peeling tape. You have to remove the weak foundation first.
Take your sharp utility knife. Carefully slice along both sides of the damaged crack.
Peel away any loose paper tape and crumbly joint compound. Scrape the area gently with your 4-inch putty knife.
You want a solid, clean surface. Vacuum away the dust when you finish scraping.
Step 3: Apply the Base Layer of Mud
Scoop some all-purpose joint compound into your mud pan. Use your 4-inch knife to scoop up a small amount.
Press the mud firmly into the corner joint. Fill any deep gaps completely.
Spread a thin, even layer of mud about two inches wide on both sides of the corner. This acts as the glue for your new tape.
Do not put it on too thick. A smooth, thin bed of mud is all you need here.
Step 4: Fold and Apply the Paper Tape
Measure the length of your repair. Cut a piece of paper drywall tape to match that length.
Look closely at the tape. You will see a faint crease running right down the middle.
Fold the tape in half along that crease. This creates a perfect 90-degree angle for your corner.
Press the folded tape gently into the wet mud. Make sure it sits perfectly straight in the corner crease.
Step 5: Embed the Tape Smoothly
Take your 4-inch knife. Start at the top of the tape and press lightly.
Pull the knife down one side of the corner, squeezing out excess mud from behind the tape.
Repeat this motion on the other side of the corner. Be careful not to press so hard that you tear the wet paper.
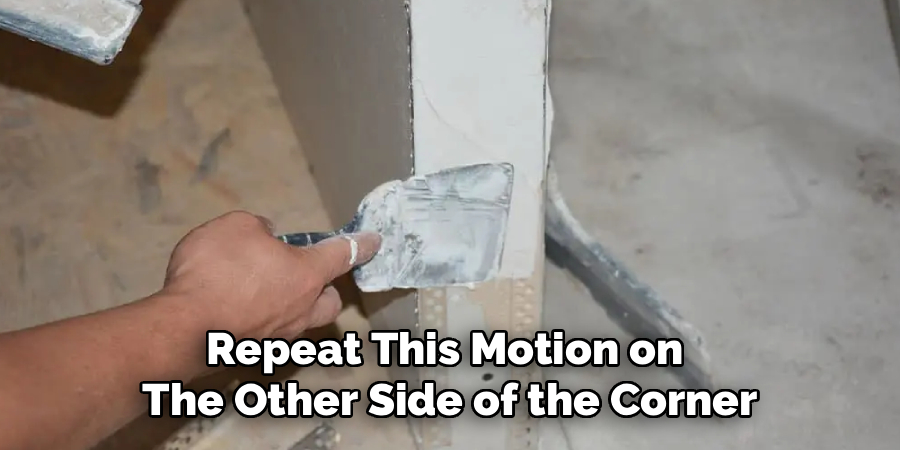
The tape should now sit flat against the wall. Let this base layer dry completely, usually overnight.
Step 6: Apply the First Top Coat
Once the base is totally dry, it is time to build up the surface. Grab your 6-inch taping knife.
Apply a smooth layer of mud over one side of the tape. Feather the edge out onto the flat wall so it blends nicely.
Leave the other side of the corner alone for now. If you try to do both sides at once, your knife will ruin the wet mud on the opposite wall.
Let this first side dry completely. Once dry, repeat the process on the second side of the corner.
Step 7: Apply the Final Skim Coat
Your repair is getting stronger. Now we need to make it look perfect.
Apply one more very thin coat of mud over the entire repair area. Use your 6-inch knife to feather the edges out even wider.
Press firmly on the outer edges of your knife. This makes the transition from mud to bare wall completely seamless.
Allow this final skim coat to dry for at least 24 hours.
Step 8: Sand Everything Smooth
This is the messiest step, but it is crucial for a great finish. Put on your dust mask.
Take your fine-grit sanding block. Gently rub the dried mud in circular motions.
Focus heavily on the outer edges where the mud meets the wall. You want a transition you cannot even feel with your fingers.
Do not sand too hard directly in the corner. You do not want to expose or tear the paper tape underneath.
Step 9: Prime and Paint
Wipe away all the sanding dust with a slightly damp sponge. Let the wall dry for ten minutes.
Apply a high-quality drywall primer over the fresh mud. Primer seals the porous compound so your paint looks even.
Once the primer dries, apply your matching interior paint. You may need two coats for a perfect color match.
Step back and admire your work. You now have a flawless, sturdy corner.
Safety Warnings for Drywall Repair
DIY projects are fun, but safety must always come first. Working with drywall dust and tools requires some basic precautions.
Always wear a high-quality dust mask or respirator when sanding. Joint compound dust is very fine and harmful to your lungs.
Wear safety glasses to keep falling debris and dust out of your eyes.
If you are working high up near the ceiling, use a sturdy step ladder. Never stand on chairs or wobbly furniture.
Finally, keep your utility knife blades sharp. A dull blade requires more force, making dangerous slips much more likely.
When to Call a Professional
Knowing your limits is a key part of being a smart DIYer. Most minor settling cracks are easy to handle yourself.
However, some signs indicate a larger, more dangerous problem.
If the gap in the corner is wider than half an inch, call an expert.
If you notice your doors and windows are suddenly sticking or not closing properly, stop immediately.
These are signs of major foundation failure. A structural engineer or professional contractor needs to evaluate the safety of your home.
DIY vs. Professional Cost Estimate
One of the best reasons to learn this skill is the money you keep in your pocket.
If you tackle this project yourself, you will spend very little. A tub of mud, some tape, and a few basic knives will cost you between $30 and $50 total.
Plus, you get to keep the tools for future home repairs.
Hiring a professional drywall contractor is much more expensive. They charge for travel, labor, and materials.
A professional will typically charge anywhere from $150 to $300 to fix a single corner crack. Fixing it yourself clearly offers incredible savings.
Frequently Asked Questions
Can I use caulk instead of joint compound for this repair?
Caulk is a quick, temporary fix that painters sometimes use. However, it is not a permanent solution. Caulk shrinks over time and does not provide the structural strength that paper tape and joint compound do. For a lasting repair, stick to mud and tape.
Why do my corner seams keep splitting in the exact same spot?
Repeated splitting usually means there is ongoing movement in the framing. It could also mean the previous repair used mesh tape instead of paper. Paper tape is much better at handling the stress of an inside corner. If the issue persists, check for underlying moisture or structural problems.
Should I use fiberglass mesh tape or paper tape?
Always use paper tape for inside corners. Mesh tape is great for flat seams, but it does not fold neatly. Paper tape has a built-in center crease that makes achieving a sharp, crisp 90-degree corner much easier.
How long does joint compound take to dry?
Standard all-purpose joint compound usually takes 12 to 24 hours to dry completely. The exact time depends on the humidity and temperature in your home. If you want a faster drying time, you can buy “setting-type” compound, which hardens in as little as 20 minutes.
Do I really need to use primer before painting?
Yes, skipping primer is a common beginner mistake. Joint compound is highly porous. If you apply paint directly to it, the mud will absorb the moisture. This leaves the repaired area looking dull and completely different from the rest of the wall.
Conclusion: Mastering How to Repair Drywall Corner Cracks
Taking care of your own home maintenance is incredibly rewarding. You save money, learn new skills, and increase the value of your property.
Now that you know how to repair drywall corner cracks, those ugly wall lines do not have to stress you out. By using the right tools and taking your time with the mud and tape, you can achieve a seamless finish.
Remember to let each layer dry fully and sand the edges gently. Your walls will look pristine in no time.
Ready to tackle more home improvements? Grab your putty knife today and show that damaged corner who is boss!