

Do you have a corner cabinet that refuses to spin? You are not alone. A broken spinning shelf is one of the most annoying kitchen problems you can face.
The good news is that you do not need to replace your entire cabinet. Learning how to repair a lazy susan is a simple project you can tackle this weekend.
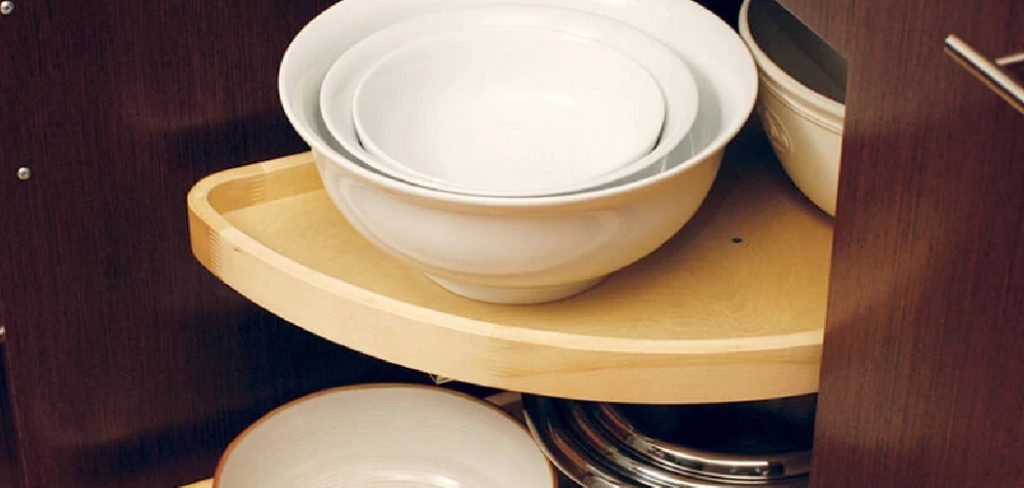
Homeowners and renters deal with this issue all the time. Daily use causes screws to loosen and bearings to wear out.
Calling a handyman for this quick fix can cost you hundreds of dollars. Fixing it yourself takes only a few simple tools and a little bit of patience.
You will save money, gain confidence, and get your kitchen back in working order. Let us walk through this simple repair together.
What Causes This Problem?
Before we start fixing things, we need to know what went wrong. Kitchen cabinets take a lot of abuse over the years.
Understanding the root cause helps you prevent the issue from happening again. Here are the most common reasons your spinning shelf stopped working:
- Overloading: Storing too many heavy cans or pots on one side throws off the balance. This causes the hardware to warp over time.
- Loose Mounting Screws: Constant spinning vibrations cause the top and bottom mounting screws to wiggle loose. This leads to a wobbly center pole.
- Worn or Dirty Bearings: The metal ball bearings collect dust, grease, and food crumbs. When they get dirty, the shelf sticks and grinds.
- Slipped Support Collars: The plastic or metal collars holding the shelf on the center pole can slide down. This causes the entire shelf to sag.
- Broken Hardware: Sometimes plastic brackets snap from old age or heavy impact. This requires replacing the damaged component completely.
Tools & Materials Needed
You do not need a massive workshop to complete this project. Most of these items are probably sitting in your garage right now.
Gather these tools before you begin so you do not have to stop halfway through. Preparation makes every DIY project much easier.
- Phillips and flathead screwdrivers
- A flashlight or headlamp (cabinets get very dark inside)
- Silicone-based lubricant spray (avoid WD-40 as it attracts dust)
- A clean microfiber cloth and mild degreaser
- Wood toothpicks or wooden matchsticks (for filling stripped screw holes)
- Wood glue
- A small level
- Replacement lazy susan bearings or mounting hardware (if parts are broken)
Your Step-by-Step Fix Guide: How to Repair a Lazy Susan
Now it is time to get your hands dirty. We will cover the most common issues like sticking, wobbling, and sagging.
Take your time and do not force any plastic parts. Moving slowly prevents accidental damage to your cabinetry.
Step 1: Empty and Inspect the Cabinet
You cannot fix a cabinet while it is full of soup cans and baking pans. Remove absolutely everything from the shelves.
Use your flashlight to inspect the center pole, the top mounting bracket, and the bottom base. Look for loose screws, cracked plastic, or a leaning center shaft.
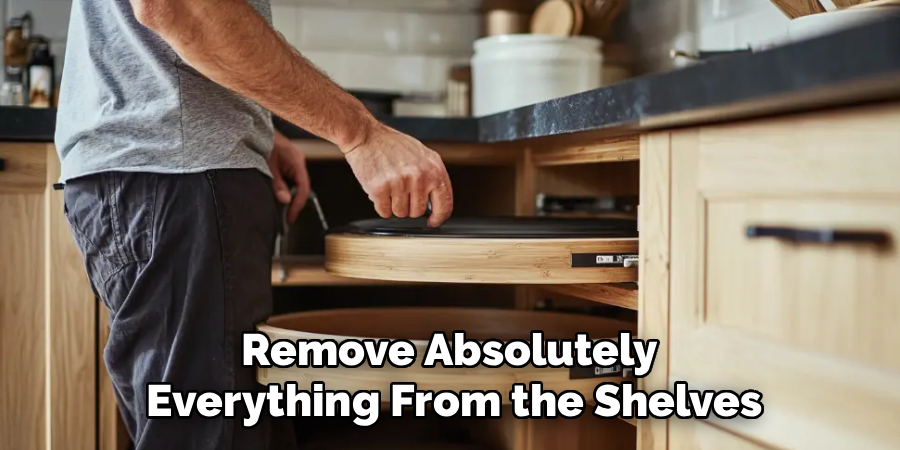
Spin the empty shelf slowly. Listen closely for any grinding noises or spots where the shelf catches.
Step 2: Fix a Sticking or Jammed Rotation
If your shelf is hard to push, the bearings are likely dirty or dry. Kitchen grease easily mixes with dust to form a sticky sludge.
Spray your cloth with a mild degreaser. Wipe down the tracks and the area around the metal bearings at the top and bottom.
Once the area is clean and dry, grab your silicone lubricant. Give the bearings a quick, light spray while slowly rotating the shelf.
Wipe away any excess lubricant immediately. Your shelf should now spin smoothly and quietly without any extra effort.
Step 3: Stop the Wobble and Align the Pole
A wobbly shelf usually means the top or bottom mounting brackets are loose. Check the screws holding the center pole to the ceiling and floor of the cabinet.
Grab your screwdriver and tighten any loose screws. If a screw keeps spinning without tightening, the wood hole is stripped.
To fix a stripped hole, remove the screw completely. Dip a wooden toothpick in wood glue and push it into the hole.
Break off the toothpick flush with the wood surface. Let it dry for ten minutes, then drive the screw back in for a tight grip.
Step 4: Correct Sagging Shelves
Sagging shelves happen when the support collar slides down the center pole. This makes your shelf rub against the cabinet door or the shelf below it.
Look under the sagging shelf for a small screw or pin holding the support collar in place. Loosen this screw just enough to slide the collar upward.
Lift the shelf to your desired height. Use a small level to ensure the shelf is completely flat before tightening the screw.
Tighten the support collar screw firmly. Give the shelf a test spin to make sure it clears the cabinet doors perfectly.
Step 5: Replace Faulty Bearings or Broken Parts
Sometimes a good cleaning is not enough. If the metal bearings are rusted or the plastic brackets are cracked, you need replacement parts.
Unscrew the top and bottom brackets to remove the entire lazy susan unit from the cabinet. Take the broken part to your local hardware store to find an exact match.
Install the new bearings or brackets by screwing them into the original holes. Reinstall the center pole and secure it tightly.
Make sure the pole is perfectly vertical using your level. Reattach the shelves and test the rotation one final time.
Safety Warnings for Cabinet Repairs
Safety should always come first, even for simple indoor projects. Working inside cramped kitchen cabinets presents a few unique hazards.
Wear safety glasses to protect your eyes. Dust, wood chips, and dried grease can easily fall into your eyes while looking up at the top bracket.
Be careful when lifting heavy wooden shelves out of the cabinet. They can be awkward to maneuver through narrow cabinet doors.
Never use excessive force on plastic parts. If a piece refuses to move, double-check for hidden screws or locking tabs before pulling harder.
When to Call a Professional
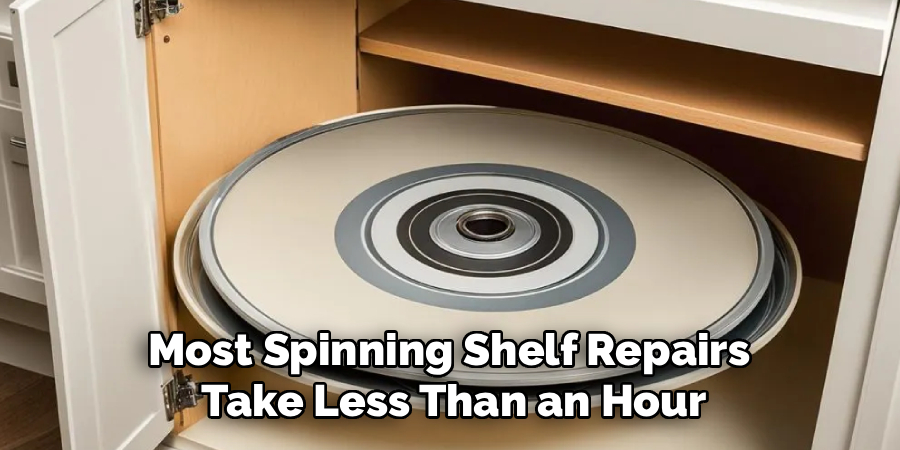
DIY is great, but knowing your limits is equally important. Most spinning shelf repairs take less than an hour, but some situations require a pro.
Call a cabinet specialist if the wood surrounding the mounting brackets is completely rotted from water damage. Wood rot compromises the structural integrity of your entire kitchen island.
You should also call a pro if you have a custom-built, high-end corner unit with complex internal mechanics. Tinkering with expensive proprietary hardware might void your kitchen warranty.
Finally, if physical mobility issues make it hard to kneel or reach into deep cabinets, hire a handyman. Your safety and comfort are always worth the extra money.
Cost Estimate: DIY vs. Professional Repair
Fixing things yourself keeps your hard-earned cash in your wallet. Let us look at the real cost difference for this project.
A DIY repair is incredibly cheap. A can of silicone spray costs about $8, and replacement bearings usually run between $10 and $25.
If you already have basic tools, your total DIY cost will likely be under $30. Plus, you invest only about an hour of your own time.
Hiring a professional handyman paints a different picture. Most contractors charge a minimum call-out fee just to show up at your house.
Expect to pay between $150 and $300 for a professional repair. By spending an hour doing it yourself, you keep a nice chunk of money in the bank.
Frequently Asked Questions
Can I use WD-40 to lubricate my cabinet hardware?
No, you should avoid standard WD-40. It is a solvent that strips away grease, but it attracts dust and grime over time. Always use a dry silicone or Teflon-based spray instead.
Why does my shelf hit the cabinet door when it spins?
Your center pole is likely out of alignment, or the shelf is sagging. Check the top and bottom mounting brackets to ensure the pole is perfectly vertical. Then, adjust the support collars under the shelf.
How much weight can a corner spinning shelf hold?
Most standard units can hold between 30 to 50 pounds per shelf. However, you must distribute the weight evenly. Placing heavy cans on one side will warp the hardware quickly.
Can I replace a plastic lazy susan with wooden shelves?
Yes, upgrading to wooden shelves is a great DIY project. You will need to buy a specific retrofit kit that matches your cabinet dimensions. Ensure your existing center pole can support the heavier wood material.
Conclusion
By cleaning the bearings, tightening loose screws, and leveling the shelves, you can restore your kitchen in under an hour. You save money, avoid the hassle of hiring contractors, and gain valuable DIY skills.
Fixing a jammed or wobbly corner cabinet is easier than most people think. Now that you know exactly how to repair a lazy susan, you can tackle this project with confidence.
Remember to maintain your hardware by cleaning it yearly and avoiding overloaded shelves. A little bit of preventative care goes a very long way.
Ready to tackle more easy home fixes? Check out our other beginner-friendly repair guides to keep your home running smoothly.