

A dripping gutter can quickly become a major headache. Water pooling near your foundation causes serious structural damage over time. You might notice a steady leak during a heavy rainstorm.
Learning how to repair hole in gutter systems is easier than you think. You do not need an expensive contractor for this simple job. Tackling this project yourself saves a significant amount of money.
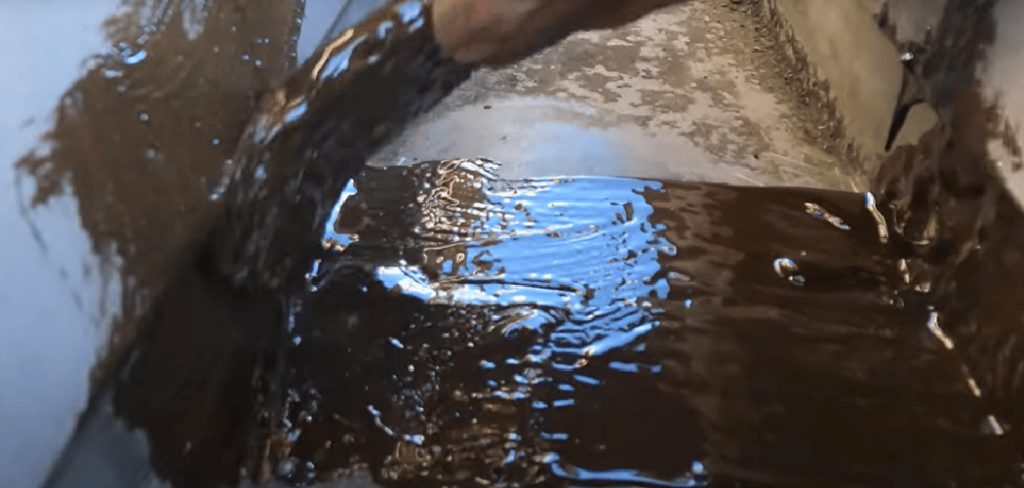
We will walk through the exact steps to fix your drainage fast. You only need a free afternoon and a few basic supplies. Let us grab those tools and get your home protected from water damage.
What Causes This Problem?
Gutters take a constant beating from the weather and the environment. Understanding the root cause helps you prevent future damage. Here are the most common culprits behind gutter damage:
- Rust and corrosion: Standing water eats through metal over time.
- Sharp debris: Falling branches and heavy twigs can puncture aluminum.
- Ice dams: Expanding ice stretches and cracks gutter seams in winter.
- Ladder accidents: Leaning a heavy ladder directly on the metal causes dents and tears.
- Age and wear: Old joints and seams naturally separate after years of use.
Tools and Materials Needed
Preparation is the secret to a successful DIY repair. Gather all your supplies before you climb up to the roof line. You will need:
- A sturdy, reliable ladder
- Thick protective work gloves
- Safety glasses
- A wire brush or coarse sandpaper
- A plastic putty knife
- Roofing cement or specialized waterproof silicone sealant
- A metal flashing patch (aluminum or galvanized steel)
- Tin snips (for trimming the patch)
- A clean rag and rubbing alcohol
The Best Method on How to Repair Hole in Gutter Systems
Fixing a damaged gutter requires a clean surface and a secure patch. Follow these simple steps to ensure a watertight seal.
Step 1: Clean the Damaged Area
You must start with a completely clean surface. Grab your ladder and carefully inspect the damaged section.
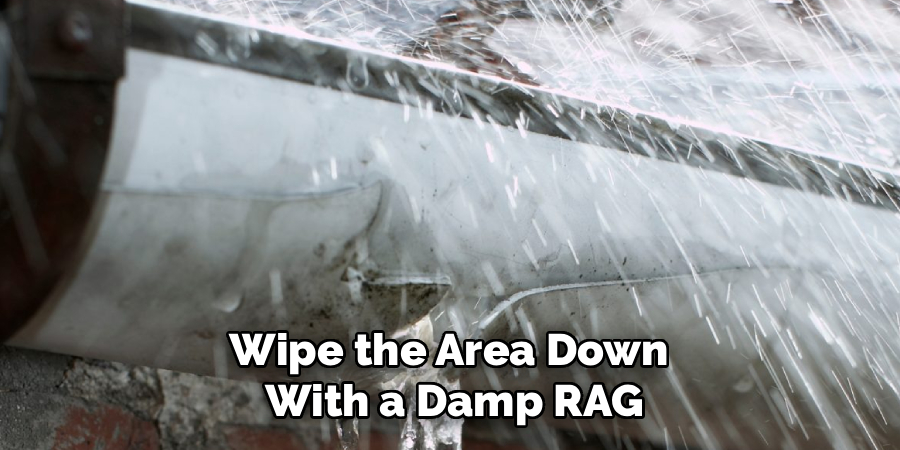
Scoop out all leaves, dirt, and trapped mud. Wipe the area down with a damp rag. Let the metal dry completely before moving forward.
Step 2: Remove Rust and Debris
Sealants will not stick to rust or flaking paint. Take your wire brush or sandpaper. Scrub the area around the puncture vigorously.
You want to expose the bare, shiny metal underneath. Wipe away the metallic dust with a rag soaked in rubbing alcohol. This guarantees a perfect bond for your patch.
Step 3: Spread the Roofing Cement
Use your plastic putty knife to scoop out some roofing cement. Spread a generous layer of cement around the edges of the puncture.
Create a thick, even border. This acts as the glue that holds your metal patch firmly in place. Ensure there are no gaps in the cement ring.
Step 4: Cut and Place the Patch
Grab your metal flashing and your tin snips. Cut a patch that is at least two inches larger than the puncture on all sides.
Press the metal patch firmly into the wet roofing cement. Smooth it down with your fingers. Bend the patch slightly so it matches the curved shape of the gutter.
Step 5: Seal the Patch Edges
You need to lock out water completely. Apply another thick layer of roofing cement over the top of the patch.
Feather the edges of the cement outward with your putty knife. This creates a smooth ramp for water to flow over. Let the sealant cure for at least 24 hours before testing it with a hose.
Crucial Safety Warnings
Working at heights always carries a level of risk. Never lean too far to one side while on your ladder. Keep your hips centered between the ladder rails.
Always wear thick gloves when handling sharp sheet metal. Cut edges will slice through bare skin easily. Watch out for overhead power lines when moving your ladder around the house.
When to Call a Professional
DIY repairs are incredibly rewarding, but you must know your limits. A single puncture is a perfect weekend project.
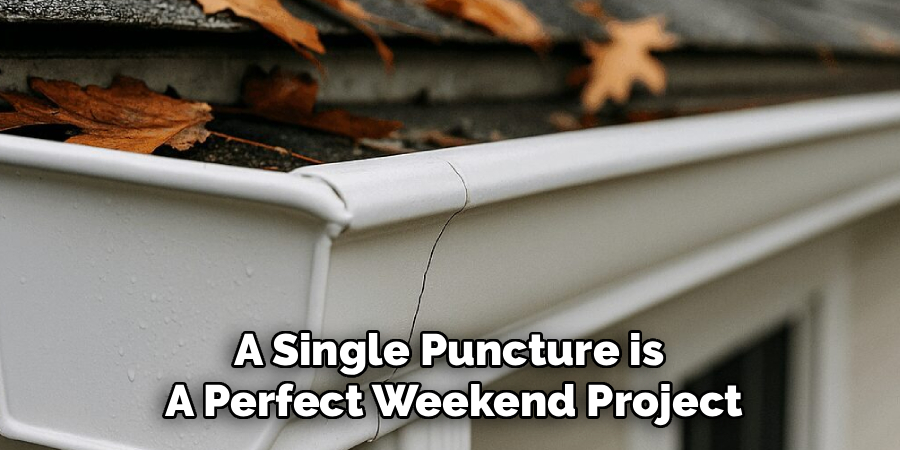
However, severe rust covering entire sections requires a full replacement. Call a professional if your roof is dangerously high or steep. Do not risk your safety if the structural integrity of the entire drainage system is failing.
Cost Estimate: DIY vs. Professional
Fixing this issue yourself keeps money in your wallet. A tube of roofing cement costs around five to ten dollars. A small roll of metal flashing costs roughly ten dollars.
Your total DIY material cost rarely exceeds thirty dollars. Hiring a professional contractor for the same minor patch job runs between $150 and $300. That is a massive saving for an hour of your time.
Common Questions on How to Repair Hole in Gutter
We hear a lot of questions from homeowners fixing their drainage for the first time. Here are the most frequent concerns and their answers.
Can I fix a leak while it is raining?
No, you need a completely dry surface. Sealants and roofing cement will not bond to wet metal. Wait for a dry, sunny day to attempt your fix.
Can I use waterproof tape instead of a patch?
Waterproof tapes offer a great temporary fix. However, tape eventually peels under extreme heat and constant water flow. A metal patch with roofing cement is a permanent solution.
How long does a metal patch last?
A properly installed patch will last for several years. If you seal the edges correctly, it can last just as long as the gutter itself. Regular cleaning extends the life of your repair.
Should I patch or replace the section?
Patching is ideal for small punctures under a few inches wide. You should replace the entire section if the metal is highly corroded or structurally weak.
Wrapping Up Your Fix
Taking care of household maintenance does not have to be stressful. You just learned exactly how to repair hole in gutter sections like a seasoned pro.
Regular maintenance keeps your foundation safe and your roof healthy. Check your drainage systems twice a year to catch small issues early.
Ready to tackle more home improvements? Check out our other DIY guides and subscribe to our newsletter for weekly repair tips delivered straight to your inbox.