

Hearing a constant drip in your bathroom can be incredibly frustrating. A puddle of water on the floor is even worse.
If you are wondering how to repair a leaking toilet tank, you are in the right place. We have all been there, and it is a common issue for homeowners and renters alike.
A leaky tank can waste hundreds of gallons of water each week. That sends your water bill through the roof.
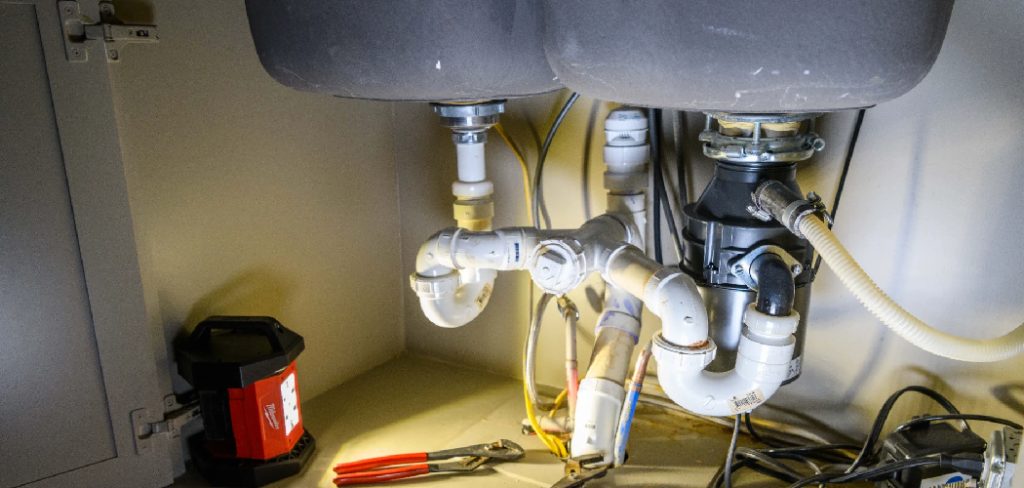
The good news is that you do not need to be a master plumber to fix this. Tackling this project yourself saves you a lot of money on service calls.
Grab a towel and roll up your sleeves. We are going to walk through this easy fix together.
What Causes a Leaking Toilet Tank?
Before we start turning wrenches, we need to know why the leak is happening. Toilet tanks usually leak because a rubber seal or plastic part has worn out over time.
Water is tough on plumbing fixtures. Minerals in your tap water can break down components inside the tank.
Here are the most common culprits behind that annoying leak:
- Worn Flapper Valve: The rubber flapper at the bottom of the tank degrades over time. When it warps or cracks, water seeps continuously into the bowl.
- Loose Tank-to-Bowl Bolts: The bolts holding the tank to the base can loosen up. If the rubber washers around them rot, water drips right onto your floor.
- Failing Spud Washer: This is the large rubber gasket between the tank and the bowl. When it shrinks or cracks, you get a major leak when flushing.
- Cracked Tank: Sometimes the porcelain itself develops a hairline crack. This is rare, but it causes a slow, steady drip onto the floor.
- Faulty Fill Valve: If the fill valve breaks, the tank overfills. Water then spills into the overflow tube, causing a constant running sound.
Tools & Materials Needed for the Fix
You cannot repair a leaking toilet tank without the right gear. Gather these items before you turn off the water.
Having everything within reach makes the job fast and stress-free. Most of these items are already in your garage.
If not, a quick trip to the local hardware store will sort you out.
Essential Tools
- Adjustable wrench
- Flathead screwdriver
- Sponge and a small bucket
- Old towels or rags
- A pair of slip-joint pliers
Replacement Materials
- Universal toilet flapper
- Tank-to-bowl gasket kit (includes bolts and washers)
- Replacement fill valve (if your current one is broken)
- Teflon tape (plumber’s tape)
Step-by-Step Guide to Repair a Leaking Toilet Tank
Ready to get to work? Follow these simple steps to repair a leaking toilet tank without breaking a sweat.
Take your time and do not force any stubborn parts. Pluming requires a gentle but firm touch.
Step 1: Turn Off the Water Supply
Safety and cleanliness come first. Look behind the toilet base near the wall.
You will see a small metal or plastic valve on the water line. Turn this valve clockwise until it stops completely.
This shuts off the fresh water supply. It prevents your bathroom from turning into a swimming pool while you work.
Step 2: Empty the Toilet Tank
Now we need a dry workspace. Remove the heavy porcelain lid from the tank and set it somewhere safe.
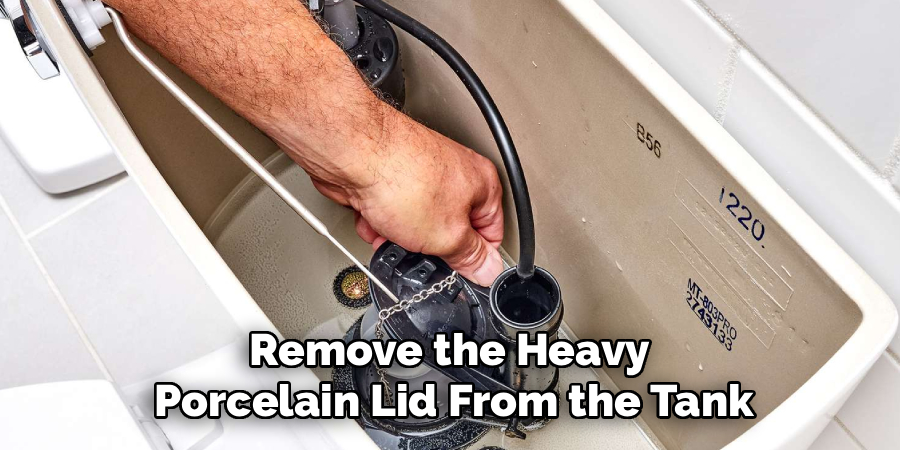
Press and hold the flush lever down. Let as much water drain into the bowl as possible.
You will notice an inch or two of water left at the bottom.
Step 3: Sponge Out the Remaining Water
Grab your sponge and small bucket. Dip the sponge into the remaining water in the tank.
Squeeze the soaked sponge into your bucket. Repeat this until the inside of the tank is completely dry.
An old towel is great for soaking up the final few drops of moisture.
Step 4: Inspect and Replace the Flapper
Look at the bottom of the tank. You will see a rubber piece connected to a chain.
This is the flapper. Unhook the chain from the flush lever arm.
Slide the sides of the flapper off the pegs on the overflow tube. Take your new universal flapper and slide it onto those same pegs.
Reattach the chain, leaving a tiny bit of slack.
Step 5: Check the Tank Bolts and Washers
If the leak is hitting your floor, the tank bolts are likely to blame. Use your adjustable wrench to hold the nut underneath the tank.
Use your flathead screwdriver inside the tank to loosen the bolt. Remove the old bolts and their degraded rubber washers.
Insert your new bolts with fresh rubber washers. Tighten them down snugly, but do not overtighten, or the porcelain will crack.
Step 6: Replace the Tank-to-Bowl Gasket (If Needed)
If replacing the bolts did not stop the floor leak, the main gasket is faulty. You will need to lift the entire tank off the bowl for this.
With the bolts removed, carefully lift the tank and set it on a towel. Pull the old, thick rubber gasket off the bottom hole.
Push the new gasket firmly into place. Set the tank back onto the bowl and reinstall the bolts.
Step 7: Turn the Water Back On
You are almost done! Reach down to the wall valve and slowly turn it counterclockwise.
You will hear water rushing back into the tank. Watch the water level rise and ensure the new flapper creates a tight seal.
Wait until the fill valve shuts off the water automatically.
Step 8: Test for Leaks
Keep a close eye on everything for a few minutes. Flush the toilet several times.
Shine a flashlight under the tank to check for drips. Run your hand around the bolts and the water supply line.
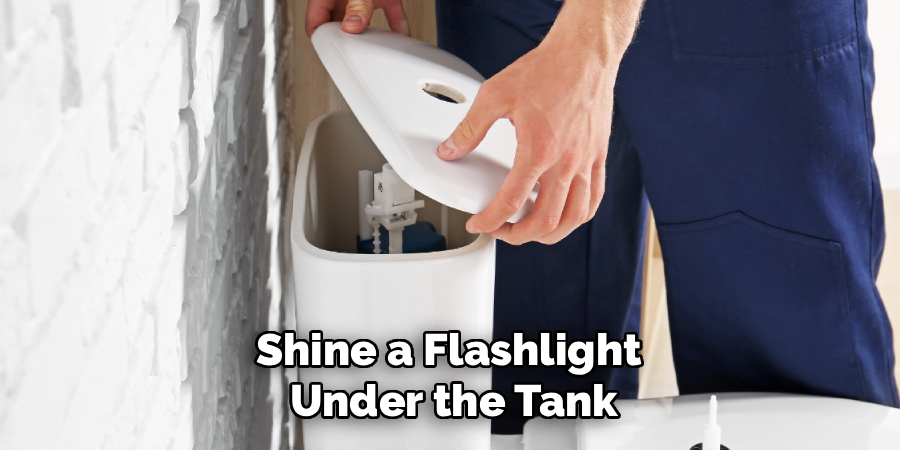
If your hand stays dry, your repair was a total success. Great job!
Safety Warnings for Toilet Repair
Working on plumbing requires a bit of caution. Porcelain is incredibly fragile and heavy.
If you drop the tank lid, it can shatter and cause deep cuts. Always place it flat on a thick towel out of the way.
Never overtighten nuts and bolts on a toilet.
The metal will easily crack the ceramic tank. Once the tank cracks, you have to buy a completely new toilet.
Always hand-tighten first, then give it just a quarter-turn with a wrench. Stop immediately if you hear any grinding noises.
When to Call a Professional
We love a good DIY project, but sometimes you need to call in the cavalry. Knowing your limits is part of being a smart homeowner.
If you find a large crack spreading across the tank, do not try to patch it. Epoxy and glue will not hold back that much water pressure safely.
Call a plumber if the shut-off valve on the wall is rusted stuck.
Forcing a stuck wall valve can break the pipe inside your wall. That turns a tiny leak into a massive flooding disaster.
If you replaced the internal parts and the leak persists, a pro can properly diagnose hidden issues.
Cost Estimate: DIY vs. Professional Repair
One of the best parts of DIY is keeping cash in your wallet. Repairing a leaking toilet tank yourself is incredibly cheap.
A new flapper costs about $5. A complete rebuild kit with a fill valve, flapper, and bolts runs around $20 to $25.
Your only other investment is about an hour of your time.
Hiring a professional plumber paints a very different picture.
Plumbers usually charge a service fee just to walk through your door. This can range from $75 to $150.
Once you add hourly labor and parts markups, a simple tank repair can easily cost $200 to $300.
Doing it yourself saves you a massive amount of money for a very simple task.
Frequently Asked Questions on how to repair a leaking toilet tank
You might still have a few questions bubbling up. Here are answers to common queries we hear from folks trying to fix their plumbing.
Why is my toilet tank leaking from the bottom bolts?
The rubber washers inside the tank have degraded. Over time, chemicals in the water rot the rubber. Replacing the bolts and washers creates a fresh, watertight seal.
Can I patch a cracked toilet tank?
We strongly advise against patching cracked porcelain. While waterproof epoxy exists, a tank holds several gallons of heavy water. A patched tank can fail suddenly, causing severe water damage to your home.
How do I know if the flapper is leaking?
Put a few drops of food coloring into the toilet tank. Wait thirty minutes without flushing. If the water in the toilet bowl changes color, your flapper is leaking and needs replacement.
Do I need to drain the bowl to repair a leaking toilet tank?
No, you only need to drain the tank itself. The water in the bowl can stay exactly where it is. Just make sure you sponge the tank completely dry before removing any bolts.
How long does a toilet flapper last?
A standard rubber flapper lasts about four to five years. If you use harsh chemical drop-in cleaners in your tank, the flapper will warp and fail much faster.
Conclusion
You now know exactly how to repair a leaking toilet tank. It is a straightforward project that instantly improves your home.
By taking an hour out of your weekend, you stopped a frustrating noise and prevented water waste. You also saved a hefty plumber’s bill in the process.
Remember to take it slow, shut off the water first, and never overtighten your bolts. You have got the skills to handle this like a seasoned pro.
If you found this guide helpful, check out our other home repair articles for more DIY confidence! Grab your wrench and go fix that leak today.