

Are you tired of looking down at your beautiful tile and seeing ugly, broken lines? You are definitely not alone in this struggle. Grout lines take a beating over the years.
Eventually, everyday wear and tear takes its toll on even the best flooring. But don’t worry, you can handle this weekend project yourself.
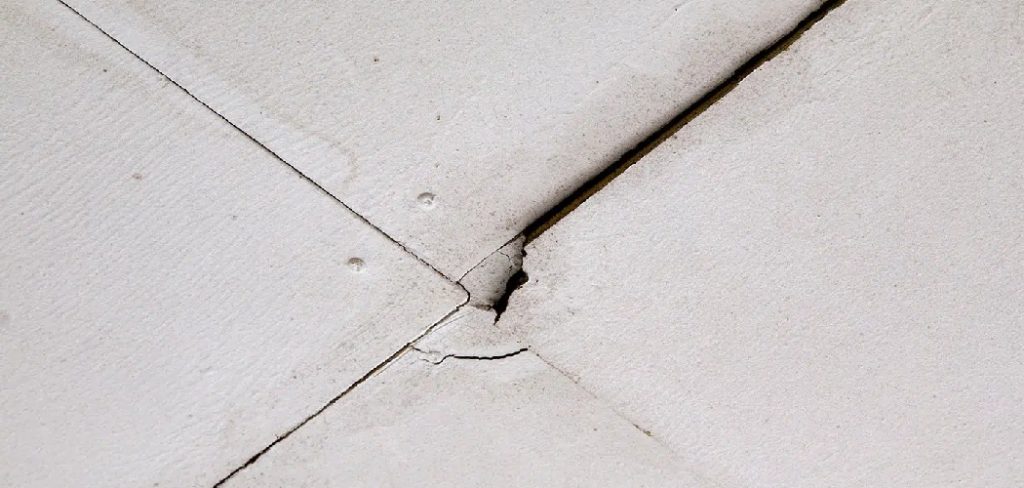
If you want to know exactly how to repair cracked grout on tile floor surfaces, you are in the right place. Doing this job yourself saves a ton of money.
You do not need to hire an expensive contractor to make your floors look brand new again. Let’s roll up our sleeves, gather our supplies, and get your floors looking fresh and clean.
What Causes This Problem in the First Place?
Before we fix the issue, it helps to know why your grout is crumbling. Understanding the cause prevents future headaches.
Here are five common reasons your grout might be failing:
- House Settling: As homes age, they shift slightly. This natural movement puts pressure on rigid tile joints, causing cracks.
- Poor Initial Installation: If the installer used too much water or weak mixture, the grout becomes brittle and breaks easily.
- Heavy Foot Traffic: Areas like entryways and kitchens deal with constant stomping. This constant stress wears down the joints over time.
- Lack of Expansion Joints: Large tiled areas need room to expand and contract. Without proper joints, the tension cracks the grout lines.
- Harsh Cleaning Chemicals: Using heavy acidic cleaners eats away at the cement over the years. This weakens the structural integrity of your floors.
Essential Tools & Materials Needed
You need the right gear before starting any repair job. Having everything ready makes the process smooth and frustration-free.
Here is exactly what you need to gather:
- Grout saw or oscillating multi-tool (with a grout removal blade)
- Stiff-bristled nylon brush
- Shop vacuum or broom
- Matching unsanded or sanded grout (check your tile spacing)
- Grout float (rubber)
- Two large buckets (one for mixing, one for clean water)
- Large grout sponge
- Microfiber cloths
- Grout sealer and applicator brush
- Safety glasses and knee pads
How to Repair Cracked Grout on Tile Floor: Step-by-Step
Ready to tackle the job? Follow these clear steps to ensure a flawless finish.
Take your time and do not rush the prep work. The secret to a perfect repair is in the preparation.
Step 1: Clean the Work Area Thoroughly
First, sweep or vacuum the entire floor space. You want to remove all loose dirt, pet hair, and debris.
Wash the tile with a mild cleaner and let it dry completely. Starting with a clean slate prevents dirt from mixing into your new grout.
Step 2: Remove the Old, Damaged Grout
Put on your safety glasses and knee pads. Use your grout saw or oscillating tool to carefully grind away the cracked sections.
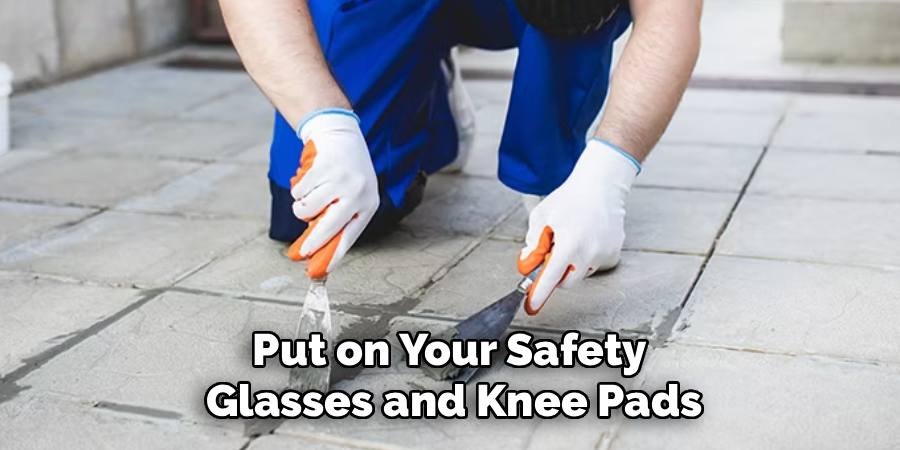
You do not need to dig all the way to the subfloor. Just remove about half the depth of the tile edge so the new mixture has room to grip.
Step 3: Vacuum the Joints
Once the bad grout is out, you are left with a dusty mess. Grab your shop vacuum and suck up all the loose particles from the joints.
Run your stiff-bristled brush through the lines one more time. Vacuum again to ensure the channels are completely clear of dust.
Step 4: Mix Your New Grout
Follow the instructions on your grout package carefully. Pour a small amount of powder into your bucket and slowly add water.
Mix it until it reaches the consistency of thick peanut butter. Let the mixture sit for about ten minutes (this is called slaking) before giving it one final stir.
Step 5: Apply the New Grout
Scoop a generous amount of grout onto your rubber float. Press the mixture firmly into the empty joints, holding the float at a 45-degree angle.
Move diagonally across the tile lines to push the material deep into the gaps. Scrape off the excess from the tile surface as you go.
Step 6: Sponge the Tiles Clean
Wait about 15 to 20 minutes for the grout to firm up slightly. Dip your sponge in clean water and wring it out completely.
Wipe lightly across the tiles in a circular motion to remove the excess grout. Be careful not to press too hard into the freshly filled lines.
Step 7: Buff the Haze and Seal
After a couple of hours, you will notice a hazy film on the tiles. Use a dry microfiber cloth to buff this haze away completely.
Wait at least 48 hours for the new grout to fully cure. Finally, apply a high-quality grout sealer to protect your hard work from future stains.
Important Safety Warnings for Your Project
DIY work is fun, but safety must always come first. Working with tile and cement mixtures requires some basic precautions.
Always wear safety goggles when removing old grout. Tiny pieces of cement and tile glaze can fly up and cause serious eye damage.
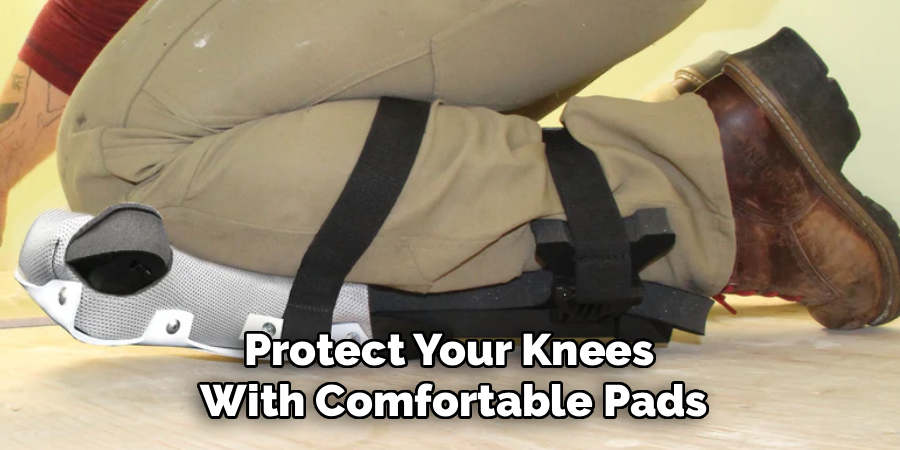
Protect your knees with comfortable pads or a folded towel. Spending hours on hard tile floors can cause severe joint pain.
Wear a dust mask during the removal process. Inhaling fine silica dust from the old grout is hazardous to your lungs.
When to Call a Professional
I love empowering people to fix their own homes. However, sometimes a job is too big or complicated for a weekend DIYer.
If your tiles are loose, popping up, or heavily cracked, you have a larger issue. This usually points to a failing subfloor or massive water damage.
If the damaged area spans the entire house, it might take you weeks to finish alone. A professional team can knock out massive floors in a fraction of the time.
If you suspect mold growth beneath the tiles, stop immediately. Call a mitigation expert to handle potential health hazards safely.
Cost Estimate: DIY vs. Pro Repair
Budgeting is a huge part of home maintenance. Let’s look at the numbers to see how much cash you save by doing this yourself.
For a DIY repair, materials will run you about $40 to $70. This includes the grout, float, sponges, and a basic hand tool.
If you hire a professional, labor costs jump significantly. Most contractors charge between $10 and $25 per square foot for regrouting.
For a small bathroom, a pro might charge $400 to $600. Doing it yourself leaves hundreds of dollars in your pocket for your next project!
Frequently Asked Questions
Can I just put new grout over the old cracked grout?
No, you should never apply new grout directly over old, failing grout. The new layer will not adhere properly and will crack almost immediately. Always remove the damaged top layer first.
Do I need sanded or unsanded grout?
It depends on the width of your grout lines. Use unsanded grout for thin lines under 1/8 inch wide. Use sanded grout for wider lines to provide better stability and prevent shrinking.
How long does the new grout take to dry?
Light foot traffic is usually okay after 24 hours. However, you should wait at least 48 to 72 hours before exposing the floor to heavy traffic or water.
Why did my new grout dry a different color?
Color variations happen due to mixing ratios or hard water. Using too much water during the sponge cleanup phase can also wash out the color pigment.
How often should I seal my tile floors?
You should apply a fresh coat of sealer once a year. High-traffic areas like entryways and busy kitchens might benefit from sealing every six months.
Conclusion: Master How to Repair Cracked Grout on Tile Floor
Fixing your own floors might seem intimidating at first glance. However, by breaking it down step-by-step, it becomes a totally manageable weekend task.
You now have the knowledge and confidence to tackle those pesky floor gaps. You will save a ton of money and feel incredibly proud of your work.
Remember, preparation is key, and taking your time yields the best results. Soon, your floors will look pristine, durable, and ready for years of foot traffic.
If you found this guide on how to repair cracked grout on tile floor helpful, bookmark this page for your next home improvement weekend. Sign up for our newsletter to get more easy, money-saving DIY repair tips sent straight to your inbox!