

Do you have a beautiful piece of vintage furniture sitting in the corner with a busted seat? You are not alone. Many homeowners face the frustration of sagging or broken cane seats.
If you want to know how to repair cane chair seating, you have come to the right place. Learning this skill is easier than you might think.
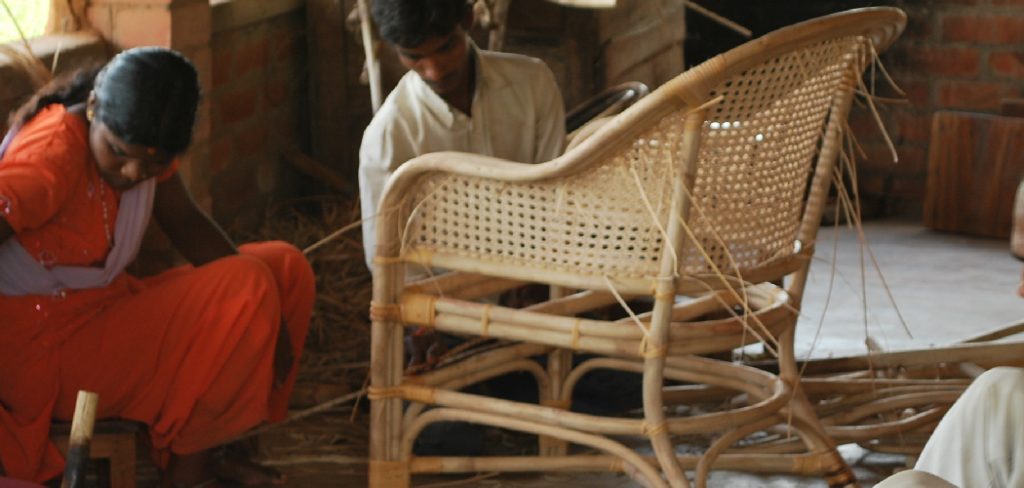
Fixing it yourself saves a significant amount of money. Professional repairs can cost hundreds of dollars per piece.
With a little patience and the right tools, you can bring that beloved furniture back to life. Let us roll up our sleeves and get started on this rewarding DIY project.
What Causes Cane Chair Damage?
Before we dive into the fix, it helps to know why the damage happened. Understanding the root cause prevents future breaks. Here are the most common culprits:
- Age and natural wear: Over time, natural plant fibers become brittle and simply snap under pressure.
- Dry indoor air: Winter heating systems strip moisture from the air, causing the cane to shrink and crack.
- Concentrated weight: Kneeling or standing on the seat puts too much pressure on a small area.
- Pet damage: Cats love to use textured woven seats as scratching posts.
- Improper cleaning: Using harsh chemical cleaners breaks down the natural fibers quickly.
Essential Tools and Materials Needed
You need the right gear before you start taking anything apart. Having everything within reach makes the job smooth and stress-free.
You can find most of these items at a local craft store or online. Make sure you know whether your chair uses pre-woven webbing or hand-woven individual strands. This guide covers the most common type: pre-woven cane held in place by a spline.
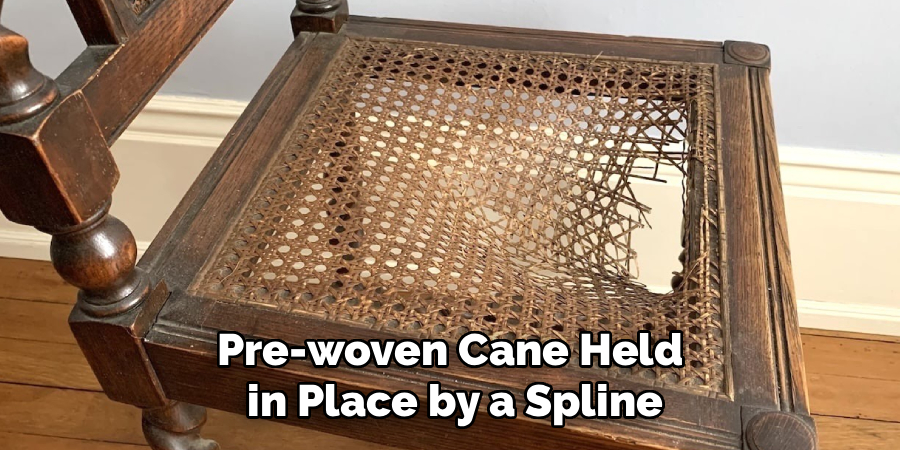
Here is your shopping list:
- Pre-woven cane webbing (measure your seat and add two inches on all sides)
- Cane spline (the flexible cord that locks the webbing into the groove)
- A narrow chisel or flathead screwdriver
- A sharp utility knife and heavy-duty scissors
- Wooden wedges (you can buy cane wedge tools or use wooden paint stirrers)
- A rubber mallet
- Water-soluble wood glue (hide glue or standard carpenter’s glue)
- A sponge and a large tub for soaking
- Fine-grit sandpaper
How to Repair Cane Chair Seats: The Prep Work
Preparation is the secret to a perfect repair. Do not rush this phase. Taking your time here guarantees a tight, professional-looking seat.
Step 1: Remove the Old Spline
The first step is getting the old, broken material out of the frame. The spline sits inside a groove along the edge of the seat.
Apply a few drops of warm water or white vinegar to the old spline. This helps soften the decades-old glue holding it in place.
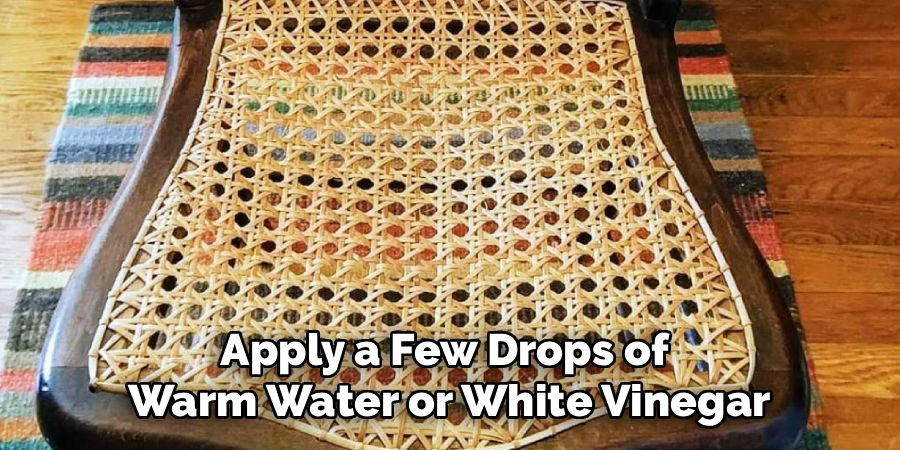
Wait about ten minutes for the liquid to soak in. Then, take your narrow chisel or flathead screwdriver.
Gently tap the tool under the old spline to pry it up. Work slowly around the perimeter so you do not gouge the wood frame.
Step 2: Clear Out the Groove
Once the spline is out, the old webbing will fall away. Now you must clean the groove completely.
Use your chisel to scrape out any dried glue and leftover bits of cane. The groove must be totally bare.
If old glue remains, the new spline will not sit flush. Lightly sand the inside of the groove if necessary.
Step 3: Measure and Cut the New Material
Lay your new pre-woven webbing over the empty chair seat. Make sure the woven pattern aligns perfectly straight with the front edge.
Cut the material so it extends about two inches past the groove on every single side. You need this excess material to grip and pull the cane tight.
How to Repair Cane Chair Seats: Installation Process
Now comes the fun part. It is time to install the fresh material and watch your chair transform.
Step 4: Soak the Webbing and Spline
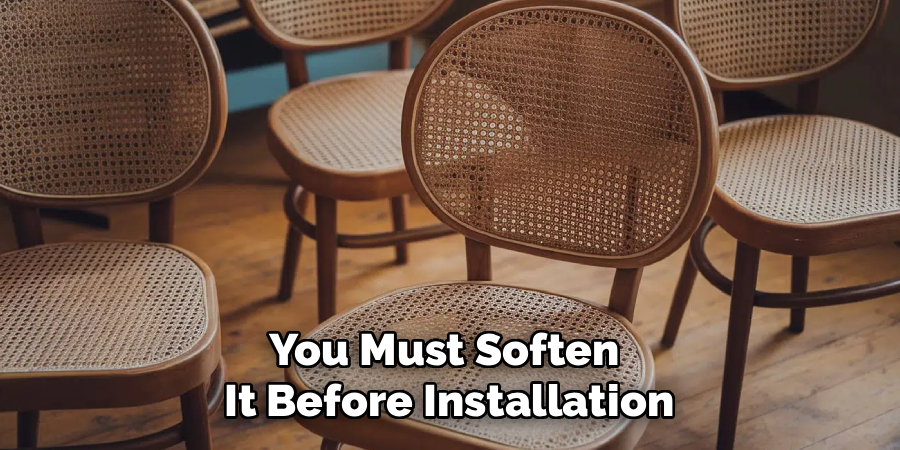
Natural cane is stiff and brittle when dry. You must soften it before installation.
Fill a large tub or bathtub with warm water. Submerge the pre-woven webbing and your new spline cord.
Let them soak for about 30 to 45 minutes. They will become incredibly pliable and easy to bend.
Do not soak them for over an hour, or the fibers might turn mushy and weak.
Step 5: Press the Webbing into the Groove
Remove the webbing from the water and blot it with a towel. Lay it over the seat frame.
Check your alignment one more time. The vertical and horizontal lines must be square with the frame.
Take your wooden wedge and rubber mallet. Start at the center of the back edge.
Gently tap the wedge over the webbing, pushing it down into the groove. Do not hit it too hard.
Move to the center of the front edge. Pull the webbing slightly taut and tap it into the groove there.
Repeat this process for the left and right sides. You now have the material anchored at four points.
Step 6: Work Around the Perimeter
Continue tapping the webbing into the groove. Work outward from your four anchor points toward the corners.
Keep pulling the material gently as you go. You want it snug, but remember it will shrink and tighten further as it dries.
When you reach the corners, press them in last. The corners require a bit of patience to fold neatly.
Step 7: Trim the Excess Webbing
Your webbing is now securely wedged in the groove. You will see excess material sticking straight up.
Take a sharp utility knife. Run the blade firmly along the bottom outside edge of the groove.
Cut away all the excess webbing. Make sure the cut edge sits completely inside or below the top of the groove.
Step 8: Apply the Glue
Grab your wood glue. Run a continuous, generous bead of glue directly into the groove over the trimmed webbing.
Do not worry if it looks messy. You will wipe away the excess in a moment.
Ensure the glue coats the bottom and sides of the groove. This is what keeps your seat secure for decades.
Step 9: Install the Spline
Take your soaked spline out of the water and blot it dry. Place one end of the spline into the center of the back groove.
Use your wooden wedge and mallet to tap the spline down firmly into the glued groove.
Work your way around the entire perimeter of the chair. The spline should sit almost flush with the wooden frame.
When you get back to where you started, cut the spline exactly to length. The two ends should meet tightly with no gap.
Step 10: Clean Up and Dry
Wipe away any excess glue that squeezed out onto the wood frame using a damp sponge.
Now, step away from the chair. You must let it sit in a well-ventilated room for at least 48 hours.
As the wet material dries, it will shrink. This shrinking action creates that signature drum-tight tension.
Do not sit on the chair until it is 100% dry. Sitting on it too early will stretch the fibers and ruin your hard work.
Important Safety Warnings
DIY projects are fun, but safety always comes first. Keep these warnings in mind:
- Sharp tools: Chisels and utility knives slip easily. Always cut away from your body and keep your hands clear of the blade path.
- Splinters: Old, brittle cane splinters easily. Wear thin work gloves when tearing out the old seat.
- Eye protection: Flying bits of dried glue or broken wood can cause serious eye injury. Wear safety glasses during the removal phase.
- Chemical caution: If you choose to stain or varnish your final product, do so outside or in a highly ventilated garage.
When to Call a Professional
While fixing a chair yourself is rewarding, some jobs exceed beginner skills. Be honest about your comfort level.
If your chair does not have a groove and instead has holes drilled all the way around the frame, it requires hand-weaving. Hand-weaving is a highly specialized, time-consuming craft.
You should also consult a professional if the wooden frame itself is cracked, rotting, or structurally unsafe.
Finally, if you are dealing with a highly valuable family heirloom or a rare antique, leave it to an expert conservator.
DIY Cost vs. Professional Repair Cost
Budget is a massive factor for most homeowners. Fixing this yourself makes great financial sense.
A DIY repair kit containing webbing, spline, and wedges usually costs between $30 and $50.
If you hire a professional, expect to pay a premium for their time and labor.
Professional groove cane replacement typically costs between $150 and $300 per chair, depending on your location and the chair’s size.
Frequently Asked Questions
Can I just patch a hole in a cane chair?
No, patching does not work well. Once a few strands break, the tension is compromised. You must replace the entire seat.
How long do cane chairs last?
A well-maintained seat can last 10 to 15 years. Keep it out of direct sunlight and wipe it occasionally with a damp cloth to prevent drying.
How long do I soak the cane?
Soak the pre-woven material and spline in warm water for 30 to 45 minutes. Do not exceed an hour, or the fibers will weaken.
How do you tighten a sagging cane seat?
If the seat is sagging but not broken, flip the chair over. Apply a warm, wet sponge to the underside of the cane and let it dry naturally to shrink it back into place.
Conclusion
Bringing old furniture back to life is a deeply satisfying experience. You now know exactly how to repair cane chair seating safely and effectively.
By taking your time, using the right materials, and following these steps, you can save money and preserve your favorite pieces. Do not let a broken seat intimidate you.
Grab your tools, order your supplies, and start your restoration journey today.
Have you tried fixing a chair using this method? Share your before and after photos in the comments below, or send this guide to a fellow DIY enthusiast!