

We all have that one favorite necklace or beloved bracelet sitting broken in a drawer. It is incredibly frustrating when a clasp snaps or a tiny gemstone falls out of your favorite ring.
Many people assume a broken piece means an expensive trip to the jeweler. But learning how to repair jewelry at home is easier than you might think.
DIY jewelry fixes are perfect for homeowners, renters, and craft enthusiasts who love handling simple projects. You do not need to be a professional silversmith to fix basic problems.
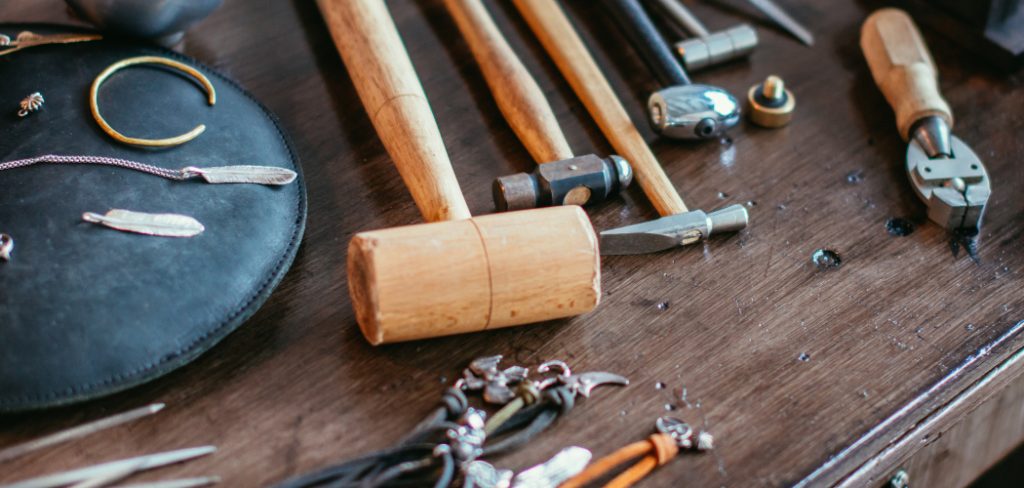
Tackling these repairs at home saves you a significant amount of money. It also gives you a wonderful sense of pride knowing you fixed it yourself.
In this guide, we will walk you through the simplest methods for bringing your favorite pieces back to life. Grab a cup of coffee, clear off your table, and let’s get started.
What Causes This Problem?
Before we dive into the repairs, it helps to understand why jewelry breaks in the first place. Everyday wear and tear takes a massive toll on delicate metals.
Here are the most common causes of broken jewelry:
- Accidental snagging: Necklaces often get caught on sweaters or hairbrushes, causing the fragile links to snap.
- Weakened jump rings: The tiny metal rings connecting clasps to chains can slowly pull open over time.
- Worn-out springs: Lobster clasps and spring rings have tiny internal springs that eventually rust or wear out.
- Failing glue: Vintage pieces and costume jewelry often use adhesive for stones, which dries up and crumbles over the years.
- Metal fatigue: Bending a ring or earring post back and forth repeatedly causes the metal to weaken and snap.
Understanding these causes helps you prevent future breaks. Now, let’s gather exactly what you need to fix them.
Tools & Materials Needed
You do not need a fancy workshop to fix your favorite accessories. A few basic, inexpensive items are all it takes to build a great DIY repair kit.
Here is what you need before you start:
- Two pairs of jewelry pliers: You want flat-nose or chain-nose pliers. Never use heavy duty garage pliers, as they have teeth that will scratch your metal.
- Assorted jump rings: These are small metal circles used to connect different jewelry parts. Buy a mixed box of gold and silver tones.
- Replacement clasps: Pick up a few lobster claw clasps or spring rings from a local craft store.
- Jeweler’s adhesive: A strong, clear-drying glue like G-S Hypo Cement or E6000. Do not use standard super glue.
- A clean, flat workspace: Put down a light-colored towel or felt mat. This stops tiny beads and rings from bouncing off the table.
- Magnifying glass: A lighted magnifying glass or reading glasses will save you from serious eye strain.
- Tweezers: Essential for picking up tiny rhinestones or holding delicate chain segments.
Once you have your tools laid out on your mat, you are ready to begin the repairs.
Step-by-Step Fix Guide: How to Repair Jewelry Chains
One of the most frequent searches for how to repair jewelry involves snapped chains. A broken necklace chain looks intimidating, but it is usually just an open jump ring.
Here is the exact method to fix it.
Step 1: Locate the Break
Lay your broken chain flat on your towel and examine the broken ends under your magnifying glass.
Determine if the actual chain link is broken, or if the tiny connecting jump ring has simply pulled open.
If it is just an open jump ring, the fix will only take a minute.
Step 2: Open the Jump Ring Properly
Take your two pairs of smooth pliers. Hold one side of the jump ring with your left pliers, and the other side with your right.
Never pull the ring apart outward, as this ruins the circle shape.
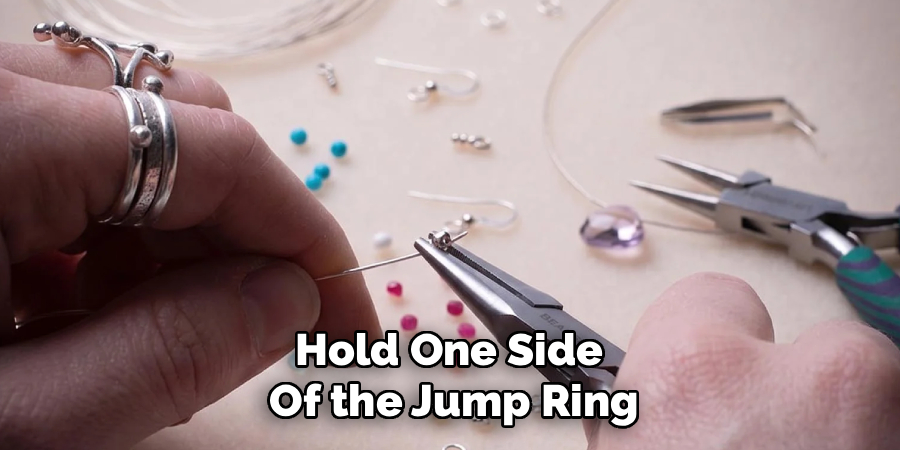
Instead, gently twist one pair of pliers toward your body while twisting the other away from you.
Step 3: Reconnect the Chain
Slide the last intact link of your broken chain onto the open jump ring.
If you are attaching a clasp, slide the loop of the clasp onto the jump ring as well.
Make sure nothing is tangled before you move to the final step.
Step 4: Close the Jump Ring
Grip the sides of the jump ring with your pliers just like you did in step two.
Carefully twist the ends back toward each other until they meet perfectly.
You should hear or feel a tiny click when the two ends sit flush against each other.
Step-by-Step Fix Guide: Replacing a Broken Clasp
Sometimes the chain is fine, but the clasp itself refuses to close. This means the tiny internal spring is broken.
You cannot fix the spring inside a clasp, so you simply have to replace the whole piece.
Step 1: Remove the Old Clasp
Find the jump ring that connects the broken clasp to your necklace or bracelet.
Use your two pairs of pliers to twist the jump ring open, using the forward-and-back motion we practiced earlier.
Slide the old, broken clasp off the ring and throw it in the trash so you do not mix it up later.
Step 2: Thread the New Clasp
Pick up your shiny new clasp. Make sure it is a similar size and metal tone to the original piece.
Thread the bottom loop of the new clasp onto the open jump ring.
Ensure the clasp is facing the right direction so it is easy to fasten when wearing it.
Step 3: Secure the Connection
Use your pliers to twist the jump ring completely closed.
Check the closure carefully. If there is a gap, the chain will eventually slip out and the necklace will fall off.
Gently tug on the clasp to make sure your repair holds strong.
Step-by-Step Fix Guide: Securing a Loose Stone
Losing a rhinestone from your favorite costume jewelry is heartbreaking. Thankfully, gluing it back into place is a very straightforward DIY project.
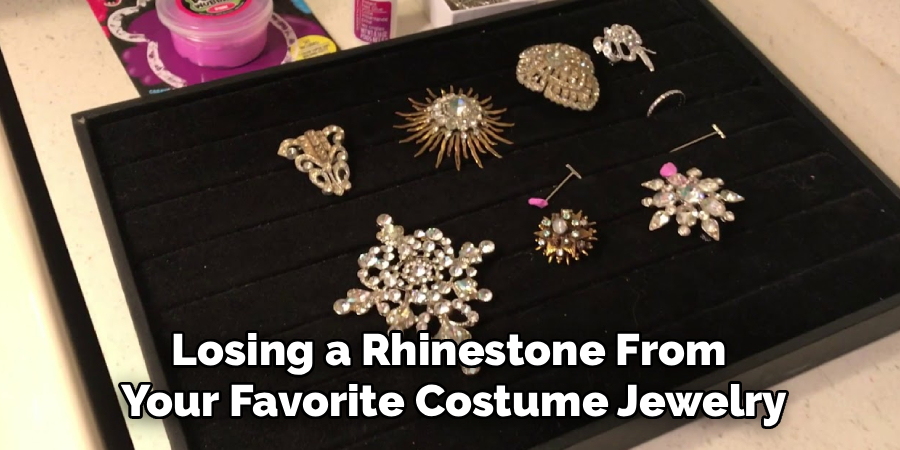
This method works beautifully for costume pieces, but avoid using it on fine diamonds or precious gems.
Step 1: Clean the Setting
Old, dried-up glue will prevent your new adhesive from sticking properly.
Take a toothpick or a sewing needle and gently scrape away the crusty old glue from the empty setting.
Wipe the area down with a tiny bit of rubbing alcohol on a cotton swab and let it dry completely.
Step 2: Apply the Jeweler’s Adhesive
Take your jeweler’s glue and squeeze a tiny, pin-sized drop directly into the metal setting.
Do not overfill the space. Too much glue will squish out over the edges and make the piece look messy.
If you accidentally apply too much, quickly wipe it away with a clean toothpick.
Step 3: Place the Stone
Use your tweezers to pick up the loose rhinestone.
Carefully drop it down into the glue-filled setting, ensuring it sits flat and even.
Gently press down on the top of the stone with your finger or the back of your tweezers to push out any air bubbles.
Step 4: Let It Cure
Do not touch the piece of jewelry once the stone is set.
Leave it sitting completely flat on your work surface for at least 24 hours.
Even if the glue feels dry on the outside, it needs time to fully cure on the inside for a permanent hold.
Safety Warnings
While learning how to repair jewelry is fun and safe, there are a few precautions you should always take.
Protecting your eyes is the most important step. When you snip wire or bend metal, tiny pieces can suddenly go flying across the room. Wearing basic safety glasses is always a smart move.
Be very careful when working with jeweler’s adhesives and industrial glues. These chemicals emit strong fumes, so always work in a well-ventilated room or open a nearby window.
Never use standard household super glue on your hands or jewelry. It dries too brittle for wearable items and can bond your fingers together in seconds.
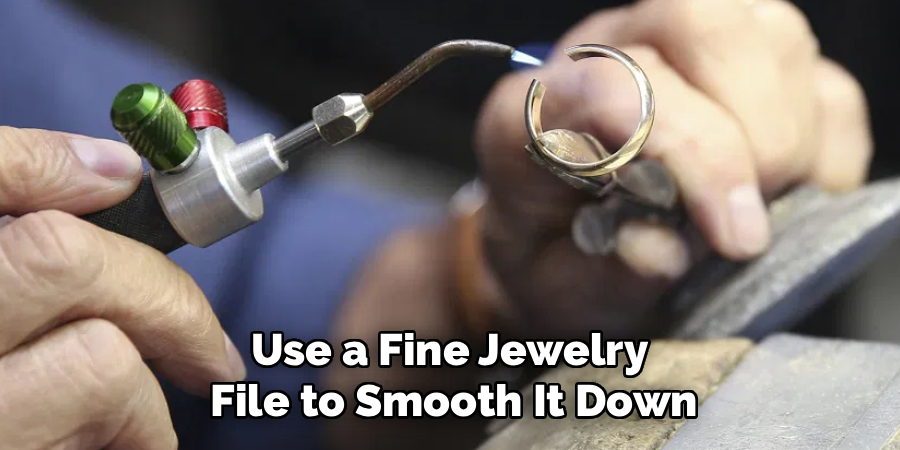
Finally, watch out for sharp edges on cut wires or broken chain links. If a piece feels sharp against your skin, use a fine jewelry file to smooth it down before wearing it.
When to Call a Professional
DIY repairs are incredibly rewarding, but you need to know your limits. Sometimes, the safest choice is handing the piece over to a professional jeweler.
If your jewelry is made of solid gold, platinum, or fine silver, do not attempt to cut or glue it yourself.
Pieces containing genuine diamonds, emeralds, sapphires, or other precious gemstones require professional prong tightening. Gluing a real diamond will ruin its value and dull its natural sparkle.
Heirloom pieces passed down through your family should also go to a pro. You do not want to risk permanently damaging an irreplaceable antique just to save a few dollars.
If a repair involves soldering metal together with a torch, leave it to the experts. Trying to solder jewelry at home without proper training can result in severe burns or melted jewelry.
Cost Estimate: DIY vs. Pro
One of the best reasons to learn these skills is the massive cost savings. The difference between fixing it yourself and visiting a jewelry store is shocking.
A basic DIY jewelry repair kit costs between $15 and $25. This one-time purchase gives you enough tools and clasps to fix dozens of pieces over the years.
By contrast, taking a broken silver chain to a professional jeweler usually costs between $20 and $40 for a simple clasp replacement.
Soldering a broken gold chain at a shop will cost anywhere from $30 to $80, depending on the thickness of the piece.
Resetting a tiny gemstone at a jeweler often starts around $40. Gluing it at home costs mere pennies in adhesive.
If it is costume jewelry, the DIY route is an absolute no-brainer that keeps money securely in your wallet.
Frequently Asked Questions
Can I use super glue to fix broken jewelry?
No, you should avoid standard super glue. It dries incredibly brittle and will eventually crack with normal movement. Instead, use a flexible jeweler’s adhesive like G-S Hypo Cement or E6000 for a strong, lasting hold.
How do you fix a bent earring post?
You can gently push a bent earring post back into place using flat-nose pliers. Grip the base of the post firmly and slowly apply pressure to straighten it. Do this very slowly, as bending it too fast can snap the metal.
Why do my jump rings keep pulling open?
Jump rings pull open if they are not twisted closed properly. If you pull them apart outward rather than twisting them side-to-side, they lose their structural strength. Using thicker, heavier-gauge rings will also prevent this.
Is it safe to clean tarnished jewelry with toothpaste?
While toothpaste works in a pinch, it is actually quite abrasive. It can cause micro-scratches on soft metals and dull your stones. It is much better to use warm water, mild dish soap, and a soft-bristled toothbrush.
How can I untangle a badly knotted necklace chain?
Place the knotted chain on a flat surface and apply a drop of baby oil or olive oil directly to the knot. Use two sewing needles to gently poke and loosen the center of the knot until it pulls apart.
Conclusion
We hope this guide has shown you exactly how to repair jewelry without feeling overwhelmed. Fixing broken chains, replacing faulty clasps, and gluing loose stones are fantastic skills for any DIY enthusiast to have.
By taking the time to learn these easy techniques, you will save a trip to the repair shop and keep your favorite accessories in heavy rotation. Plus, there is nothing quite like the satisfaction of rescuing a beloved necklace from the bottom of your jewelry box.
Do not let broken clasps and missing rhinestones stop you from enjoying your favorite pieces. Grab your pliers, clear your workspace, and give it a try today.
Have you successfully fixed a broken chain or replaced a clasp using this guide? We would absolutely love to hear about it—share your DIY repair success stories with us in the comments below!