

We all have that one favorite ceramic mug, heirloom vase, or decorative bowl that means the world to us. When it slips from your hands and cracks, your heart sinks.
You might think that tossing it in the trash is your only option. But learning how to repair cracked pottery is easier than you think.
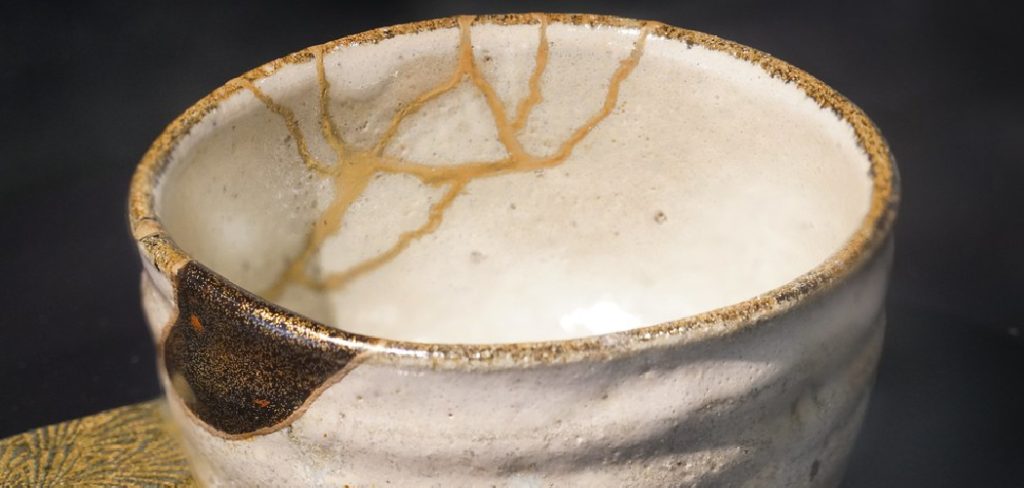
Whether you are a busy homeowner, a renter, or just someone who loves fixing things, this guide is for you. Doing this repair yourself saves money and keeps your favorite pieces out of the landfill.
Instead of spending a fortune replacing cherished items, you can restore them right at your kitchen table. We will walk through the entire process together.
Grab your supplies, and let us get that beautiful piece of pottery looking whole again.
What Causes This Problem?
Pottery and ceramics are beautiful, but they are also quite fragile by nature. Understanding why your pottery cracks can help you prevent future damage.
Here are the most common culprits behind cracked or broken pottery pieces:
- Thermal Shock: Sudden temperature changes, like pouring boiling water into a cold mug, cause rapid expansion and cracking.
- Physical Impact: Dropping the item, even from a short height, is the leading cause of chips and fractures.
- Stress Cracks: Stacking heavy ceramic bowls or plates on top of each other creates uneven pressure over time.
- Manufacturing Flaws: Tiny air bubbles trapped in the clay during the firing process can weaken the structure.
- Dishwasher Damage: The intense heat and rattling inside a dishwasher can slowly degrade ceramic glazes and cause fractures.
- Age and Wear: Antique or vintage pieces naturally become more brittle as their protective glazes wear down over the decades.
Tools & Materials Needed
Before we dive into the repair, you need to gather your supplies. Having everything within reach makes the job much smoother.
You do not need a fancy workshop to do this. A simple, well-lit table will work perfectly.
Here is exactly what you need to successfully fix your broken ceramics:
- Two-Part Clear Epoxy: This is the strongest and most reliable adhesive for ceramics.
- Rubbing Alcohol (Isopropyl): Essential for cleaning the cracked edges before applying glue.
- Cotton Swabs or Q-tips: Great for applying alcohol and cleaning up tiny bits of wet epoxy.
- Wooden Toothpicks or Craft Sticks: You will use these to mix the epoxy and apply it to the cracks.
- Painter’s Tape or Masking Tape: This acts as a gentle clamp to hold the pieces together while the glue dries.
- Fine-Grit Sandpaper (400 to 600 grit): Necessary for smoothing out any dried glue on the surface.
- Paper Plates or Scrap Cardboard: You need a disposable surface to mix your two-part epoxy.
- Razor Blade or Craft Knife: Perfect for carefully scraping away cured excess glue.
- Disposable Gloves: Protect your hands from sticky adhesives and harsh chemicals.
Step-by-Step Fix Guide
Now we get to the fun part. Fixing pottery requires a little patience, but the steps are incredibly straightforward.
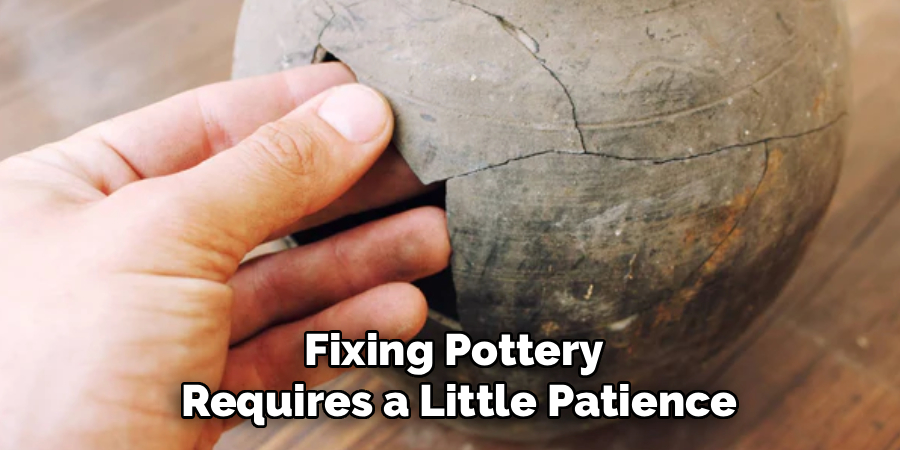
Take your time with each phase. Do not rush the drying times, as that is where most beginners make mistakes.
Follow these simple steps to bring your broken piece back to life.
Step 1: Clean the Broken Edges
You cannot glue dirty surfaces together. Dust, oils from your fingers, and old tea stains will prevent the epoxy from forming a strong bond.
Take a cotton swab and dip it generously into your rubbing alcohol.
Thoroughly wipe down the exposed, cracked edges of your pottery. Let the pieces air dry completely for about ten minutes.
Step 2: Perform a Dry Fit
Before mixing any glue, you need to know exactly how the pieces fit back together. Think of it like a 3D jigsaw puzzle.
Gently press the broken pieces together to see how they align.
This practice run ensures you know exactly how to slide the pieces into place once the glue is applied. It prevents panicked fumbling later on.
Step 3: Prepare Your Tape Strips
Once the glue is on the pottery, you will need to hold the pieces together tightly. Your hands will be busy, so prep your tape now.
Tear off several pieces of painter’s tape, about two to three inches long.
Stick them lightly to the edge of your table. Having them ready to grab will save you a massive headache.
Step 4: Mix the Two-Part Epoxy
Epoxy is the secret to a repair that lasts a lifetime. It comes in two tubes: a resin and a hardener.
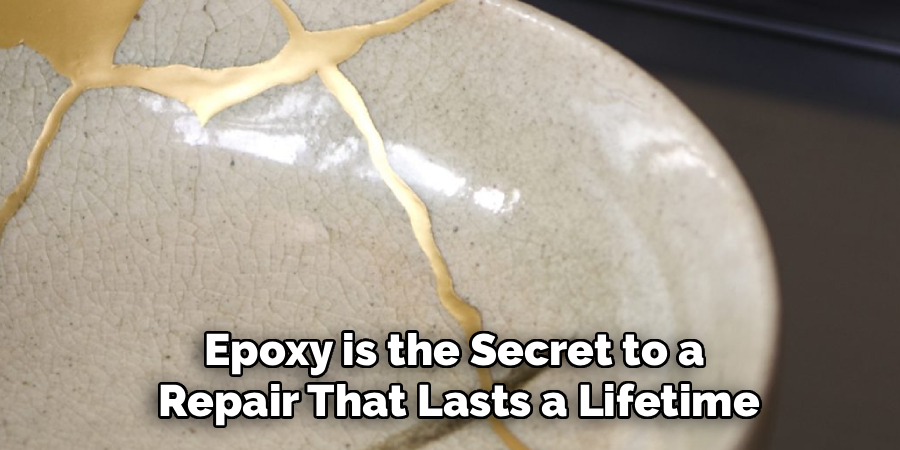
Squeeze equal amounts of both parts onto your paper plate or scrap cardboard.
Use a wooden craft stick or toothpick to mix them together thoroughly. Blend them for at least a full minute until the mixture is uniform.
Step 5: Apply the Epoxy to the Crack
You only have a few minutes before the epoxy starts to get tacky. Work efficiently but carefully.
Dip your toothpick into the mixed epoxy.
Apply a very thin, even layer to just one side of the broken edge. Do not over-apply, or massive globs will squeeze out when you press the pieces together.
Step 6: Press and Hold
Carefully align the broken piece with the main body of the pottery.
Press them firmly together. You should feel them lock into their original position.
Maintain steady pressure for about sixty seconds. You want to give the epoxy a moment to grab hold of the ceramic pores.
Step 7: Secure with Tape
Keep holding the pottery with one hand. Grab your pre-cut strips of painter’s tape with the other.
Stretch the tape tightly across the repair line, sticking it to both sides of the crack.
This tape acts like a clamp. It provides the continuous pressure needed for the epoxy to cure strongly.
Step 8: Clean Up the Squeeze-Out
Even with a thin layer of glue, a little bit will likely squeeze out of the seam. You want to clean this up before it hardens.
Dip a fresh cotton swab in a little rubbing alcohol.
Gently wipe away the wet epoxy that has beaded up on the surface. Be careful not to wipe away the glue inside the actual crack.
Step 9: Let it Cure
This is the hardest step for many DIYers. You must leave the pottery alone so the glue can achieve maximum strength.
Place the taped pottery in a safe, dry place where it will not be bumped.
Check your epoxy packaging for cure times, but leaving it for a full 24 hours is always the safest bet.
Step 10: Sand and Finish
Once the 24 hours have passed, gently peel away the painter’s tape.
If you feel any raised, hardened glue along the seam, take your craft knife and very carefully scrape it flat.
Follow up with your fine-grit sandpaper. Lightly sand the seam until it is perfectly smooth to the touch, blending it into the pottery.
Safety Warnings
DIY repairs are incredibly rewarding, but your safety always comes first. Working with broken ceramics and strong adhesives requires a bit of caution.
First, broken pottery is razor-sharp. Handle the jagged edges just as carefully as you would handle broken glass.
Always wear disposable gloves when mixing and applying epoxy. These adhesives can cause severe skin irritation and are difficult to wash off.
Work in a well-ventilated area. Open a window or turn on a fan, as epoxy fumes can be strong and overwhelming in closed spaces.
Finally, remember that most epoxies are not food-safe. If you are repairing a coffee mug or a dinner plate, it should only be used for decoration after the repair.
When to Call a Professional
We love a good DIY project, but sometimes a job is too big to tackle at home. Knowing your limits is a smart part of home maintenance.
If the broken pottery is an expensive antique or a priceless family heirloom, stop right there. DIY glue jobs can permanently ruin the value of rare artifacts.
You should also call a pro if the pottery has shattered into dozens of tiny, splintered fragments. Rebuilding a completely shattered piece requires specialized equipment and professional kilns.
Professional ceramic restorers can expertly hide cracks, color-match the glaze, and even replace missing chunks of clay. If the piece means the world to you and the damage is severe, hire an expert.
Cost Estimate: DIY vs. Pro
One of the best things about fixing things yourself is the money you save. Let us look at the cost breakdown.
A DIY repair is incredibly budget-friendly. A good tube of two-part epoxy costs around $6 to $8 at your local hardware store.
If you need to buy rubbing alcohol, tape, and toothpicks, your total cost will still be under $15. Plus, you will have leftover supplies for future fixes.
Professional ceramic restoration is a highly specialized skill, and the prices reflect that. Minor professional repairs usually start around $75 to $100.
For complex restorations on antiques, professionals can easily charge $200 to $500 or more. By doing it yourself, you keep a significant amount of cash in your pocket.
FAQs About How to Repair Cracked Pottery
You likely still have a few questions about the repair process. That is perfectly normal.
Here are the most common questions people ask when learning how to fix their ceramics.
Is glued pottery safe to eat or drink from?
Generally, no. Most standard epoxies and super glues are not rated as food-safe by the FDA. If you repair a plate or mug, you should repurpose it as a planter or a display piece to avoid ingesting harmful chemicals.
Can I just use standard super glue?
Super glue (cyanoacrylate) is okay for a quick fix, but it is not ideal for pottery. It dries brittle and does not fill gaps well. Two-part epoxy is much stronger, fills empty spaces in the crack, and handles moisture better.
What is the Japanese method of fixing cracked pottery?
That technique is called Kintsugi. It involves repairing cracks with a special lacquer dusted with powdered gold, silver, or platinum. Instead of hiding the break, it treats the repair as a beautiful part of the object’s history.
Can I put my repaired pottery in the dishwasher?
You should absolutely avoid the dishwasher. The extreme heat, harsh detergents, and heavy water pressure will break down the epoxy over time. Always gently hand-wash any repaired ceramics with mild soap and warm water.
How do I fix a crack that has missing pieces?
If a small chunk is missing, you can use a two-part epoxy putty. You mix it like clay, press it into the gap, and let it harden. Once it is dry, you can sand it perfectly smooth and paint over it to match the surrounding glaze.
Conclusion
Breaking a beloved ceramic piece is frustrating, but it does not have to be the end of its story. You now have the knowledge and confidence to fix it yourself.
Learning how to repair cracked pottery is a fantastic skill that saves money and preserves your favorite items. Take your time, prep your surfaces, and use the right epoxy.
Before you know it, that broken vase or sentimental bowl will be back on display, looking as charming as ever. The little scar left behind just adds character to the piece.
Ready to tackle more household fixes? Grab your tools, start your repair today, and check out our other step-by-step DIY guides for more home maintenance tips!