

You grab your favorite bag, yank it shut, and suddenly, the teeth split wide open. Learning how to repair a backpack zipper is a skill every household needs. It happens to the best of us, usually right when we are rushing out the door.
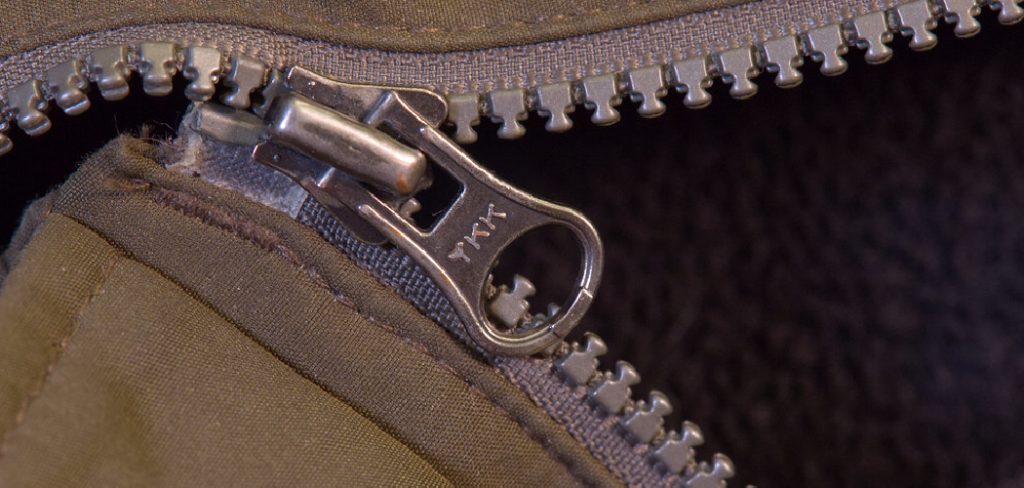
A broken zipper feels like the end of your bag’s life. But do not throw it away just yet!
Fixing it yourself is surprisingly easy and incredibly rewarding. You do not need to be a tailor or a master craftsman. You just need a few basic tools and a little bit of patience.
Plus, tackling this repair on your own keeps your hard-earned money in your wallet. Why spend cash on a brand-new bag when a quick DIY fix takes less than twenty minutes?
Let us dive right into the best ways to get your bag zipped up and ready for your next adventure.
What Causes This Problem?
Before you grab your tools, it helps to understand why zippers fail. Zippers endure a massive amount of stress every single day.
Here are the most common culprits behind your zipper troubles:
- Overstuffing the bag: Jamming too many items inside places immense pressure on the zipper teeth and slider.
- Dirt and debris buildup: Dust, lint, and sand easily get trapped in the tracks, causing the slider to jam.
- General wear and tear: Over time, the metal or plastic slider naturally stretches out from repeated pulling.
- Bent or warped sliders: If the bag gets crushed or stepped on, the slider can bend out of its proper shape.
- Fabric caught in the teeth: Rushing to close the bag often pulls the inner lining straight into the zipper mechanism.
Tools & Materials Needed
You likely already have everything you need sitting in your home right now. Gathering your supplies beforehand makes the whole process smooth and frustration-free.
Here is your quick checklist for the repair:
- Needle-nose pliers: Essential for gently bending the slider back into shape or pulling out stuck fabric.
- Bar soap, lip balm, or a graphite pencil: These act as excellent dry lubricants to unstick stubborn zippers.
- A pair of sharp scissors: Needed to snip away frayed threads or fabric edges.
- Heavy-duty needle and strong thread: Crucial if you need to sew a new bottom stop for the zipper track.
- A replacement zipper slider: Only needed if your current slider is completely snapped or beyond repair.
Step-by-Step Fix Guide
Different zipper problems require different solutions. We have broken down the most common issues into easy, beginner-friendly steps.
Whether your zipper is stuck, split, or missing a pull, follow the steps below to fix it up.
Issue 1: Fixing a Stuck Zipper
A stuck zipper usually means something is caught, or the track is dry and dirty.
Step 1: Inspect the track.
Look closely at the area where the slider is stuck. Check for any loose threads, trapped fabric, or bits of dirt.
Step 2: Remove any snags.
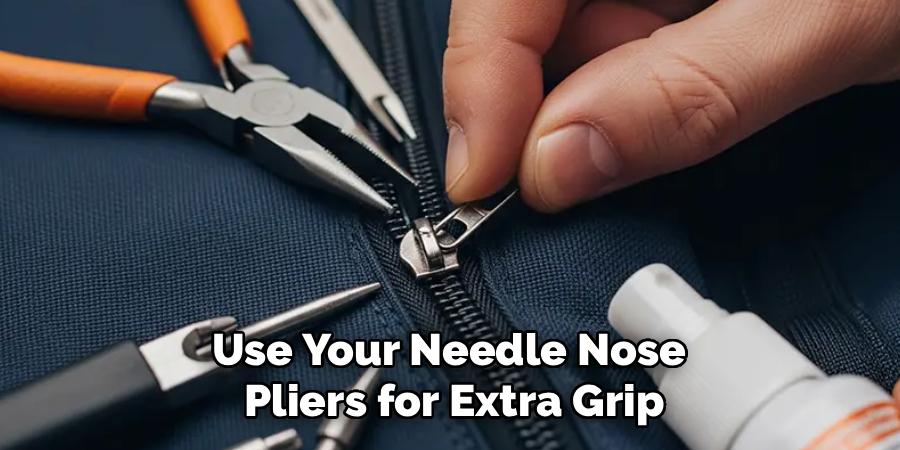
If fabric is caught, gently pull it away from the slider. Use your needle-nose pliers for extra grip if your fingers cannot pull it loose.
Step 3: Apply your lubricant.
Rub a bar of soap, lip balm, or the tip of a graphite pencil generously along the zipper teeth. Focus on the area directly in front of the stuck slider.
Step 4: Wiggle the slider.
Gently pull the slider back and forth. Do not force it. The lubricant will slowly work its way inside the slider mechanism.
Step 5: Clean up the residue.
Once the zipper moves freely again, wipe away any leftover soap or graphite with a damp cloth. This prevents future dirt from sticking to the track.
Issue 2: Fixing a Split Zipper (Teeth Will Not Stay Closed)
This is the most common issue. The slider moves up and down, but the teeth refuse to lock together. It happens because the slider has stretched open over time.
Step 1: Move the slider to the bottom.
Pull the zipper slider all the way down to the start of the zipper track. Make sure it is resting securely at the base.
Step 2: Grab your pliers.
Take your needle-nose pliers and place them gently on the outside edges of the slider.
Step 3: Pinch the slider closed.
Apply a very gentle squeeze to both sides of the slider. You only want to compress the metal slightly to tighten its grip on the teeth.
Step 4: Test the zipper.
Pull the slider up the track. If the teeth lock together, your fix worked! If it still splits, lower the slider and give it one more tiny squeeze.
Step 5: Avoid over-squeezing.
Be careful not to crush the slider entirely. If you squeeze too hard, the slider will refuse to move at all.
Read More: How to Repair Zipper Pull Tabs.
Issue 3: Replacing a Broken Slider
If the slider is snapped in half or cannot be pinched back together, you need a fresh one.
Step 1: Remove the top zipper stops.
Look at the very top of the zipper track. You will see small metal or plastic stoppers. Use your pliers to gently pry these stoppers off.
Step 2: Slide the old piece off.
Pull the broken slider all the way to the top and slide it completely off the track.
Step 3: Slide the new piece on.
Take your replacement slider and guide the top of the zipper teeth into its top grooves. Wiggle it downward until it catches the teeth.
Step 4: Create new top stops.
You must replace the stoppers so your new slider does not fly off the track. Use a thick needle and heavy thread to sew several tight loops around the top teeth.
Step 5: Test for smoothness.
Zip the bag open and closed a few times. Ensure the new thread stops hold the slider securely in place.
Safety Warnings
DIY repairs are incredibly safe, but working with small tools always requires a bit of caution. Keep these quick safety tips in mind.
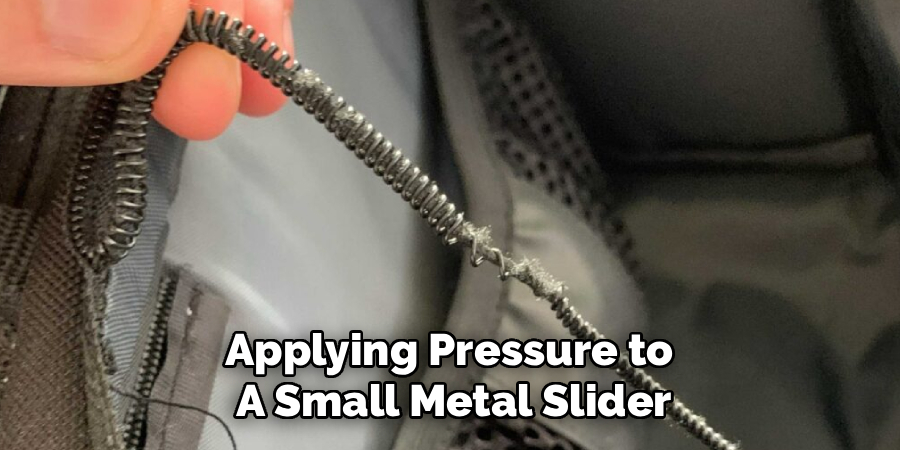
First, watch your fingers around those needle-nose pliers. It is incredibly easy to pinch your skin when applying pressure to a small metal slider. Take your time and keep your grip steady.
Second, be mindful when pulling on stuck zippers. If the slider suddenly gives way, your hand might jerk back and hit something. Always pull with controlled, even force.
Finally, keep track of your needles. If you are sewing a new zipper stop, ensure you put the needle away safely. A lost needle on a carpet is a painful accident waiting to happen.
When to Call a Professional
We firmly believe that anyone can learn how to repair a backpack zipper. However, there are a few specific scenarios where calling a professional is the smarter move.
If your backpack has multiple missing teeth right in the middle of the track, a DIY fix will not hold. The entire zipper track needs to be ripped out and replaced. Sewing in a full heavy-duty zipper is very tough without an industrial sewing machine.
You should also consult a pro if the fabric around the zipper is severely torn. A simple slider fix will not matter if the bag itself is structurally failing.
Take it to a local cobbler, tailor, or luggage repair shop. They have the heavy machinery required to sew thick canvas, leather, or nylon perfectly.
Cost Estimate: DIY vs. Pro
One of the best reasons to do this yourself is the massive cost difference.
If you take the DIY route, your costs are incredibly low. You probably already own pliers and soap. A replacement slider kit online costs around $5 to $10.
That small investment gives you enough parts to fix several bags. It is highly economical.
On the other hand, taking your bag to a professional requires labor costs. A tailor or luggage shop will typically charge between $25 and $50 for a standard zipper repair. If they have to replace the entire track on a heavy-duty hiking pack, it could easily cost upwards of $75.
For a minor jam or a loose slider, doing it yourself is a clear winner for your wallet.
Read More: How to Repair Crumbling Concrete Statues and Save Money.
Frequently Asked Questions
Can I use WD-40 to unstick a zipper?
We do not recommend it. Liquid lubricants like WD-40 can permanently stain the fabric of your backpack. Always stick to dry lubricants like bar soap, beeswax, or graphite from a pencil.
What if my zipper teeth are plastic?
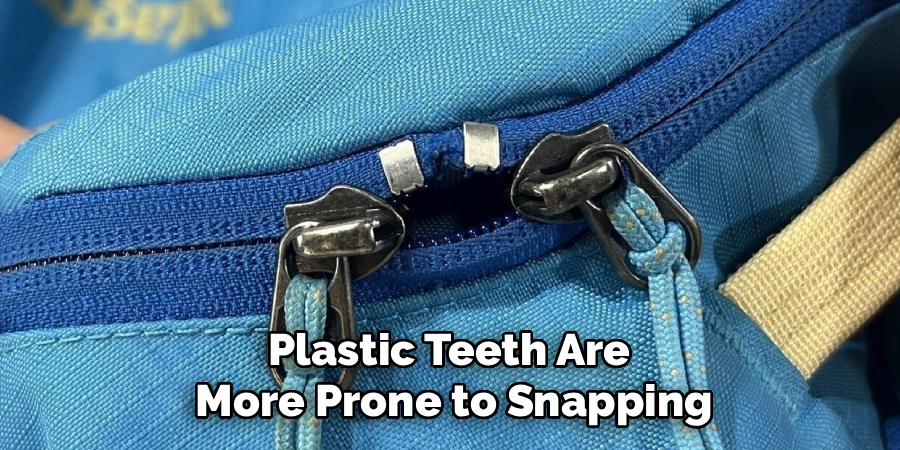
The repair process is nearly identical. However, plastic teeth are more prone to snapping than bending. Be extra gentle when wiggling the slider so you do not break a tooth off entirely.
How do I fix a zipper that is missing a pull tab?
This is the easiest fix of all! You can loop a paperclip, a small key split-ring, or a piece of tough paracord through the slider’s top loop. It works perfectly and adds character to your bag.
Is it possible to replace just one missing zipper tooth?
Unfortunately, no. Zipper teeth are precision-aligned. If one tooth is missing in the middle of the track, the slider will always derail. You must replace the entire zipper track.
Conclusion
Nobody likes dealing with broken gear, but mastering how to repair a backpack zipper changes everything. You gain the confidence to handle annoying breakdowns without throwing away a perfectly good bag.
By keeping your slider tight, tracks clean, and moving smoothly, your bag will last for years to come. Remember to take your time with the pliers and rely on simple dry lubricants to keep things sliding.
You saved money, learned a new skill, and saved a bag from the landfill. That is a massive DIY victory!
If this guide helped you bring your favorite backpack back to life, share it with a friend who might need it. Browse our other repair articles to keep the rest of your household gear in top shape!