

Are you shivering in your own living room right now? Figuring out how to repair home heater systems might sound intimidating at first glance.
But you do not need to wrap yourself in three layers of blankets just yet. Most heating problems are simple fixes you can easily tackle yourself.
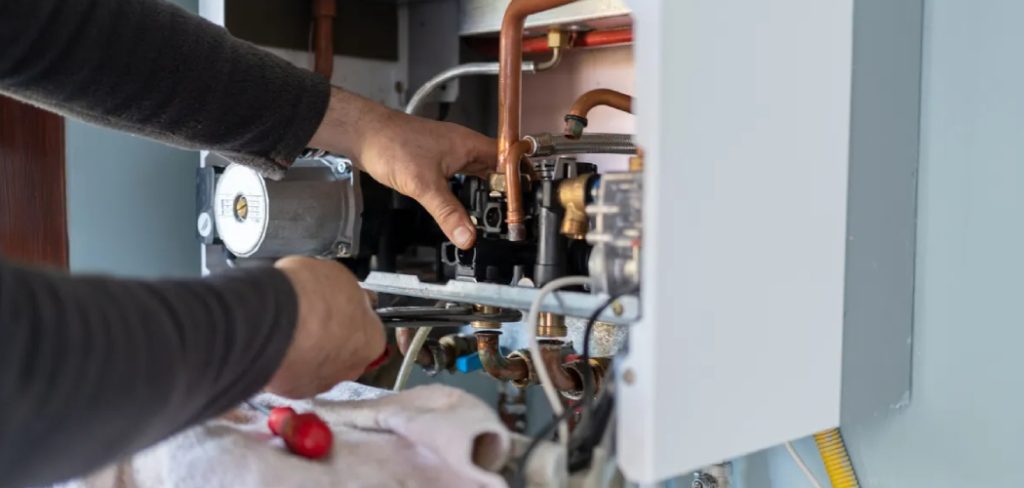
By learning basic heating system troubleshooting, you skip the expensive emergency service call entirely. You keep your hard-earned money right in your pocket.
Plus, you get the amazing satisfaction of fixing your own house like a true pro. Whether you own your home or rent it, knowing these basic steps is incredibly valuable.
You do not need to be a certified technician to handle the easy stuff. Let us walk through this together and get your house warm again.
What Causes Your Heater to Stop Working?
Before we dive into how to repair home heater units, let us find the actual culprit. Heating systems usually fail for a handful of very common reasons.
Knowing what to look for makes the whole process much faster. Here are the top offenders that cause a cold house:
- Clogged air filters: A deeply dirty filter blocks airflow, causing the system to overheat and shut down automatically.
- Bad thermostat settings: Incorrect settings, dead batteries, or a loose wire will stop all communication to the furnace.
- Tripped circuit breakers: A sudden power surge or motor strain can cut the electricity to the entire unit.
- Dirty flame sensors: In gas units, a tiny layer of soot buildup stops the burner from igniting safely.
- Blocked air vents: Furniture, heavy drapes, or thick rugs covering your vents prevent warm air from circulating.
- Pilot light failure: Drafts or dirty internal valves can blow out the pilot light on older gas models.
Tools and Materials Needed for the Job
You do not need a professional service truck to do this job. A few simple items from your garage or junk drawer will do the trick perfectly.
Gather these items before you start taking things apart. Having everything within reach makes the repair go smoothly.
- Screwdriver set (Include both Phillips and flathead)
- Fresh, high-quality HVAC air filters
- New AA or AAA batteries for the wall unit
- Soft microfiber cloth
- Fine wire brush or light steel wool
- Flashlight or bright headlamp
Step-by-Step Guide: How to Repair Home Heater Systems
Ready to get your house comfortably warm again? Follow these beginner-friendly steps to track down and fix the problem.
Work slowly and take your time checking each component.
Step 1: Check Your Thermostat Settings First
Always start your mission with the easiest possible solution. Your wall thermostat is the central brain of your entire heating setup.
Make sure the main switch is actually set to “Heat” and not “Cool” or “Off”. It sounds silly, but this exact mistake happens all the time.
Next, bump the target temperature up five degrees higher than the current room temperature. Listen closely for a clicking sound from the wall.
If the digital screen is blank or dim, swap out the old batteries for fresh ones. Simple thermostat settings cause roughly half of all winter service calls.
Step 2: Inspect the Power Supply and Breakers
Modern furnaces need electricity to run their blower motors, even if they burn natural gas. A quick power hiccup can shut everything down.
Head over to your home electrical panel in the garage or basement. Look for the specific switch labeled for your furnace or HVAC system.
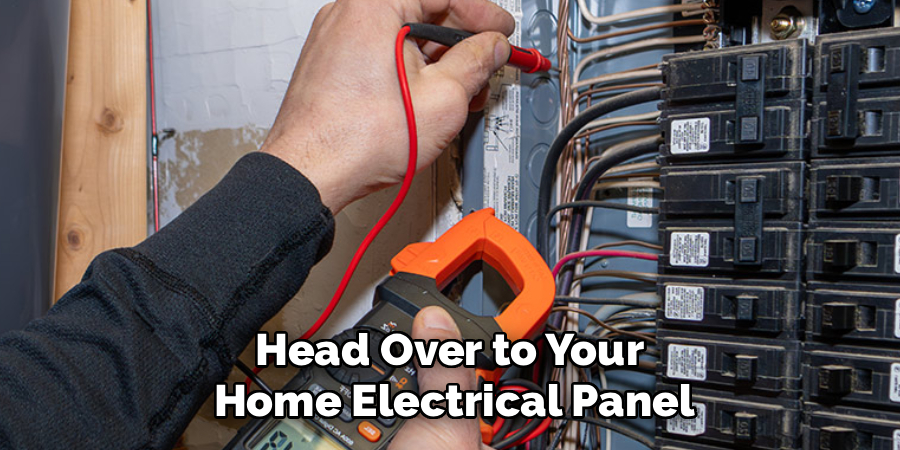
If the breaker is tripped, push it firmly to the “Off” position, then snap it back to “On”. Never use tape to hold a breaker in the on position.
Next, look for a standard wall switch mounted on or near the heater itself. Someone might have bumped it off by accident while grabbing a box.
Step 3: Replace the Dirty Air Filter
A choked, dusty filter is the number one enemy of good furnace maintenance. It stops warm air dead in its tracks.
Turn off the main power switch to your unit before pulling the old filter out. Hold the dusty filter up to a bright ceiling light.
If you cannot see light shining through the paper material, it is time for the trash can. Slide a brand-new, clean filter into the empty slot.
Make sure the printed arrows on the cardboard frame point exactly toward the blower motor. Change this filter every 90 days for peak performance.
Step 4: Clean the Flame Sensor
Does your gas heater fire up for exactly three seconds and then click off? You very likely have a dirty flame sensor.
Turn off the electrical power and twist the gas valve to the closed position. Take off the front metal access panel with your trusty screwdriver.
Look for a thin metal rod sitting right in front of the main burner flames. Unscrew it very carefully from its tiny mounting bracket.
Rub the metal rod gently with a piece of light steel wool or a fine wire brush until it shines. Put it back in place and test the unit again.
Step 5: Verify Your Air Vents are Open
Sometimes the mechanical heater is working perfectly fine in the basement or attic. However, the warm heat simply cannot escape into your rooms.
Take a quick walk around your house to check the airflow. Inspect every single supply register and wall return vent you can find.
Make sure the little metal levers are turned fully to the open position.
Move any heavy couches, bookshelves, or area rugs that might be blocking the airflow. The system needs to breathe freely to warm the house.
Safety Rules for How to Repair Home Heater Units
Safety must always come absolutely first when you learn how to repair home heater components. Please take these warnings seriously to protect your home.
Always shut off the electrical power at the main breaker panel before opening the metal cabinet. A sudden shock from a 120-volt or 240-volt line is extremely dangerous.
If you ever smell raw gas near the unit, do not try to fix anything yourself. Leave your house immediately and call your local gas provider from the street.
Never mess with the internal gas valves, the main gas lines, or the pressure regulators. Leave the heavy fuel connections to the licensed and trained professionals.
When to Call a Professional Technician
There is zero shame in knowing your DIY limits. Some quick weekend jobs can quickly turn into major, expensive headaches.
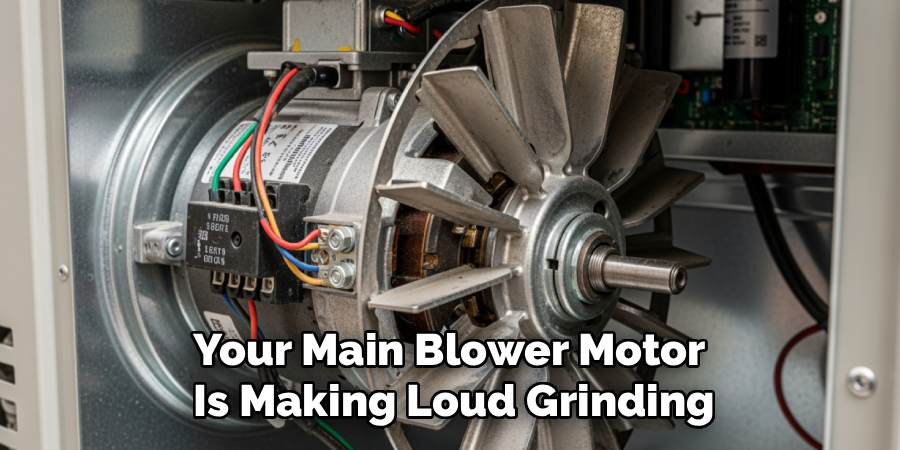
If your main blower motor is making loud grinding or metal screeching noises, you need a pro. The motor bearings likely need a full replacement.
If your unit is blowing strictly cold air even after checking the filter and thermostat, stop right there. The main computer control board might be completely fried.
Any problem involving strange burning plastic smells or repeated electrical breaker trips requires an expert set of eyes. Do not risk a house fire over a heating repair.
Cost Estimate: DIY vs. Professional Repair
Doing the simple maintenance yourself keeps your wallet nice and heavy. Let us look at the basic numbers for a typical winter repair.
A standard DIY fix usually costs between $10 and $30 total. You only pay for a new paper filter, some alkaline batteries, or a cheap sensor part.
Hiring a professional company starts with a basic diagnostic fee ranging from $75 to $150. That chunk of money is just for the van to show up in your driveway.
If they replace a basic part, your total bill will easily jump to $200 or even $300. Fixing the easy stuff yourself literally saves you hundreds of dollars.
Frequently Asked Questions
Why is my heater running but not blowing warm air?
Your air filter is probably clogged, or your system is overheating and limiting the burner. Check the main filter first and ensure your vents are open.
How often should I perform furnace maintenance?
You should do basic visual checks and cleaning every single fall before the cold hits. Change your air filters every three months to keep airflow strong.
Is it safe to reset a tripped furnace breaker?
Yes, you can safely reset the main breaker one time to see if it holds. If it trips again immediately, stop touching it and call an electrician.
Can I clean a flame sensor with heavy sandpaper?
Do not use regular rough sandpaper because it leaves an invisible grit coating behind. Use a very fine wire brush or light steel wool instead.
Why does my heater smell like burning dust?
This is completely normal the very first time you turn it on for the winter season. The burners are simply burning off the summer dust, and the smell should fade quickly.
Conclusion
You made it through the guide! Learning how to repair home heater units does not have to be an overwhelming, stressful mystery.
By tackling simple furnace maintenance and checking your basic settings, you can keep your home toasty all winter long. You now have the exact skills needed to troubleshoot the most common issues safely.
Remember to prioritize safety, work slowly with your tools, and never hesitate to call for professional backup if things get too complex.
Now go check that air filter, swap those old batteries, and enjoy a warm, comfortable house tonight!