

Discovering a hole in your absolute favorite knit can break your heart. You pull it out for the first chilly day, only to spot a gap staring back at you.
Homeowners, renters, and budget-savvy folks all face this annoying problem. Throwing away a perfectly good garment feels incredibly wasteful.
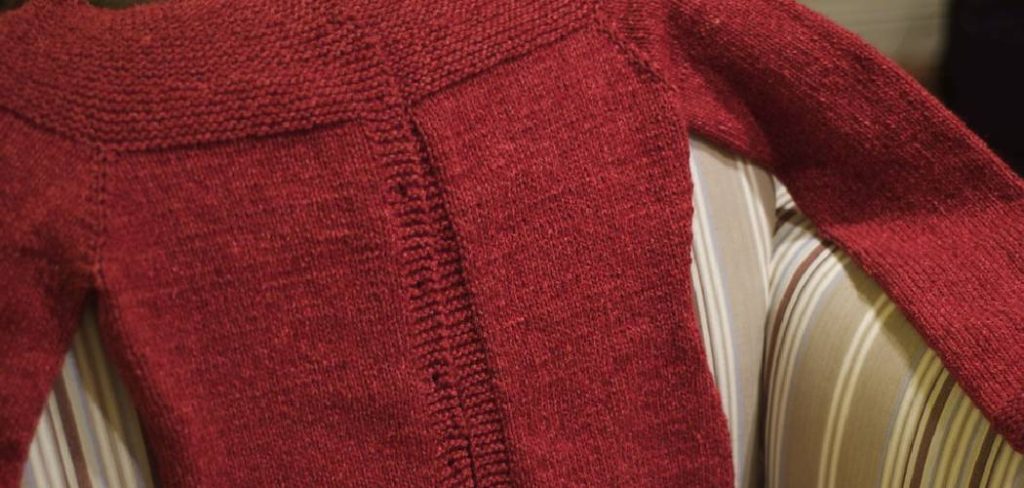
Replacing expensive knits regularly will drain your wallet fast. That is why learning how to repair hole in sweater is a skill worth mastering.
Fixing it yourself saves money and keeps beloved clothes out of the landfill. You do not need to be a master tailor to get this done right.
With a little patience, you can seamlessly mend that tear. Let’s grab some tools and rescue your wardrobe today!
What Causes Holes in Sweaters?
Understanding how damage happens helps you prevent future wardrobe casualties. Here are the most common culprits behind damaged knits:
- Moths and Silverfish: These tiny pests love munching on natural fibers like wool and cashmere.
- Friction and Wear: Constant rubbing against belts, zippers, or desks weakens the yarn over time.
- Washing Machine Snags: Agitators and rogue zippers can easily catch and tear delicate knits.
- Jewelry Catches: Rings, bracelets, and necklaces frequently snag loops of yarn.
- General Age and Decay: Older garments simply break down as natural fibers become brittle.
Tools & Materials Needed for the Job
Before you learn how to repair hole in sweater, gather your supplies. Having everything within reach makes the DIY process smooth and stress-free.
Here is a simple breakdown of what you need to start.
The Essential Mending Kit
You do not need a fancy sewing box. A basic kit will handle most minor repairs perfectly.
- Darning Needle: A blunt-tipped needle with a large eye is essential. It prevents you from splitting the yarn.
- Matching Yarn or Thread: Find a color and thickness that closely matches your garment.
- Small Embroidery Scissors: You need sharp scissors to make clean cuts on frayed edges.
- A Darning Mushroom (or Tennis Ball): This holds the fabric taut so you do not pucker the repair.
Optional But Helpful Items
If you want a truly invisible fix, consider these extras.
- Needle Threader: This saves your eyes when dealing with fuzzy yarn.
- Good Lighting: A bright desk lamp ensures you can see every stitch.
- Magnifying Glass: Helpful for very fine knits or cashmere garments.
Step-by-Step Fix Guide: How to Repair Hole in Sweater
Ready to play sweater surgeon? Follow these beginner-friendly steps to fix that annoying gap.
We will use a technique called “darning,” which essentially weaves a new patch of fabric. Take a deep breath, go slow, and let’s begin.
Step 1: Prep the Damaged Area
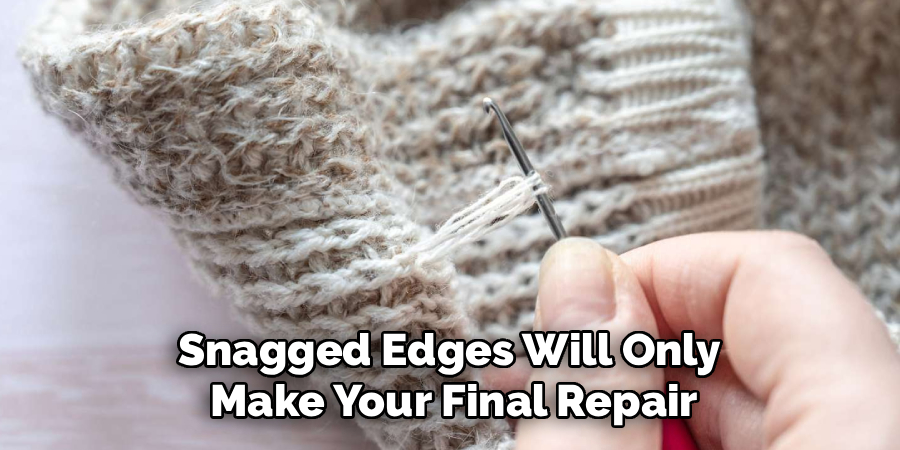
First, inspect the damage in a well-lit room. Trim away any loose, frayed, or totally broken threads with your scissors.
You want a clean, neat opening to work with. Snagged edges will only make your final repair look messy.
Step 2: Position Your Darning Tool
Place your darning mushroom or tennis ball directly under the hole. Pull the fabric gently over it so the damaged area sits flat.
Do not stretch the fabric too tight. If you pull too hard, the final repair will pucker when you wear it.
Step 3: Thread Your Darning Needle
Cut a piece of your matching yarn about 18 inches long. Anything longer will tangle easily as you pull it through the fabric.
Thread your blunt darning needle. Leave a small tail on one end, but do not tie a knot. Knots can feel lumpy and uncomfortable against your skin.
Step 4: Anchor Your Yarn
Start about half an inch away from the actual edge of the hole. Weave your needle over and under the existing, healthy stitches.
Do this for a few rows to securely anchor your yarn in place. Leave a tiny tail of yarn hanging on the inside of the garment.
Step 5: Create the Vertical Warp Threads
Now it is time to build the foundation of your patch. Bring your needle up to the top edge of the opening.
Pass the needle straight across the hole to the bottom edge. Catch a healthy stitch on the bottom side to secure the line.
Bring the needle right back up to the top, running parallel to your first line. Continue creating these vertical lines until the entire gap is covered.
Step 6: Weave the Horizontal Weft Threads
Once your vertical lines are done, start working horizontally. Bring your needle to the side edge of the hole.
Weave the needle over the first vertical thread, then under the next. Continue this over-under pattern across the gap.
When you reach the other side, catch a healthy stitch in the sweater. Turn around and weave back, alternating the over-under pattern.
Step 7: Push the Stitches Together
As you weave back and forth horizontally, keep your lines tight. Use the tip of your needle to gently push the rows together.
This ensures your new patch is dense and covers the gap completely. A dense weave prevents cold air from sneaking through.
Step 8: Secure the Final Thread
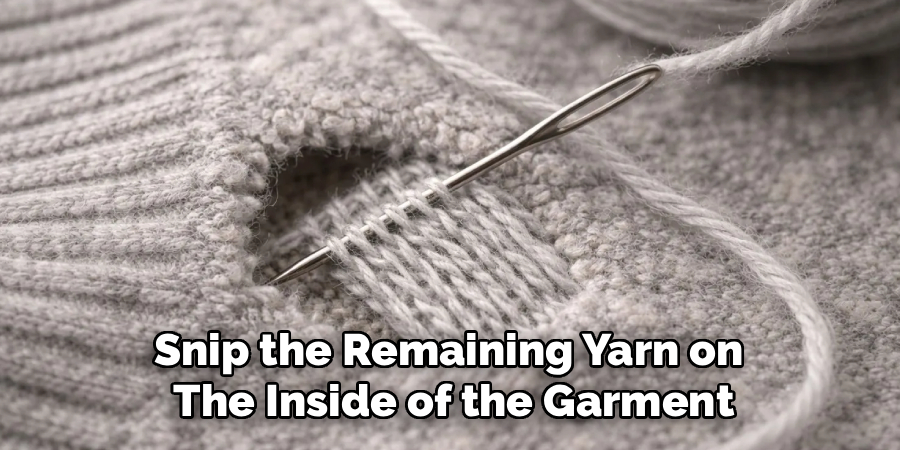
When the hole is completely filled with your new woven patch, it is time to finish up. Weave the needle into the healthy fabric around the edge again.
Do this for about half an inch, just like you did at the start. Snip the remaining yarn on the inside of the garment.
Congratulations on fixing your garment! Gently massage the patched area with your fingers to help the yarn settle into place.
Safety Warnings for Garment Repair
Fixing clothes is generally a very safe DIY project. However, keep a few basic safety tips in mind while you work.
- Watch the Needle: Darning needles are blunt, but they can still prick your finger if you push too hard.
- Store Scissors Safely: Keep sharp embroidery scissors closed and out of reach of children or pets.
- Mind Your Posture: Hunching over a tiny hole for an hour can wreck your neck. Take frequent breaks to stretch.
- Avoid Chemical Glues: Never use superglue or harsh fabric adhesives on fine knits. They dry hard, ruin the drape, and cause skin irritation.
When to Call a Professional Tailor
Sometimes a DIY fix is simply not enough. Knowing your limits is part of being a smart homeowner and DIYer.
If the hole is larger than a golf ball, darning it yourself might look messy. Huge tears require professional re-knitting services.
Fine cashmere or expensive heirloom sweaters might be too risky for a beginner. If the garment holds immense sentimental value, take it to an expert.
Complex patterns, like cable knits or Fair Isle designs, are incredibly difficult to replicate by hand. A professional has the tools to match complex stitches invisibly.
Cost Estimate: DIY vs. Professional Repair
Is fixing it yourself really worth the effort? Let’s break down the typical costs.
The Cost of DIY Repair
Doing it yourself is incredibly budget-friendly. A basic darning needle costs around $2 at a craft store.
A small skein of matching yarn will run you about $3 to $5. If you use a tennis ball you already own, your total cost is under $10.
Plus, you will have leftover supplies for future repairs.
The Cost of Professional Mending
Taking your garment to a local tailor or re-knitting service is much pricier. Basic repairs usually start around $20 to $30.
For larger tears or invisible mending on high-end cashmere, expect to pay $50 to $80. Factoring in travel time, going to a pro is an investment.
If you are dealing with a standard, everyday sweater, DIY is the clear winner for your wallet.
Frequently Asked Questions
Still have some doubts about taking a needle to your favorite pullover? Here are answers to common questions beginners ask.
Can I use regular sewing thread instead of yarn?
It is not recommended for chunky knits. Regular thread is too thin and can slice through soft wool fibers. Always try to match the thickness of the garment’s original material.
Do I have to use a darning mushroom?
No! While helpful, you can easily improvise. A tennis ball, a clean lightbulb, or the back of a large spoon work perfectly.
How do I stop the hole from getting bigger before I fix it?
If you cannot fix it immediately, isolate the damage. You can carefully paint the very edges of the snag with clear nail polish to stop runs, but only do this on hidden areas.
What if I can’t find an exact color match?
If a perfect match is impossible, go one shade darker rather than lighter. Darker shades blend into shadows better. Alternatively, embrace “visible mending” by using a bright, contrasting color for a funky look!
Can I iron the sweater after repairing it?
Be extremely careful. Use the steam setting on your iron and hover it slightly above the patch. Never press a hot iron directly onto wool or acrylic, as it will scorch or melt.
Conclusion
Learning how to repair hole in sweater is an incredibly satisfying skill. It saves you money, rescues your favorite outfits, and is easier than it looks.
By catching snags early and using simple darning techniques, you extend the life of your wardrobe. It is a fantastic weekend project for any DIY enthusiast.
Do not let a tiny moth bite ruin your favorite winter gear. Grab a needle, find some cozy lighting, and start weaving.
Ready to tackle more home and lifestyle fixes? Browse our other DIY repair guides and become the ultimate household problem-solver today!