

Finding a sudden leak in your plumbing is enough to ruin anyone’s day. A small drip can quickly turn into a major headache. Water damage ruins floors, damages drywall, and causes mold.
But do not panic just yet. You might not need to call an expensive plumber.
If you are wondering how to repair hole in copper pipe, you have come to the right place. Fixing a small pinhole leak is completely doable for a beginner.
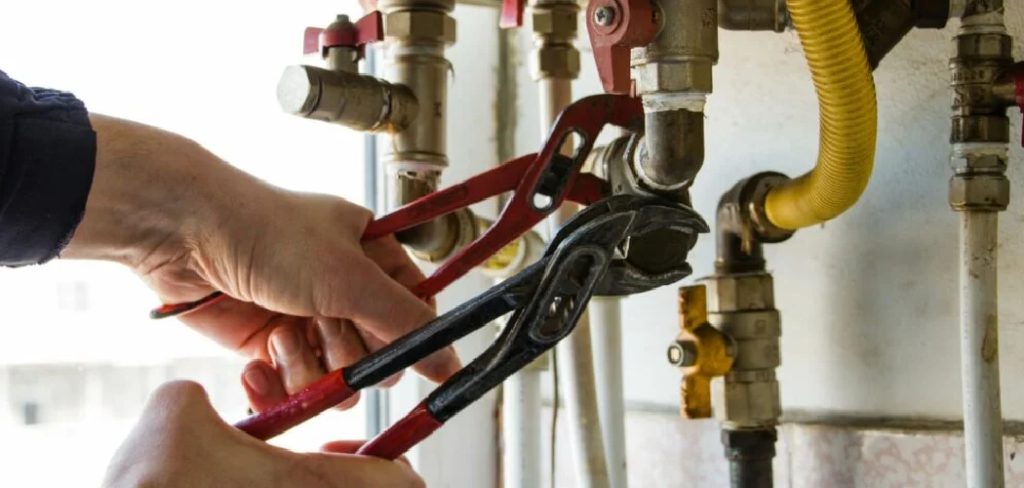
Taking care of this yourself can save you hundreds of dollars. Plus, learning a new DIY skill feels incredibly rewarding.
Grab your tool belt, take a deep breath, and let’s get that leak stopped together. We will walk through everything you need to know.
What Causes Holes in Copper Pipes?
You might be wondering why your sturdy metal pipes are leaking in the first place. Copper is incredibly durable, but it is not completely invincible. Over time, the elements take a toll.
Here are the most common reasons you get holes in your plumbing:
- Pitting Corrosion: This is the most common culprit. Minerals and chemicals in your water slowly eat away at the copper from the inside out.
- High Water Pressure: If your water pressure is too high, it stresses the pipe walls. Over time, this constant force weakens the metal and blows a hole through it.
- Acidic Water: Water with a low pH level is highly corrosive to copper. It strips away the protective lining inside the pipe over the years.
- Improper Installation: If the pipes were not deburred properly during installation, turbulent water flow can wear down the metal from the inside.
- Freezing Temperatures: When water freezes inside a pipe, it expands. This expansion creates intense pressure that splits or punctures the copper.
- Age and Wear: Sometimes, old pipes just reach the end of their lifespan. Decades of constant use eventually wear the metal thin.
Understanding these causes helps you prevent future leaks. For now, let us focus on fixing the problem at hand.
Tools & Materials Needed for the Job
Before you cut the water off, you need to gather your supplies. Having everything within arm’s reach makes the job much smoother. You do not want to run to the hardware store halfway through.
Here is exactly what you need to fix that leaky pipe:
The Essentials:
- A pipe cutter or hacksaw (a specialized pipe cutter makes cleaner cuts)
- A deburring tool or round file
- Emery cloth or wire brush (for cleaning the metal)
- A measuring tape
- A permanent marker
For the Repair Itself (Soldering Method):
- A replacement section of copper pipe (matching your current pipe size)
- Two copper slip couplings
- Lead-free plumbing solder
- Soldering paste (also known as flux)
- A flux brush
- A propane torch
- A spark lighter or striker
For the Repair Itself (Push-Fit / SharkBite Method):
- A push-to-connect slip coupling (this skips the soldering process entirely)
- A depth gauge and deburring tool for push-fit fittings
Safety Gear:
- Heavy-duty work gloves
- Safety glasses
- A fire-resistant heat shield cloth
- A fire extinguisher (just in case)
Step-by-Step Guide: How to Repair Hole in Copper Pipe
Are you ready to get your hands dirty? I promise this is easier than it looks. We will go through the traditional soldering method, as it provides a permanent fix.
If you want to use a push-fit fitting instead, the cutting and cleaning steps are exactly the same. Let us dive in.
Step 1: Turn Off the Water Supply
Never start a plumbing project with the water running. Locate your main water shut-off valve. Turn it completely clockwise to shut the water off.
Once the main valve is off, go to the lowest faucet in your home. Open both the hot and cold handles. This drains the remaining water from the lines and relieves the pressure.
Step 2: Mark the Damaged Section
Locate the exact spot of the hole or pinhole leak. Take your measuring tape and your permanent marker.
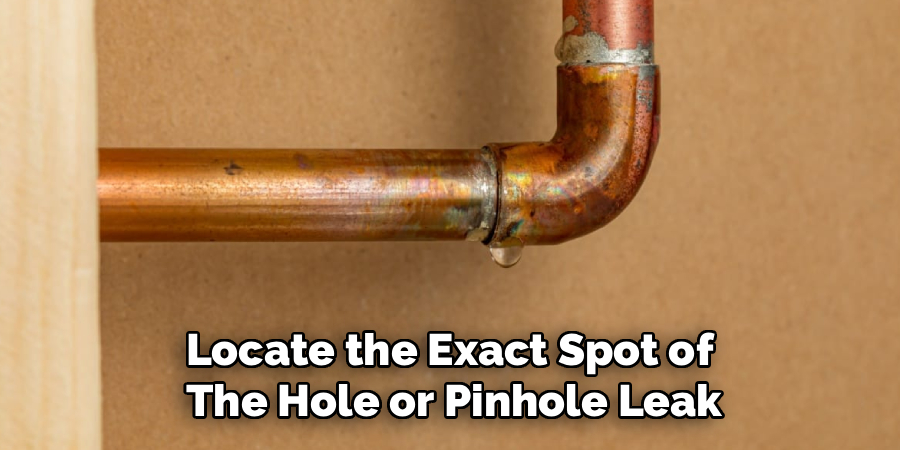
Mark a spot about one inch to the left of the hole. Then, mark a spot about one inch to the right of the hole. You need to remove the entire weakened area, not just the tiny hole itself.
Step 3: Cut Out the Bad Pipe
Grab your pipe cutter. Clasp it around the pipe at your first mark. Tighten the blade against the copper.
Rotate the cutter around the pipe. Tighten the knob slightly after every two full rotations. Keep spinning until the pipe snaps clean off. Repeat this process on your second mark.
Step 4: Clean and Deburr the Edges
A clean pipe is the secret to a perfect seal. Take your deburring tool or round file. Run it around the inside edge of your freshly cut pipes to remove any sharp metal burrs.
Next, grab your emery cloth or sandpaper. Vigorously rub the outside of the pipe ends until the copper is bright and shiny. Do this to your new copper replacement pipe and your couplings, too.
Step 5: Apply the Flux
Flux is a chemical paste that helps the solder flow and stick to the metal. Dip your flux brush into the paste.
Spread an even, generous layer of flux over the cleaned outside edges of your existing pipes. Do the same to the inside of your copper couplings and the ends of your new replacement pipe section.
Step 6: Assemble the Pieces
Slide one copper coupling onto the left side of your existing pipe. Slide the other coupling onto the right side.
Insert your newly cut replacement pipe between the two couplings. Slide the couplings back over the joints so they connect the old pipe to the new pipe perfectly.
Step 7: Solder the Joints
Put on your safety glasses and heat shield. Place the heat shield behind the pipe to protect your wall. Light your propane torch.
Hold the blue tip of the flame against the bottom of the copper fitting. Heat it for about 15 seconds. Touch the tip of your solder wire to the opposite side of the joint (the top).
When the copper is hot enough, it will suck the melting solder right into the joint. Run the solder all the way around the rim. Repeat for the other connections.
Step 8: Wipe and Inspect
Once you have soldered all the joints, turn off your torch. The pipe will be extremely hot, so do not touch it with bare hands.
Take a damp rag and carefully wipe away the excess flux from the outside of the joints. Leaving flux on the pipe can cause green corrosion later on. Inspect the joints to make sure there is a solid ring of silver solder all the way around.
Step 9: Turn the Water Back On
Wait about 10 minutes for the pipes to cool down completely. Go back to your lowest faucet and close it.
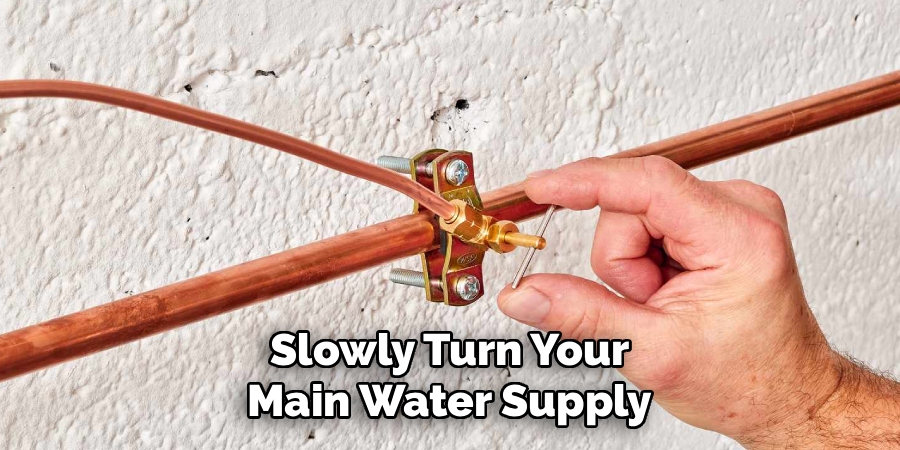
Slowly turn your main water supply valve back on. Go back to your repair and watch it closely. If it stays dry, congratulations! You just fixed your own plumbing.
Crucial Safety Warnings for Plumbing Repairs
Safety always comes first when working on your house. Working with open flames and sharp metal requires caution.
Always wear safety glasses to protect your eyes from flying metal shavings and hot flux. Heavy leather gloves will save your hands from sharp pipe edges and hot copper.
Never solder a pipe near flammable materials without a heat shield. Drywall paper, insulation, and wood framing catch fire easily. Keep a fire extinguisher right next to you at all times.
Make sure the area is well-ventilated. The fumes from burning flux are not good for your lungs. Open a window or set up a fan to keep fresh air moving.
Finally, ensure the pipe is completely dry inside before you torch it. If water turns to steam inside a closed pipe, it can burst violently.
When to Call a Professional Plumber
DIY is fantastic, but it has its limits. Knowing when to put down the wrench is a sign of a smart homeowner.
If your leak is located behind a fully tiled shower wall, call a pro. Opening up intricate tile work usually requires professional restoration.
If the leak is near your main electrical panel, do not risk it. Water and electricity are a deadly combination. Leave that to the experts.
If you find multiple leaks across your entire plumbing system, you likely need a full repipe. A localized fix will not solve widespread corrosion.
Lastly, if you try the repair and it still leaks, do not feel bad. Soldering takes practice. Call a local plumber to finish the job correctly.
Cost Estimate: DIY Repair vs. Professional
Money talks, and this repair will definitely save you some cash. Fixing a pipe yourself is incredibly cost-effective.
The DIY Cost:
If you already own a propane torch and pipe cutters, the materials (pipe, solder, flux, couplings) cost less than $20. Even if you have to buy the tools from scratch, you will spend around $60 to $80.
The Professional Cost:
A licensed plumber charges for parts, labor, and a service call fee. For a basic pinhole leak repair, expect to pay between $150 and $350. If it is an emergency after-hours call, that price can double.
Doing it yourself easily keeps a couple of hundred dollars in your pocket!
FAQs About How to Repair Hole in Copper Pipe
Can I just put tape over a leaking copper pipe?
No. Plumbing tape or duct tape will not hold back pressurized water. Tape is only a temporary bandage that will fail quickly and cause more water damage.
Is epoxy putty a good way to repair a hole in copper pipe?
Plumber’s epoxy putty can temporarily stop a tiny pinhole leak. However, it is not a permanent fix. You should eventually replace the damaged section.
Do I have to solder to fix a copper pipe?
Not necessarily. You can use push-to-connect fittings (like SharkBite). You simply cut out the bad section and push the new fitting into place without any heat or solder.
Why did my soldering job fail and leak?
The most common reason for a failed solder joint is a dirty pipe. If you did not sand the copper completely bright or apply enough flux, the solder will not bond to the metal. Water left inside the pipe can also cool the joint and ruin the seal.
Conclusion
Plumbing issues are intimidating, but they do not have to be a disaster. Knowing how to repair hole in copper pipe gives you great peace of mind.
By understanding the causes, gathering the right tools, and following these safe steps, you can confidently stop that annoying leak. You just saved yourself the stress and cost of an emergency plumber.
Take your time, prep your pipes well, and practice safely. You are now officially the handy neighbor everyone is jealous of.
If you found this guide helpful, be sure to bookmark our site for more simple, money-saving home repair tips!