

Picture this: you just arrived at the campsite, set up your gear, and got ready to relax. You go to close the flap, and disaster strikes. The zipper splits, jams, or falls off completely.
Learning how to repair a tent zipper is a crucial skill for any camper. A broken zipper leaves you exposed to mosquitoes, rain, and cold winds. It ruins a good night of sleep and adds stress to your trip.
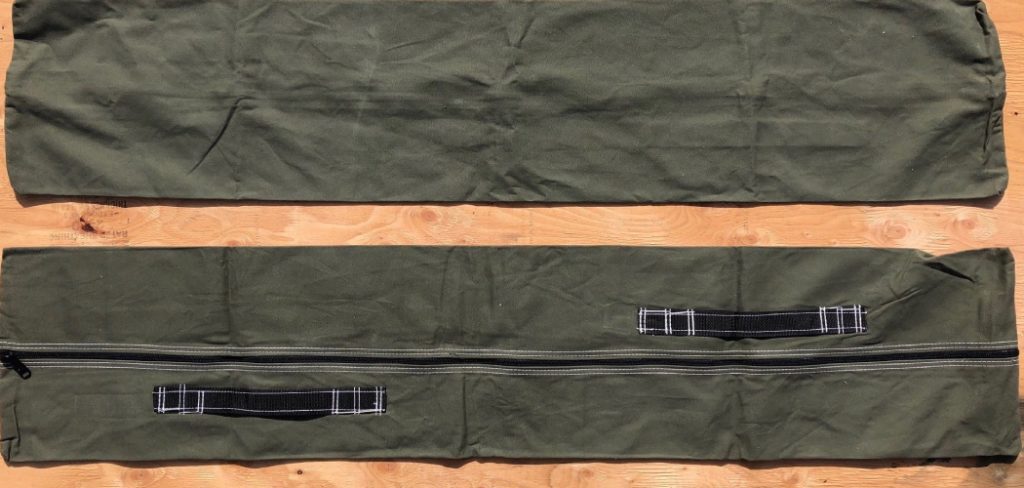
Many people throw away a perfectly good tent when the zipper fails. This is a huge waste of money. You can fix this problem yourself in just a few minutes.
Doing it yourself saves cash and keeps outdoor gear out of landfills. You do not need a degree in engineering to pull this off. With a few simple tools, you can get your shelter closing smoothly again.
This guide will show you exactly how to tackle this repair with confidence. Let us dive in and save your camping trip.
What Causes Tent Zippers to Fail?
Before we fix the problem, we need to know why it happened. Understanding the root cause helps you prevent future breaks.
Zippers take a lot of abuse in the great outdoors. They handle dirt, moisture, and rough pulling. Here are the most common reasons your zipper stopped working:
- Dirt and grit buildup: Dust and mud get trapped in the tiny teeth. This creates friction and stops the slider from moving.
- Worn-out metal sliders: The metal slider bends or stretches over time. When it widens, it can no longer push the teeth together securely.
- Fabric caught in the tracks: Tent fabric often snags inside the slider. Pulling too hard rips the material or warps the metal.
- Missing or bent teeth: Stepping on the track or forcing a jam can bend the plastic or metal teeth. Missing teeth prevent a secure closure.
- Saltwater corrosion: Camping near the ocean exposes gear to salt. Salt corrodes metal parts quickly if not rinsed away.
Tools & Materials Needed for the Job
You need the right gear before starting this project. Gathering your tools beforehand makes the job fast and easy.
You can find most of these items in a basic tool box or sewing kit. If you camp often, keep a small repair kit with these items in your backpack.
Here is what you need to successfully fix your gear:
- Needle-nose pliers: Essential for crimping loose sliders and removing damaged stops.
- Zipper repair kit: These kits contain replacement sliders and stops. Make sure you buy one sized correctly for tents (usually size #5 or #8).
- Small wire cutters: Used to snip off old, stubborn metal stops.
- Seam ripper or small scissors: Needed if you have to open a seam to replace a slider.
- Heavy-duty outdoor thread: Get thick, UV-resistant thread for any required sewing.
- Sewing needle: A thick needle capable of piercing nylon tent fabric.
- Cleaning brush: An old toothbrush works perfectly to scrub dirt out of the tracks.
- Zipper lubricant: You can use specialized wax, a bar of soap, or a plain wax candle.
- Rubbing alcohol and cotton swabs: Used to clean stubborn grime before lubricating.
Step-by-Step Guide: How to Repair a Tent Zipper
We will cover three different fixes here. You will learn how to unstick a jam, fix a separated track, and replace a broken slider entirely.
Take your time and work in a well-lit area. Patience is your best friend when working with small parts.
Fix 1: Freeing a Stuck Zipper
A stuck slider is the most common issue. Do not force it. Yanking will only tear your tent fabric.
Step 1: Inspect the blockage
Look closely at the slider. Check if tent fabric is wedged inside the metal jaws. If you see dirt, that might be your culprit.
Step 2: Pull fabric away gently
If fabric is caught, hold the track tight with one hand. Gently back the slider away while pulling the fabric in the opposite direction. Wiggle it slowly until it pops free.
Step 3: Clean the tracks
Take your old toothbrush and scrub the teeth. Wipe away any caked-on mud. You can dip the brush in rubbing alcohol for stubborn sap or grime.
Step 4: Lubricate the teeth
Rub a bar of soap or candle wax along both sides of the zipper track. Slide the zipper back and forth to distribute the wax. It should glide perfectly now.
Fix 2: Curing a Separated Zipper Track
Sometimes the slider moves up and down, but the teeth do not interlock. The track splits wide open behind the slider. This happens when the slider jaws stretch out.
Step 1: Move the slider to the bottom
Pull the slider all the way to the starting end of the track. Make sure it rests completely at the bottom stop.
Step 2: Grab your pliers
Take your needle-nose pliers and place them over the sides of the slider. You want to squeeze the top and bottom plates closer together.
Step 3: Crimp gently
Give the pliers a very gentle squeeze. Do not crush the metal. You only want to compress the gap by a tiny fraction of a millimeter.
Step 4: Test the closure
Pull the slider up the track. If the teeth lock together, you fixed it. If it still splits, slide it back down and crimp it slightly harder.
Step 5: Check both sides
Sometimes only one side of the slider is loose. If one side seems wider than the other, focus your pliers on the loose side.
Fix 3: Replacing a Broken Slider Completely
If crimping fails or the slider breaks in half, you need a replacement. Learning how to repair a tent zipper with a new slider is easier than it sounds.
Step 1: Remove the old top stop
Look at the very top of the zipper track. You will see a small metal or plastic square called a “stop.” Use your pliers to pry this stop off.
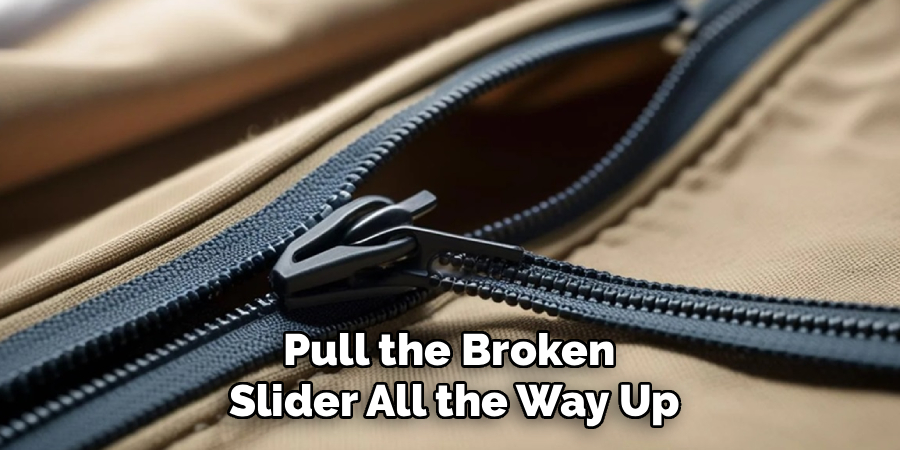
Step 2: Slide off the old slider
Once the top stop is gone, pull the broken slider all the way up and right off the track. Throw the broken piece away.
Step 3: Prepare the new slider
Grab the correct size slider from your repair kit. Match the number on the back of the old slider to the new one. Tents usually use double-sided pulls.
Step 4: Thread the new slider
Slide the new metal piece onto the top of the track. Make sure the nose (the wider end) faces down toward the bottom of the tent door.
Step 5: Attach a new top stop
Take a new metal stop from your kit. Place it over the top teeth where you removed the old one. Crimp it down hard with your pliers.
Step 6: Test your work
Zip the door up and down a few times. The new slider should lock the teeth together beautifully. Your shelter is now secure.
Important Safety Warnings for Gear Repair
Safety comes first, even with simple DIY projects. Working with tools and metal parts requires basic precautions.
Pliers and wire cutters can pinch your fingers badly. Keep your hands clear of the cutting jaws. Grip your tools firmly to prevent slipping.
Do not use your teeth to crimp metal parts. This is a common mistake on camping trips when tools are scarce. You will chip a tooth and face a hefty dental bill.
Avoid using oil-based lubricants like WD-40 on tent fabric. Heavy oils attract dirt rapidly. They also break down the waterproof coating on your nylon gear.
Work in a well-ventilated area if you use rubbing alcohol to clean tracks. Keep flammable liquids away from your campfire or camping stove.
Finally, never rush a repair in the dark. If a break happens at night, use safety pins to close the door temporarily. Wait for daylight to do the actual work.
When to Call a Professional for Help
DIY repairs are incredibly rewarding. However, some problems require professional sewing equipment. You need to know your limits.
If the zipper tape (the fabric holding the teeth) is torn from the tent wall, stop right there. Hand-sewing a long stretch of tape is very difficult. It rarely holds up to high wind.
Call a professional if multiple teeth are missing from the middle of the track. You cannot replace individual plastic teeth. The entire zipper needs to be unstitched and replaced.
Curved doors sometimes cause headaches. Sewing a zipper onto a tight curve requires an industrial sewing machine. An outdoor gear repair shop can handle this easily.
If your tent cost over a thousand dollars, professional repair might be a safer bet. High-end canvas tents use heavy-duty materials that break standard household needles.
Be honest with yourself about your time. If you feel overwhelmed, look up a local seamstress or gear repair service. They do excellent work and keep your gear functional.
Cost Estimate: DIY vs. Professional Repair
Money is a big factor when gear breaks. Let us compare the costs of doing it yourself versus hiring an expert.
Fixing it yourself is very budget-friendly. A complete zipper repair kit costs between ten and twenty dollars online. A pair of pliers costs about ten dollars at a hardware store.
You can fix your gear for under thirty dollars total. Best of all, you keep the tools for future projects. Your next fix will essentially be free.
Professional gear repair costs significantly more. Replacing a full tent door zipper runs anywhere from sixty to one hundred dollars. This depends on the size of the tent.
You also have to factor in shipping costs. Mailing a heavy tent to a specialized repair center can add thirty to fifty dollars to your bill.
If it is just a slider issue, do it yourself. If the entire track needs to be replaced, the professional cost is worth it to save a good tent.
FAQs About Tent Zipper Maintenance
People have plenty of questions when dealing with broken camping gear. Here are clear answers to the most common queries we hear.
How do I know what size replacement slider to buy?
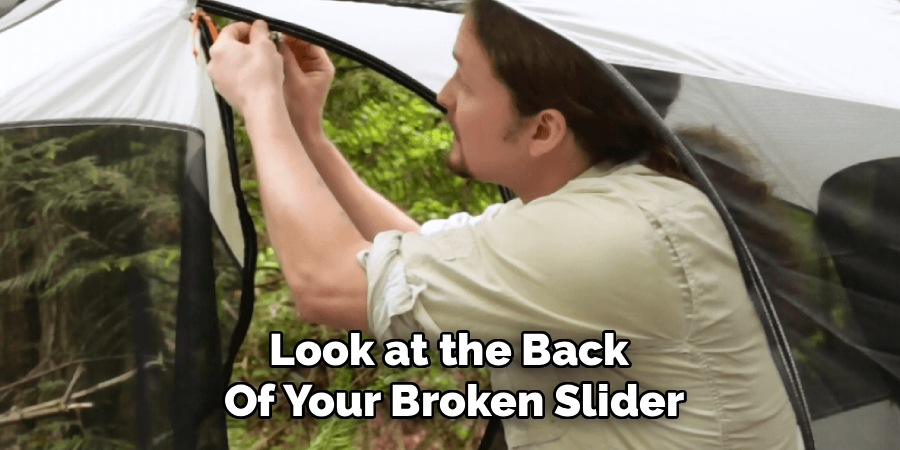
Look at the back of your broken slider. You will usually see a number stamped into the metal, like a 5, 8, or 10. Buy a kit matching that exact number to ensure a perfect fit.
Can I fix a tent zipper without tools?
You can try unsticking a jam or applying bar soap without tools. However, you absolutely need pliers to crimp a loose slider or install a new one. Pack small pliers in your camp kit.
Why does my zipper keep splitting after I zip it?
Your slider has widened from wear and tear. Use needle-nose pliers to gently squeeze the top and bottom plates of the slider closer together. This helps the internal mechanism grip the teeth firmly again.
What is the best lubricant to use on tent zippers?
Dry lubricants work best because they do not attract dust. Use a specialized gear wax, a plain paraffin candle, or a dry bar of soap. Rub it directly onto the teeth.
Can I use super glue to fix missing teeth?
No, super glue does not work for missing teeth. It dries hard and blocks the slider from moving past that point. If teeth are missing, you generally need to replace the whole track.
Conclusion
A broken closure does not mean the end of your favorite camping shelter. Knowing how to repair a tent zipper gives you total peace of mind in the wilderness.
We covered the main causes of damage, from dirt buildup to stretched metal sliders. You now know exactly what tools to pack in your kit. You also learned how to fix jams, crimp loose sliders, and replace broken parts entirely.
Taking care of your gear extends its life by years. It saves you money and reduces waste. Plus, being the person at the campsite who can fix anything is a great feeling.
Don’t let a minor snag ruin your next outdoor adventure. Take control of your gear maintenance today.
Grab a basic repair kit, practice on an old duffel bag, and get comfortable with your pliers. Your gear will thank you for it!