

Finding a split in your tub can make your heart sink. You might immediately worry about water damage, mold, and massive replacement bills.
But do not panic just yet. We have some great news for you. Figuring out how to repair crack in plastic bathtub fixtures is totally doable.
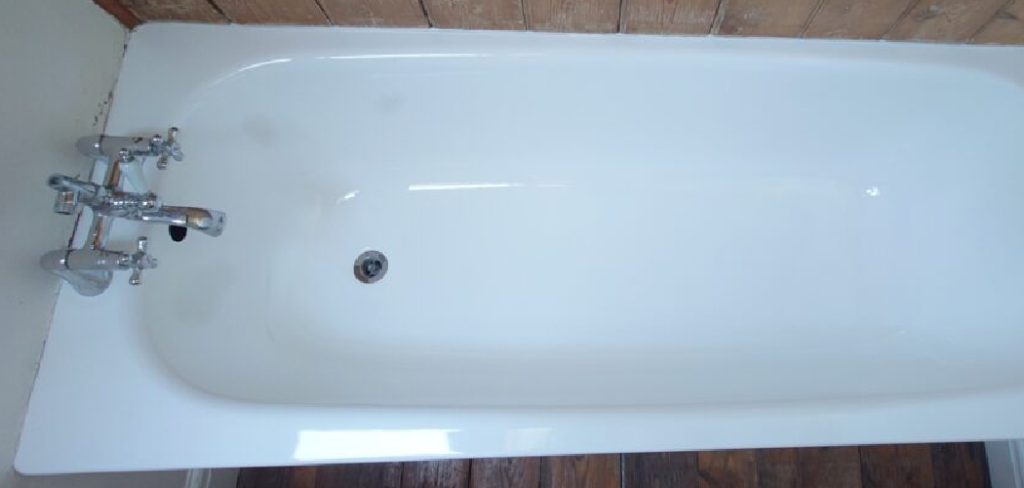
Homeowners and renters face this annoying issue all the time. Daily wear and tear takes a toll on bathroom fixtures. Replacing an entire tub costs thousands of dollars and takes your bathroom out of commission for days.
Fixing it yourself is a fantastic way to save big money. You can tackle this weekend project with basic supplies from your local hardware store.
If you can follow simple instructions and have a little patience, you can handle this. Let us roll up our sleeves and get your tub looking brand new again.
What Causes This Problem?
Before we dive into the fix, it helps to know why this happened. Tubs take a lot of abuse over the years.
Understanding the cause helps prevent future damage. Here are the most common reasons your tub might split:
- Heavy Impact: Dropping a heavy shampoo bottle or showerhead can easily chip or crack the plastic.
- Poor Installation: If the floor under the tub lacks proper support, the plastic flexes and eventually breaks under your weight.
- Abrasive Cleaners: Using harsh chemicals strips away the protective layer, making the plastic brittle and weak.
- Old Age: Over time, plastic naturally degrades. Temperature changes from hot water make it expand and contract, leading to fatigue.
- Structural Settling: Houses settle over time. This movement can put uneven stress on the tub framing, snapping the plastic.
Tools & Materials Needed
You need the right gear before starting this project. Gathering everything beforehand saves you trips to the store later.
Here is exactly what you need to pick up.
Cleaning and Prep Supplies
- Utility knife: To scrape away loose edges.
- Rubbing alcohol: For deep cleaning the surface.
- Clean rags: Lint-free microfiber works best.
- Sandpaper: Get both 80-grit and 400-grit to smooth things out.
Repair Materials
- Fiberglass or epoxy repair kit: Make sure it is designed specifically for plastic or fiberglass tubs.
- Color match dye: Often included in the kit, this blends the patch with your tub.
- Plastic spreader: A small putty knife or spatula works too.
Safety Gear
- Rubber gloves: To keep chemicals off your skin.
- Respirator mask: To protect your lungs from dust and fumes.
- Safety glasses: To shield your eyes during sanding.
Step-by-Step Fix Guide
Now for the fun part. We will walk through the repair process together.
Take your time with each step. Good prep work makes all the difference here.
Step 1: Clean and Dry the Area
First, thoroughly clean the damaged section. Use rubbing alcohol and a rag to remove soap scum, dirt, and oils.
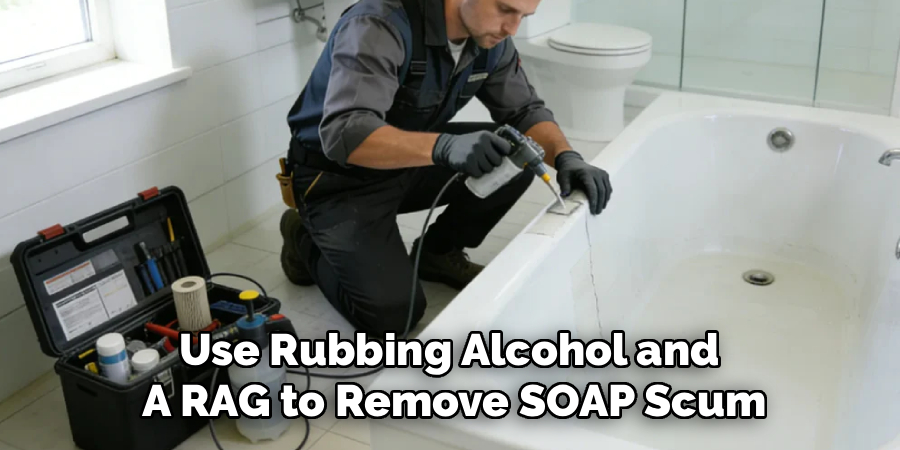
The repair epoxy will not stick if the surface is greasy. Once clean, let it dry completely. Use a hairdryer on low heat if you need to speed up the drying process.
Step 2: Trim the Edges
Grab your utility knife. Carefully scrape away any loose or jagged plastic around the split.
You want a smooth, V-shaped groove. This helps the repair putty sink deep into the damage for a stronger hold.
Read More: How to Repair Fiberglass Cracks.
Step 3: Drill Stop Holes
This is a great insider trick. Take a small drill bit and drill a tiny hole at both ends of the split.
This stops the fracture from spreading further down the tub later on. It relieves the tension in the plastic perfectly.
Step 4: Sand the Surface
Take your 80-grit sandpaper and rough up the area around the damage. Go about an inch outward in all directions.
Roughing up the surface gives the epoxy something to grip onto. Wipe away all the dust with a clean, damp rag, then let it dry.
Step 5: Mix the Repair Compound
Put on your mask and gloves now. Open your tub repair kit and follow the mixing instructions.
Usually, you will mix a base resin with a hardener. Stir them together thoroughly on a disposable plate or piece of cardboard.
Read More: How to Repair Water Damaged Drywall.
Step 6: Add the Color Match (Optional)
If your kit includes color dye, add it now. Add small drops until the shade matches your tub.
It might look slightly darker when wet, but it will lighten as it cures. Mix the color in completely so there are no streaks.
Step 7: Apply the Patch
Scoop up some of the mixture with your plastic spreader. Press it firmly into the groove and the stop holes.
Make sure you fill every little gap. Overfill it just a tiny bit, as the mixture might shrink slightly as it dries.
Step 8: Smooth It Out
Use the edge of your spreader to feather the edges. You want the transition from the patch to the tub to be as smooth as possible.
The smoother you make it now, the less sanding you have to do later. Wipe away any massive drips before they harden.
Step 9: Let It Cure
Patience is key here. Let the patch dry completely.
Check your kit instructions for exact times. Most kits need at least 24 hours to cure properly. Do not use the shower during this time.
Read More: How to Repair Crumbling Concrete Statues and Save Money.
Step 10: Sand and Polish
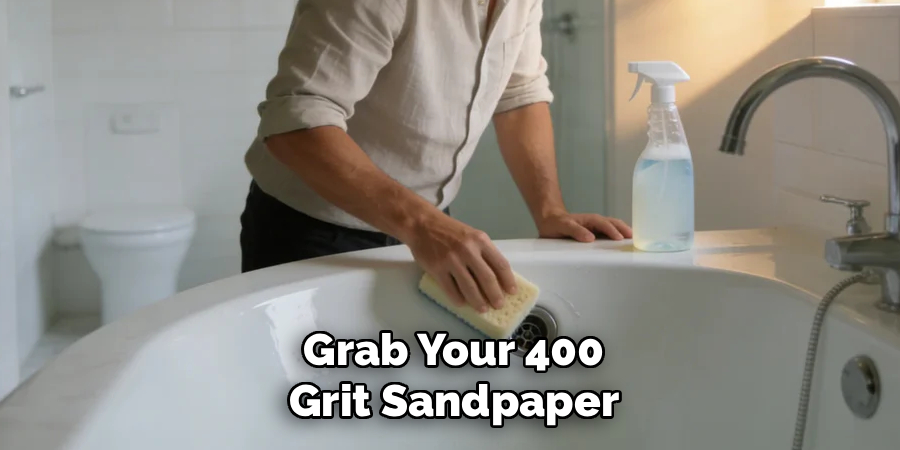
Once the patch is rock hard, grab your 400-grit sandpaper. Gently sand the patch until it is flush with the rest of the tub.
Wipe away the dust. If your kit came with a polishing compound, buff the area until it shines like new.
Safety Warnings
Working with chemicals requires some common sense. We want you to fix your tub, not end up with a headache.
Always keep the bathroom well-ventilated. Turn on your exhaust fan and open a window if possible.
Epoxy fumes can be strong and overwhelming. Wear your respirator mask while mixing and applying the resin.
Protect your skin and eyes. Wear gloves during the entire process, and keep your safety glasses on while sanding and drilling.
When to Call a Professional
We love DIY projects, but sometimes a problem is too big to tackle alone. It pays to know your limits.
If your tub feels spongy when you step on it, you have a structural issue. The floor support underneath might be rotten or missing.
A surface patch will simply break again as soon as you stand on it. In this case, you need a pro to pull the tub and fix the framing.
You should also call a pro if the damage is massive. A single split is an easy DIY fix. A massive spiderweb of deep fractures usually requires professional resurfacing or replacement.
If water has already leaked heavily under the floor, stop immediately. You might need a plumber or contractor to assess water damage and mold.
Cost Estimate: DIY vs. Pro
Let us talk about money. This is where your DIY skills really pay off.
A high-quality fiberglass and plastic repair kit costs between $20 and $40 at the hardware store. Add another $10 for sandpaper, alcohol, and a putty knife if you do not own them.
Your total out-of-pocket DIY cost is around $30 to $50. Plus, you invest a few hours of your weekend.
Calling a professional tub resurfacing company is a different story. A basic professional patch job usually starts at $200 to $300.
If they need to resurface the whole tub, expect to pay $400 to $600 or more. Replacing the entire tub can easily cost over $2,000 when you factor in plumbing and tile work.
Doing it yourself keeps a lot of cash in your wallet.
Frequently Asked Questions on How to Repair Crack in Plastic Bathtub Surfaces
You might still have a few lingering concerns. We have compiled the most common questions people ask during this project.
Can I just use superglue or caulk?
No, superglue and bathroom silicone caulk will not hold up. They cannot handle the weight, flexing, and hot water. You need a two-part epoxy or fiberglass kit designed specifically for tub repairs to ensure a watertight seal.
How long does a DIY tub repair last?
If properly prepped and applied, an epoxy patch can last for years. However, if the floor under the tub is weak and causes flexing, the patch might fail sooner. Proper support is crucial for a long-lasting fix.
Can I paint over the repaired area?
Yes. If your kit did not come with color match dye, you can use tub and tile touch-up paint. Just make sure the patch is fully cured and lightly sanded before you apply the paint for the best adhesion.
Is it safe to bathe in the tub after repairing it?
Absolutely. Once the epoxy has fully cured (usually 24 to 48 hours), it is completely safe and non-toxic. The patch will be completely watertight, so you can enjoy a relaxing soak without worrying about leaks.
Why did my patch turn yellow?
Cheaper epoxy kits can yellow over time due to UV exposure or hot water. To prevent this, invest in a high-quality marine-grade or tub-specific repair kit. If it does yellow, you can lightly sand it and apply a white tub touch-up paint.
Conclusion: You Can Do This
We covered a lot of ground today. Now you know exactly how to repair crack in plastic bathtub fixtures using simple tools and materials.
You learned how to prep the surface, apply the epoxy, and sand it down for a perfect finish. You also know when it is time to throw in the towel and call a professional.
Home repairs can feel intimidating at first. But taking it one step at a time makes the process highly manageable. You are saving hundreds of dollars and protecting your home from water damage.
Take a deep breath, head to the hardware store, and grab your supplies. You have got this handled.
If you found this guide helpful, bookmark our site for more money-saving DIY home repair tutorials!