

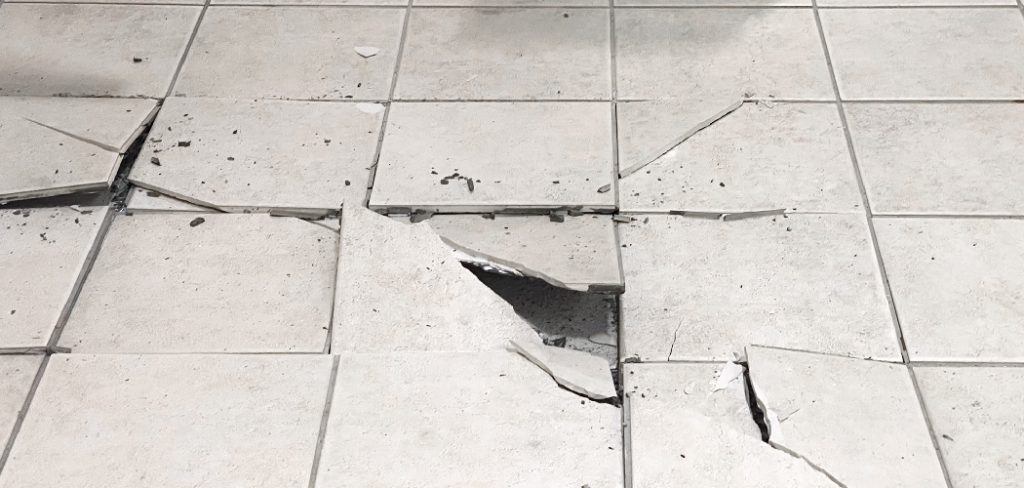
Has a dropped pot or a heavy chair left an ugly mark on your beautiful flooring? You are not alone. Many homeowners and renters face this exact frustration.
A small blemish can make a whole room feel messy. But you do not need to replace the entire floor just yet.
Learning how to repair chipped floor tiles is easier than you might think. Fixing it yourself saves you the hassle of finding a contractor.
It also keeps a significant amount of money in your wallet. With a little patience and the right supplies, you can make that ugly chip disappear completely.
Let us dive into this simple, beginner-friendly project. We will walk you through everything you need to know to get your floor looking flawless again.
What Causes This Problem?
Before we fix the damage, it helps to know why it happened. Tiles are incredibly durable, but they are not invincible.
Several everyday occurrences can cause surface damage. Understanding these can help you prevent future headaches.
Here are five common reasons your flooring might sustain a chip:
- Dropping Heavy Objects: Cast iron pans, thick mugs, and heavy tools are the top offenders. An impact on a hard edge often causes sudden cracking.
- Dragging Furniture: Moving a heavy sofa or dining table without felt pads puts immense pressure on tile edges.
- Poor Installation: If the mortar underneath has gaps, the tile lacks support. Walking on these hollow spots makes the surface brittle.
- House Settling: As a home ages, the foundation shifts slightly. This movement creates tension that can crack or chip rigid surfaces.
- Dropping Keys or Small Metals: Even lightweight metallic objects can chip the glaze if they hit at just the right angle.
Tools & Materials Needed
Preparation is the secret to a perfect DIY repair. Gathering your supplies beforehand saves you from rushing to the store mid-project.
Most of these items are cheap and easy to find at any local hardware store.
Here is exactly what you need to fix your floor:
- Two-Part Clear Epoxy: This acts as the strong, durable filler for the hole.
- Rubbing Alcohol: You need this to clean the area completely before starting.
- Cotton Swabs or a Clean Rag: Perfect for precise cleaning inside the small chip.
- Masking Tape or Painter’s Tape: This protects the surrounding undamaged glaze.
- A Wooden Craft Stick or Toothpick: Essential for mixing and applying the epoxy.
- Fine-Grit Sandpaper (400-grit): Used to smooth out the filler once it dries.
- Enamel Paint or Nail Polish: To match the color of your flooring.
- Clear Polyurethane Sealer: A tiny brush-on sealer protects your new paint job.
Step-by-Step Fix Guide: How to Repair Chipped Floor Tiles
Now it is time to get to work. Don’t worry if you have never done this before.
This process is highly forgiving. If you make a mistake, you can easily wipe away wet epoxy and try again.
Follow these simple steps to restore your floor.
Step 1: Clean the Damaged Area
Epoxy will not stick to dirt, grease, or dust. You must start with a perfectly clean surface.
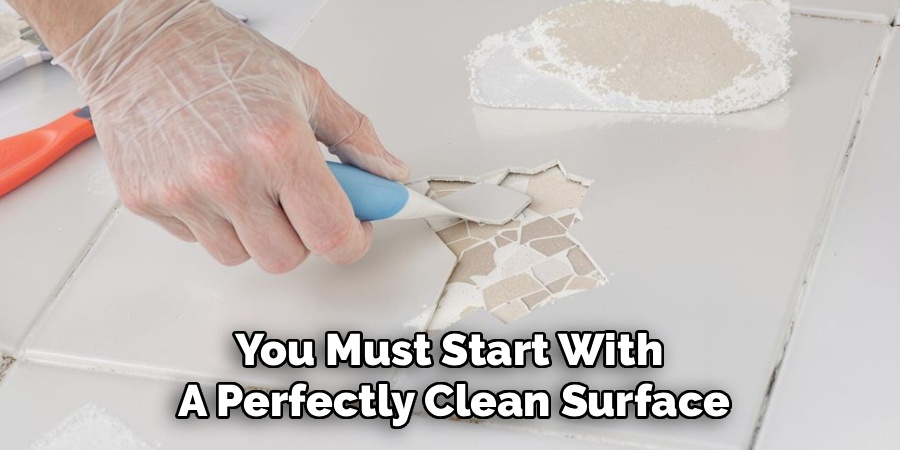
Sweep away any loose ceramic dust from the hole. Next, dip a cotton swab in rubbing alcohol.
Scrub the inside of the chip thoroughly. Let the alcohol evaporate completely, which should only take a minute or two.
Step 2: Tape Off the Borders
You want the filler to go into the hole, not on your nice flooring. Grab your painter’s tape.
Carefully frame the edges of the chip with the tape. Press the edges down firmly.
This creates a safe border. It ensures you only sand and paint the damaged spot later.
Step 3: Mix Your Epoxy Filler
Most clear epoxies come in a double-syringe tube. Squeeze a small, equal amount of both parts onto a disposable surface. A scrap piece of cardboard works perfectly.
Use your wooden craft stick to mix them together. Stir vigorously for about a minute.
You need the resin and hardener to blend completely for a strong hold.
Step 4: Fill the Chipped Spot
Pick up a small amount of the mixed epoxy with your stick. Gently press it into the chip.
Make sure the filler reaches into every tiny corner of the hole. Overfill the chip just a tiny bit.
Epoxy can shrink slightly as it dries, so a small mound is better than a shallow divot.
Step 5: Wait and Level
Read your epoxy package for drying times. Most require at least a few hours to set hard.
Once it is completely dry, remove the painter’s tape. Now, take your fine-grit sandpaper.
Gently rub the dried mound until it sits flush with the rest of the floor. Run your finger over it to ensure it feels perfectly smooth.
Step 6: Paint to Match
Now comes the fun part. You need to camouflage the clear epoxy.
If you have solid-colored flooring, a matching enamel paint works beautifully. You can even use high-quality nail polish for small spots.
Apply the color with a very small brush. If your floor has a speckled pattern, dab different shades with a sponge to mimic the stone look.
Step 7: Seal the Repair
Allow your paint to dry overnight. The paint looks great, but it needs protection from foot traffic.
Apply a thin layer of clear polyurethane sealer over the painted spot.
Let the sealer cure completely. Congratulations, your floor looks as good as new!
Safety Warnings for Your DIY Project
Fixing things around the house is fun, but safety must come first. You are working with chemicals and fine dust.
Always work in a well-ventilated area. Open a window or turn on a ceiling fan when mixing epoxy.
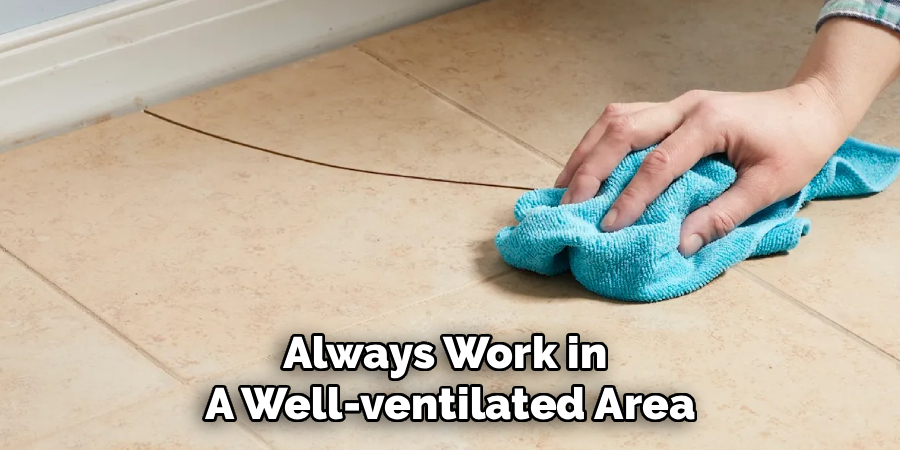
Wear nitrile gloves to keep the sticky resin off your skin. Epoxy can be very difficult to wash off.
Finally, wear a dust mask and safety glasses when sanding. You do not want to inhale epoxy dust or get particles in your eyes.
When to Call a Professional
This DIY method is perfect for small, superficial chips. However, not every problem can be solved with a tube of epoxy.
Sometimes, calling a pro is the smartest move. If a tile is shattered into multiple pieces, filler will not hold it together.
If you notice a long crack running across multiple pieces of flooring, you likely have a foundation or subfloor issue.
Additionally, if you have under-floor radiant heating and the damage goes deep, stop immediately. You do not want to risk damaging the heating elements below.
A professional contractor can safely remove and replace a fully broken piece without disturbing the surrounding floor.
Cost Estimate: DIY vs. Pro Repair
One of the best reasons to learn how to repair chipped floor tiles is the financial savings.
Let us look at a rough breakdown of what you can expect to spend.
The DIY Cost Route
Buying epoxy, tape, sandpaper, and a tiny bottle of enamel paint is incredibly cheap.
If you have none of these items at home, expect to spend between $15 and $25 at the hardware store.
Plus, you will have leftover supplies for future repairs. Your only other investment is about an hour of active labor.
The Professional Cost Route
Hiring a handyman or a flooring specialist costs significantly more.
Most professionals have a minimum call-out fee. You can expect to pay anywhere from $100 to $250 just to have them walk through the door.
If they need to chisel out and replace the entire square, the cost can easily exceed $300. Fixing it yourself is a massive win for your budget.
Frequently Asked Questions
Can I use toothpaste to fix a chipped tile?
No. Toothpaste is a popular internet myth, but it dries brittle and washes away with water. Always use a proper two-part epoxy for a durable, waterproof fix.
How long does epoxy take to dry completely?
While epoxy might feel hard to the touch in 10 minutes, it usually takes 24 hours to fully cure. Always wait a full day before sanding or walking on the repaired spot heavily.
Does this method work on porcelain and ceramic?
Yes! This epoxy and paint method works wonderfully on both porcelain and ceramic flooring. It also works reasonably well on natural stone, though painting a stone pattern takes more artistic effort.
What if I cannot find the exact paint color?
If a single bottle does not match, buy two close colors. Mix them together on a paper plate until you achieve the perfect custom shade. Nail polish offers hundreds of subtle color variations.
Conclusion
A dropped mug does not have to ruin the look of your kitchen or bathroom.
As we have covered, knowing how to repair chipped floor tiles is a valuable skill for any home dweller. It requires minimal tools, costs very little, and takes just a bit of patience.
By cleaning the spot, applying a strong epoxy, and blending the paint, you can hide damage perfectly. You will save hundreds of dollars by avoiding professional call-out fees.
Plus, there is a deep sense of pride that comes with fixing your own home.
Ready to make your floors look flawless again? Grab some epoxy from your local hardware store this weekend and give this simple repair a try!