

Seeing a black chip in your bright white bathroom basin is incredibly frustrating. You might think you need to replace the entire unit. Do not worry, you have other options.
Learning how to repair chipped porcelain sink surfaces is easier than you think. You do not need to be a master plumber. You just need a few basic tools and a little patience.
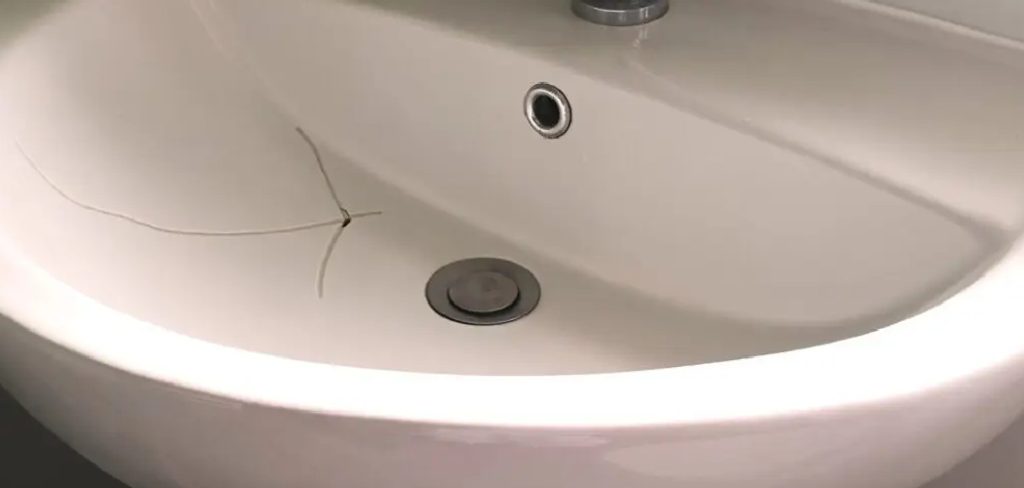
Fixing it yourself saves a significant amount of money. Plumbers and repair technicians charge high hourly rates. A DIY repair costs a fraction of the price.
Let us walk through the process together. You can make that ugly blemish disappear by this weekend.
What Causes This Problem?
Understanding why your basin chipped helps prevent future damage. Porcelain is durable but not indestructible. It has a glass-like finish that can crack under pressure.
Here are the most common causes of surface damage:
- Dropping heavy items: A slipping glass bottle can easily chip the hard surface.
- Thermal shock: Pouring boiling water into a cold basin causes rapid expansion and cracking.
- Wear and tear: Years of scrubbing with abrasive cleaners weakens the protective glaze.
- Impact from metal tools: Dropping a wrench during a plumbing repair is a common culprit.
- Manufacturing defects: Sometimes, weak spots exist under the glaze from the factory.
Tools & Materials Needed
Preparation is the secret to a flawless finish. Gather all your supplies before starting. You do not want to stop halfway through the project.
Here is everything you need for a successful repair:
- Porcelain repair kit (contains epoxy resin and hardener)
- Rubbing alcohol or acetone
- Cotton swabs or a clean microfiber cloth
- Fine-grit sandpaper (400 and 600 grit)
- Masking tape or painter’s tape
- A small wooden mixing stick (usually included in kits)
- A razor blade or plastic leveling tool
- High-gloss porcelain touch-up glaze
Step-by-Step Guide: How to Repair Chipped Porcelain Sink
Ready to get to work? Follow these simple steps carefully. Working slowly ensures the patch blends perfectly with the surrounding area.
Step 1: Clean the Damaged Area
Dirt and soap scum prevent the epoxy resin from sticking. You must clean the chip thoroughly.
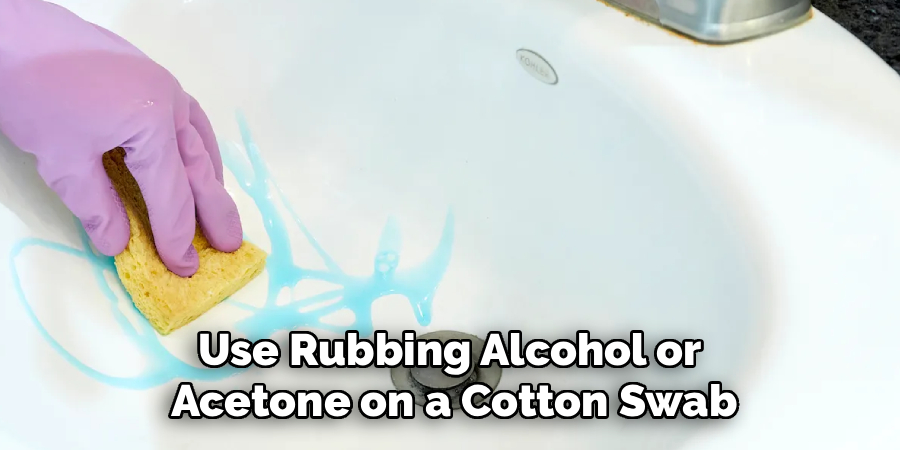
Use rubbing alcohol or acetone on a cotton swab. Wipe inside and around the chipped area. Let it dry completely before moving forward.
Step 2: Sand the Edges
The repair material needs a rough surface to grip. Take your 400-grit sandpaper and gently rub the edges of the chip.
Do not sand the undamaged areas. Wipe away any ceramic dust with your damp cloth. Allow the spot to dry perfectly once more.
Step 3: Tape Off the Area
Protect the rest of your basin from accidental spills. Place masking tape closely around the edges of the blemish.
This creates a tight workspace. It also stops the epoxy resin from spreading where it does not belong.
Step 4: Mix the Epoxy Resin
Open your porcelain repair kit. Follow the manufacturer’s directions exactly.
Mix the resin and hardener using your wooden stick. Stir the mixture on a scrap piece of cardboard until it is uniform. You only have a few minutes before it hardens.
Step 5: Apply the Filler
Use your small wooden stick to scoop up the mixed epoxy. Press it firmly into the damaged spot.
Slightly overfill the hole. The mixture often shrinks a tiny bit as it dries. Make sure the material reaches every corner of the chip.
Step 6: Level the Surface
Take your plastic tool or a flat razor blade. Gently scrape it across the top of the wet patch.
You want to make the epoxy flush with the surrounding surface. Remove any excess material that spills over the tape.
Step 7: Let It Cure
Patience is absolutely critical here. Read your kit instructions for the exact curing time.
Most epoxy mixtures take at least 24 hours to fully harden. Keep the bathroom well-ventilated and avoid using the tap during this time.
Step 8: Sand the Dried Patch
Once fully cured, remove the masking tape. The patch might feel slightly bumpy.
Take your 600-grit fine sandpaper. Gently buff the repaired area until it feels as smooth as glass. Wipe away the dust.
Step 9: Apply the Finishing Glaze
The epoxy is strong, but it lacks that bright shine. You need to apply a porcelain touch-up glaze.
Brush a thin layer over the sanded patch. Let it dry completely. Add a second coat if the color does not match perfectly.
Safety Warnings
DIY projects are fun, but safety always comes first. Repairing ceramics involves strong chemicals and fine dust.

- Always wear a protective face mask while sanding to avoid inhaling dust.
- Wear nitrile gloves when handling epoxy resin to prevent skin irritation.
- Keep windows open or run an exhaust fan. The chemical fumes can be very strong.
- Keep all repair kits far away from children and pets.
- Dispose of leftover mixed chemicals safely according to local regulations.
When to Call a Professional
Some damage goes beyond a simple weekend fix. Knowing your limits is a sign of a smart homeowner.
If your basin has a deep crack that extends toward the drain, stop. This indicates structural failure. The entire unit might split apart and cause a massive leak.
Call a professional if the chip is larger than a quarter. Large patches rarely look seamless. A professional reglazing service or a complete replacement might be your best option.
Cost Estimate: DIY vs. Professional Repair
Let us talk about your budget. The financial difference between fixing it yourself and hiring help is huge.
A high-quality DIY porcelain repair kit costs between $15 and $30. Sandpaper and alcohol might add another $10 to your bill. Your total DIY cost is roughly $40.
Hiring a professional refinisher easily costs between $150 and $300. If the plumber recommends replacing the unit entirely, you could spend over $500. Doing it yourself keeps hundreds of dollars in your pocket.
FAQs About How to Repair Chipped Porcelain Sink
You might still have a few questions. Here are the most common things people ask about this project.
Can I use super glue instead of epoxy?
No. Super glue breaks down quickly when exposed to water. You must use a waterproof epoxy resin designed specifically for plumbing fixtures.
Will the repaired spot turn yellow over time?
Some cheap epoxies may yellow after a few years. Using a high-quality touch-up glaze over the patch prevents discoloration and seals the repair.
How long does a DIY repair last?
If prepped and applied correctly, the fix can last for several years. Just avoid scrubbing the exact spot with highly abrasive sponges.
Can I match the exact shade of white?
Most kits offer standard white or almond colors. You can buy specialized tints to mix into the glaze if your basin is a unique shade.
Can I use the tap while the patch dries?
Absolutely not. Even a small drop of water can ruin the curing process. Wait the full 24 hours before turning on the faucet.
Conclusion
A damaged basin does not have to ruin your bathroom’s aesthetic. You now know exactly how to repair chipped porcelain sink damage on your own.
By gathering the right tools and working patiently, you can achieve professional results. You will save money and gain a great sense of accomplishment.
Your bathroom will look fresh, clean, and inviting once again. Put on your gloves, grab your repair kit, and bring your fixture back to life today!