

A damaged fence is an eyesore that ruins your curb appeal. It also creates a massive security risk for your home. You might worry that fixing it will cost a fortune.
Thankfully, you do not need to spend thousands on a contractor. Learning how to repair chain link fences is easier than you think. Homeowners and renters face this problem all the time.
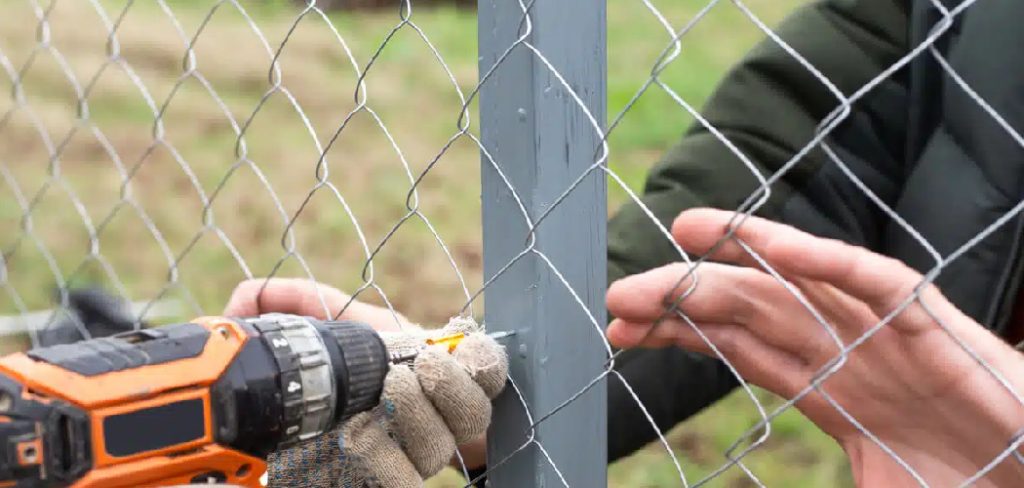
Fixing it yourself saves a ton of money. You only pay for the parts you actually need. You also gain a valuable new DIY skill.
All you need is a free afternoon and some basic tools. I am here to guide you through the whole process. We will get your yard looking great again in no time.
Let us dive right into the details.
What Causes This Problem?
Fence damage rarely happens out of nowhere. Recognizing the cause helps you prevent future headaches. Here are the most common culprits behind a busted fence:
- Fallen tree branches: Heavy limbs snap top rails and crush the wire fabric.
- Rust and weather damage: Years of rain and snow eat away at older, ungalvanized metal.
- Pet wear and tear: Large dogs jumping or digging can warp the bottom wire over time.
- Lawn care accidents: Weed whackers and lawnmowers easily cut through rusty bottom wires.
- Vandalism or trespassers: People climbing over the top rail bend the support structure.
- Shifting soil: Ground movement makes fence posts lean, causing the whole system to sag.
Knowing the exact cause helps you plan the repair. It also helps you buy the right replacement parts.
Tools & Materials Needed
Preparation is the secret to a smooth project. Gather everything before you start taking things apart. You will save yourself extra trips to the hardware store.
The Essential Tools
You likely have a few of these in your garage already. If not, borrow them from a neighbor.
- Heavy-duty wire cutters: You need these to snip the thick metal mesh.
- Pliers: A solid pair of lineman’s pliers makes twisting wire much easier.
- Come-along or fence puller: This winch tool stretches the new mesh tight.
- Adjustable wrench: Use this to loosen and tighten the nuts on the tension bands.
- Safety glasses and leather gloves: These protect you from sharp metal edges.
The Replacement Materials
Check your current fence measurements carefully. You want your new parts to match perfectly.
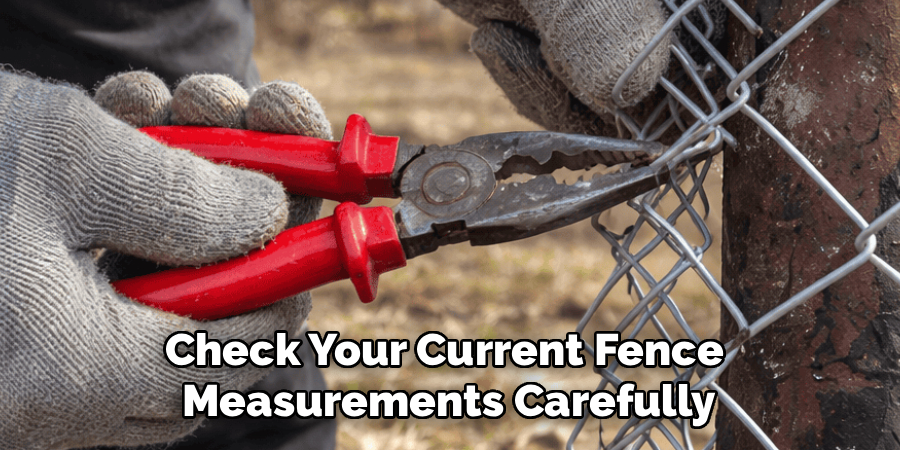
- Replacement chain link fabric: Match the height and diamond size of your current fence.
- Aluminum tie wires: These secure the new mesh to your posts and top rails.
- Tension bar: You weave this flat metal bar into the end of your new fabric.
- Tension bands and carriage bolts: These hold the tension bar tight against the terminal post.
Step-by-step Guide How to Repair Chain Link Fences
This section is the core of our project. Follow these steps in order to avoid mistakes. Take your time, and do not rush the process.
Step 1: Assess the Damage
Take a close look at the broken section. You need to know exactly how much material to replace.
Measure the length of the crushed or rusted mesh. Add an extra foot to that measurement just to be safe.
Check the top rails and posts while you are there. If the metal tubes are bent, you must replace them too.
Step 2: Remove the Old Metal Ties
Put on your leather gloves and safety glasses right now. The sharp edges will cut your hands easily.
Grab your pliers and untwist the aluminum tie wires. These hold the damaged fabric to the top rail and line posts.
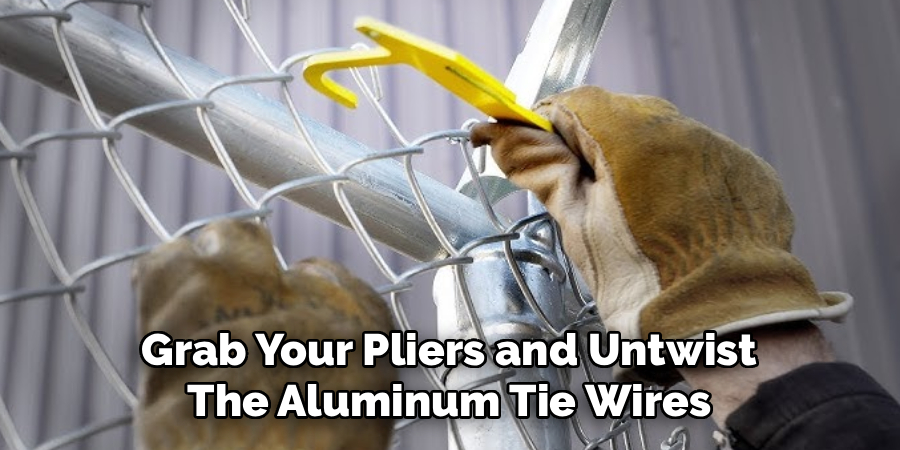
Throw the old ties away immediately. You cannot reuse them, and they are a hazard on the ground.
Step 3: Unravel the Damaged Section
You do not need to cut the mesh to remove it. Chain link is just a series of interwoven zig-zag wires.
Find the wire strand right at the edge of the damaged area. Use your pliers to bend the top and bottom loops straight.
Grab the wire at the top and twist it like a corkscrew. It will weave right out of the fence, separating the broken section perfectly.
Step 4: Remove the Damaged Mesh
Repeat the unraveling process on the other side of the hole. The damaged piece is now completely disconnected.
Roll up the broken mesh tightly. Tie it with a scrap piece of wire so it stays rolled up.
Move the heavy roll out of your work area. You can drop it off at a local scrap metal yard later.
Step 5: Measure and Prep the New Fabric
Roll out your brand-new fence fabric on the grass. Measure it to fit the gap you just created.
Use the same corkscrew trick to separate the new piece from the roll. Unweave one single wire to cut the fabric to size.
Stand the new section up in the gap. It is starting to look like a real fence again!
Step 6: Splice the New Section In
Pull the old and new sections together. You want the zigzag patterns to overlap slightly.
Take one of the single wires you removed earlier. Feed it down through the overlapping diamonds.
Twist it down like a corkscrew until it reaches the bottom. Bend the top and bottom tips back over with your pliers to lock it.
Step 7: Stretch the Fence Tight
A loose fence looks terrible and offers zero security. You need to stretch it before securing it.
Insert a temporary pull bar about three feet from the end post. Hook your come-along tool to the bar and the post.
Crank the tool slowly until the mesh is tight. You should barely be able to squeeze the diamonds with your hand.
Step 8: Secure the Mesh to the Post
While the fence is pulled tight, insert your final tension bar. Weave it through the very last row of diamonds next to the post.
Slide your tension bands over the pole and wrap them around the tension bar. Space them evenly, about 15 inches apart.
Insert the carriage bolts and tighten the nuts securely with your wrench. Release the pressure from the come-along tool.
Step 9: Install New Tie Wires
The hard work is completely done. Now you just need to secure the top and middle sections.
Hook a new aluminum tie wire around a strand of the mesh. Wrap it tightly around the top rail.
Use your pliers to twist the ends together tightly. Place a tie wire every 24 inches along the rail and on the line posts.
Safety Warnings
DIY projects are fun, but your safety always comes first. This job involves heavy tension and sharp metal.
Always wear heavy-duty leather work gloves. The ends of the wire mesh act like tiny needles.
Safety glasses are non-negotiable for this repair. Snapped wires can fly upward directly toward your face.
Be extremely careful when using the fence stretcher. If the come-along slips, the metal bar can whip back with incredible force.
Never attempt this repair during a thunderstorm. You are holding a giant metal lightning rod in your hands.
When to Call a Professional
I believe you can handle most yard repairs yourself. However, some situations require a true expert.
Call a pro if your terminal posts are severely bent or uprooted. Setting new posts in concrete requires specialized equipment and heavy labor.
Reach out for help if the damage spans more than 50 feet. Stretching massive rolls of heavy wire is too difficult for one person.
If your yard sits on a very steep incline, hire a contractor. Fixing fencing on a hill requires complex geometry and special cuts.
Always call the city or a utility marking service before digging new post holes. Hitting a buried gas line is dangerous and incredibly expensive.
Cost Estimate: DIY vs. Pro
Let us talk about the money. Knowing the numbers helps you decide your next steps.
Fixing it yourself is very affordable. A 50-foot roll of standard mesh costs around $100 to $150.
Tie wires and tension bands will only set you back about $20. If you need to buy a fence stretcher, expect to spend another $40.
Your total DIY cost usually lands between $75 and $200. This depends entirely on the size of the hole.
Hiring a professional contractor changes the math significantly. Most fencing companies charge a minimum call-out fee of $200.
Labor rates average around $50 to $75 per hour. When you add marked-up materials, a pro repair easily costs $400 to $800.
Doing it yourself keeps hundreds of dollars directly in your pocket.
Frequently Asked Questions
Can I repair a rusty chain link fence without replacing it?
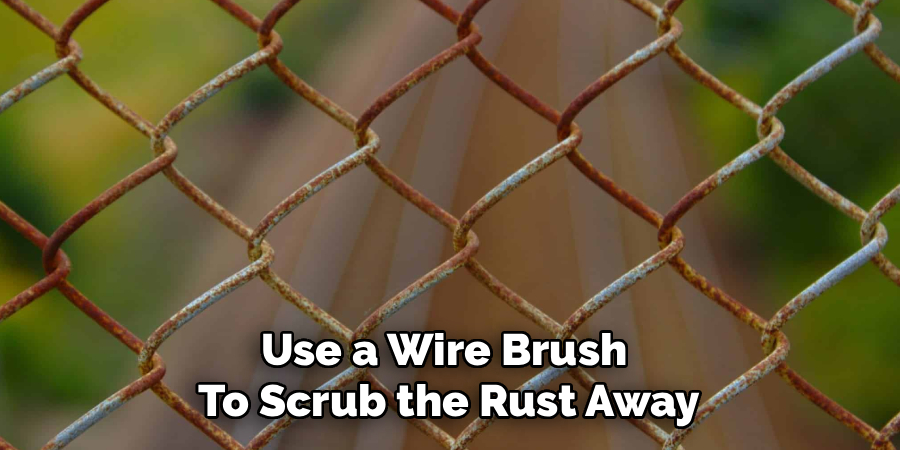
Yes, you can fix surface rust easily. Use a wire brush to scrub the rust away. Paint over the area with a rust-stopping metallic spray paint.
How do I fix a bent top rail?
You must cut the bent section out using a hacksaw or pipe cutter. Buy a new rail and a rail sleeve. Slide the sleeve over the gap to connect the new and old pipes.
Is it hard to learn how to repair chain link holes at the bottom?
No, fixing bottom gaps is very simple. Run a heavy-duty tension wire along the bottom edge of the fence. Clip the mesh to the wire using hog rings to stop pets from digging out.
Can I patch a small hole instead of replacing a whole section?
Yes. Cut a small square of leftover mesh that is slightly larger than the hole. Weave it into the existing fence using single strands of wire as a patch.
Do I need a permit to repair my fence?
Basic repairs rarely require a permit. However, if you are replacing the entire fence or changing its height, check with your local zoning office first.
Conclusion
A broken fence does not have to ruin your week. Taking the time to learn how to repair chain link fencing puts you in control.
You now understand the causes, the tools, and the exact steps required. You know how to stay safe while keeping your costs remarkably low.
Gather your materials this weekend and give it a try. Take it one step at a time, and rely on this guide when you get stuck.
Ready to transform your yard? Grab your pliers, put on those gloves, and get your fence looking flawless today!