

Pets bring endless joy into our homes. Unfortunately, they can also bring endless destruction to our floors.
Scratched, chewed, and torn flooring is a common headache for many pet owners. You might look at a shredded corner and feel completely overwhelmed.
Figuring out how to repair carpet damage by pets is easier than you might think. You do not need to replace the entire room to make your floors look new again.
Tackling this project yourself can save you hundreds of dollars. It also saves your security deposit if you are currently renting your home.
With a few basic tools and a free afternoon, you can fix those ugly bald spots. This guide will walk you through exactly what to do.
Let’s get your floors back in perfect shape.
What Causes Carpet Damage by Pets?
Before we jump into the repair, it helps to understand why this happens. Pets rarely destroy flooring just to make you angry.
Understanding the root cause can prevent future damage. Here are the most common reasons pets ruin flooring:
- Separation Anxiety: Dogs often dig at flooring near doors when they miss you.
- Teething: Puppies love to pull on looped fibers to soothe their sore gums.
- Claw Sharpening: Cats naturally need to scratch, and your floor is an easy target.
- Boredom: Pets left alone without toys will find their own, often destructive, entertainment.
- Trapped Panic: A pet accidentally locked in a room will dig frantically to escape.
Tools & Materials Needed
You do not need to be a professional contractor to do this. The supplies required are cheap and easy to find at any hardware store.
Gather all your materials before you make a single cut. Being prepared makes the entire process run smoothly.
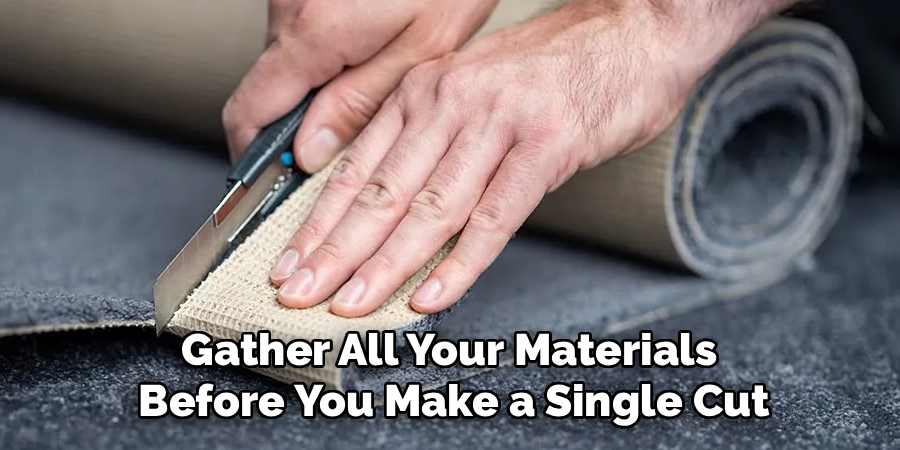
Here is exactly what you need to get started:
- A utility knife or carpet knife: Make sure you have fresh, sharp blades.
- A donor piece of carpet: You can take this from the back of a closet.
- Double-sided carpet seam tape: This is crucial for holding the new patch down.
- A flathead screwdriver: You will use this to press the fibers into place.
- A carpet roller or stiff comb: This helps blend the seams invisibly.
- A vacuum cleaner: You need to clean up loose fibers and dirt.
- A heavy book or weight: This helps the adhesive set properly.
Step-by-Step Fix Guide: How to Repair Carpet Damage by Pets
Ready to dive in? Take a deep breath and take your time.
Rushing through a flooring patch job usually leads to visible, messy seams. Follow these beginner-friendly steps exactly.
Step 1: Vacuum the Damaged Area Thoroughly
You need a clean workspace before you start cutting. Pet hair, dirt, and loose threads will get in your way.
Use your vacuum hose to suck up all debris around the torn spot. Use a pair of scissors to trim away long, frayed threads.
Step 2: Measure the Damaged Section
Do not try to eyeball the size of the patch you need. Get a tape measure and figure out the exact dimensions.
You want to cut out a perfect square or rectangle around the damage. Irregular shapes are much harder to match and patch.
Step 3: Source Your Donor Patch
You need a piece of flooring that perfectly matches the damaged area. If you do not have leftover scraps in your attic, look in a closet.
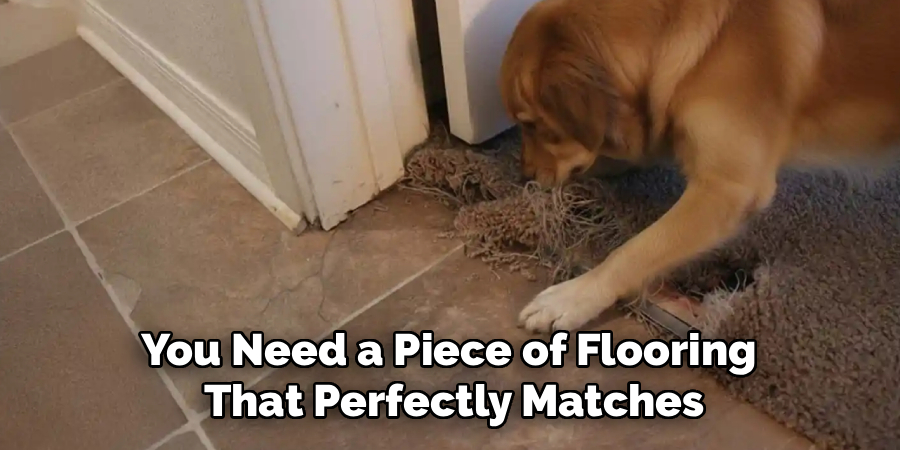
Go to the darkest, back corner of a closet and cut out a square. It must be slightly larger than the damaged spot you measured.
Step 4: Cut Out the Damaged Flooring
Place a hard surface, like a piece of cardboard, underneath the damaged area if possible. This protects the carpet pad underneath.
Take your sharp utility knife and press firmly. Cut a clean, straight square entirely around the chewed or scratched section.
Pull the damaged square out and throw it away.
Step 5: Size the Donor Patch
Take your fresh donor piece and lay it directly over the hole. Make sure the direction of the fibers matches the rest of the room.
Using your utility knife, carefully trim the donor piece. It needs to fit snugly into the hole, like a puzzle piece.
Step 6: Apply the Carpet Tape
Cut four pieces of double-sided carpet seam tape. Slip them halfway under the existing floor edges around the hole.
Press firmly down so the tape sticks to the floor pad underneath. Peel the protective backing off the top of the tape.
Step 7: Insert the New Patch
Gently press your perfectly sized donor patch into the empty square. Push down firmly along all four edges.
The tape will grab the bottom of the patch and hold it tight.
Step 8: Blend the Seams
This is the most important step for a professional look. Take your flathead screwdriver and run it along the edges.
Tuck any loose fibers down into the seam. Then, use your stiff comb or roller to vigorously brush the fibers together.
Step 9: Apply Weight
The adhesive needs time to bond strongly. Place a heavy book or a piece of furniture over the patched area.
Leave it there for at least 24 hours. Keep your pets away from the area while it sets.
Safety Warnings
DIY home repairs are safe when you use common sense. However, there are a few risks to keep in mind.
Utility knives are incredibly sharp and can slip easily. Always cut away from your body and keep your fingers clear.
Double-sided seam tape is extremely sticky. Avoid touching the adhesive directly, as it can be difficult to remove from your skin.
Keep your pets entirely out of the room while you work. A curious cat or dog could easily step on an exposed blade.
When to Call a Professional for How to Repair Carpet Damage by Pets
Not every problem can be solved with a quick DIY patch. Sometimes, you need to call in the experts.
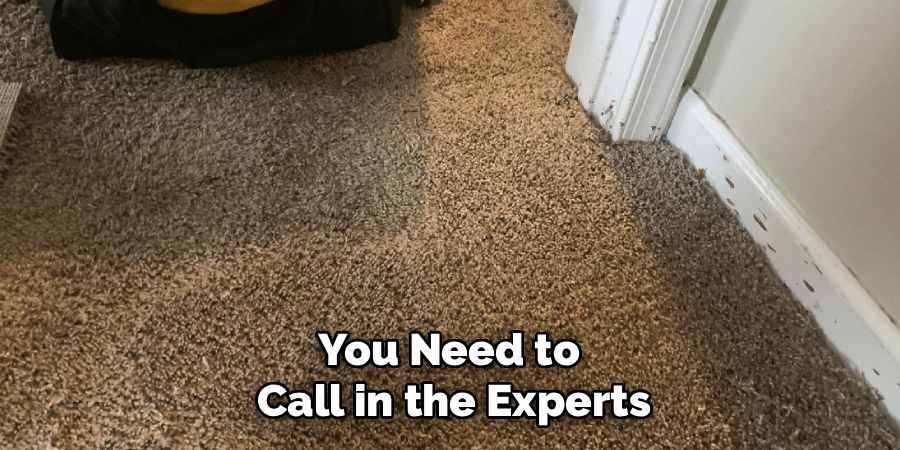
If your pet has destroyed a massive area in the center of the room, patching will look obvious. Patches work best for areas smaller than one square foot.
Patterned flooring is incredibly difficult to align perfectly. If your floor has intricate designs, an expert will save you from a mismatched nightmare.
If the damage includes deep urine stains that have soaked into the floorboards, a patch will not fix the smell. You will need a professional to replace the padding and treat the subfloor.
Cost Estimate: DIY vs. Professional Repair
Money is usually the biggest factor when deciding to fix something yourself. The savings here are substantial.
A DIY repair will cost you very little. A utility knife and a roll of high-quality seam tape will run you about $20 to $40 total.
Hiring a professional is much more expensive. A flooring technician will usually charge a minimum call-out fee.
You can expect to pay anywhere from $150 to $300 for a professional to patch a small section. Doing it yourself keeps that money safely in your pocket.
FAQs About Pet Carpet Damage
Still have a few questions before you start cutting? You are not alone.
Here are the most common questions people ask about fixing chewed and scratched floors.
Can I fix chewed carpet without a spare piece?
It is nearly impossible to make a clean repair without a matching donor piece. If you have absolutely no scraps, you might have to steal a piece from under a heavy couch.
How do I stop my cat from scratching the floor?
Prevention is key. Place horizontal scratching posts directly over the area they like to target. You can also use double-sided sticky training tape to deter them.
Does double-sided seam tape really work?
Yes, high-quality carpet seam tape is incredibly strong. Make sure you buy heavy-duty tape designed specifically for flooring, not regular double-sided craft tape.
How long does this repair project take?
For a beginner, patching a small square takes about 30 to 45 minutes. The most time-consuming part is carefully measuring and cutting the patch to size.
Conclusion
Dealing with chewed or scratched floors can feel incredibly frustrating. Thankfully, knowing how to repair carpet damage by pets changes everything.
You do not have to live with ugly bald spots or forfeit your entire security deposit. By taking your time and using the right tools, you can seamlessly patch the damage yourself.
Remember to measure carefully, use a sharp blade, and blend those seams well. Your floors will look fantastic in no time.
Ready to get started? Grab your utility knife, find a donor patch, and reclaim your beautiful home today!