

Finding a leak inside your RV can easily ruin a great weekend trip. Water spots on the ceiling usually mean trouble up above. Figuring out how to repair a camper roof quickly is essential to protect your investment.
Ignoring a small drip can lead to serious rot, mold, and costly structural damage. Fortunately, tackling this project yourself is much easier than you might think.
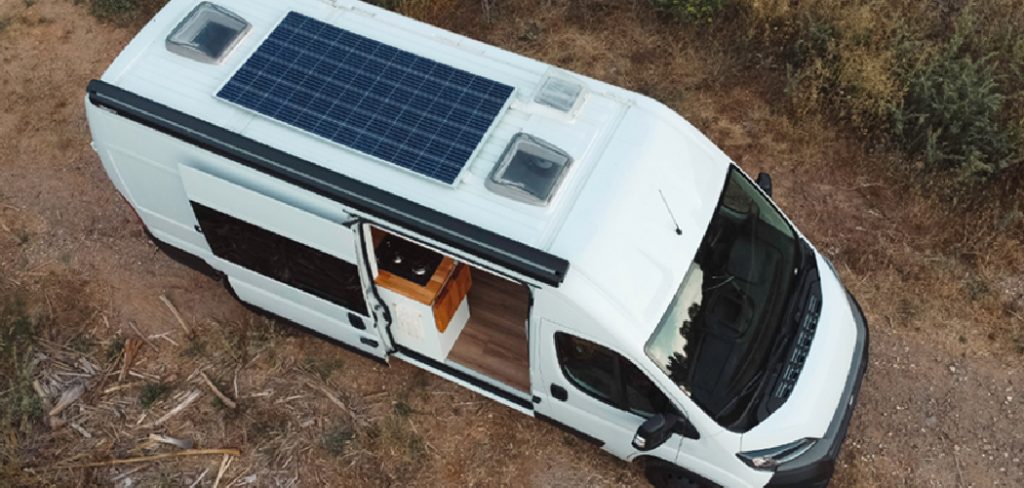
You do not need to be a master mechanic to fix most RV leaks. You just need the right tools, a bit of patience, and a sunny afternoon.
Fixing it yourself saves a massive amount of money. Dealerships often charge thousands for simple patch jobs. By doing it yourself, you keep that cash in your pocket for your next big adventure.
Let us walk through exactly how to get your rig sealed up tight.
What Causes Camper Roof Leaks?
Before you fix the issue, it helps to understand why it happened in the first place. RV roofs take a beating from the elements every single day.
Here are the most common culprits behind a leaking camper roof:
- Sun and UV Damage: Constant baking in the hot sun dries out factory seals. This causes them to crack, shrink, and peel away.
- Low-Hanging Branches: Scraping against tree limbs can easily tear rubber membranes. Even a tiny puncture lets water sneak inside.
- Aging Materials: Nothing lasts forever, especially on a moving vehicle. Most factory sealants need replacing every five to ten years.
- Flexing During Travel: Driving down bumpy highways causes your rig to twist and flex. This constant motion breaks the waterproof bonds around vents and skylights.
- Poor Maintenance: Failing to clean and inspect the roof yearly allows dirt to degrade the materials. Preventative care is always your best defense.
Tools & Materials Needed
Having everything ready before you climb the ladder is crucial. You do not want to be stuck on top of your RV missing a key item.
Gather these supplies to ensure a smooth, professional-grade repair.
The Essential Cleaning Supplies
- Mild dish soap or RV roof cleaner: To remove dirt and grime.
- Soft-bristle scrub brush: To clean without scratching the membrane.
- Denatured alcohol or mineral spirits: For final surface preparation.
- Microfiber rags: To wipe away residue and dry the area.
The Repair Materials
- Self-leveling lap sealant (like Dicor): For flat horizontal surfaces.
- Non-leveling lap sealant: For vertical edges and seams.
- Eternabond roof tape: For sealing large tears or covering long seams.
- Plastic putty knife: To safely scrape away the old, dried-out caulk.
- Caulking gun: To apply the fresh sealant smoothly.
- Utility knife: For cutting tape and trimming stubborn caulk.
Step-by-Step Fix Guide
Ready to get to work? Follow these simple steps to tackle the job safely and effectively. We will break this down into bite-sized, beginner-friendly actions.
Step 1: Locate the Source of the Leak
Water is tricky and rarely drips straight down. The wet spot on your ceiling might be feet away from the actual hole.
Safely climb onto your roof and inspect every single seam. Look closely around roof vents, air conditioners, skylights, and antennas.
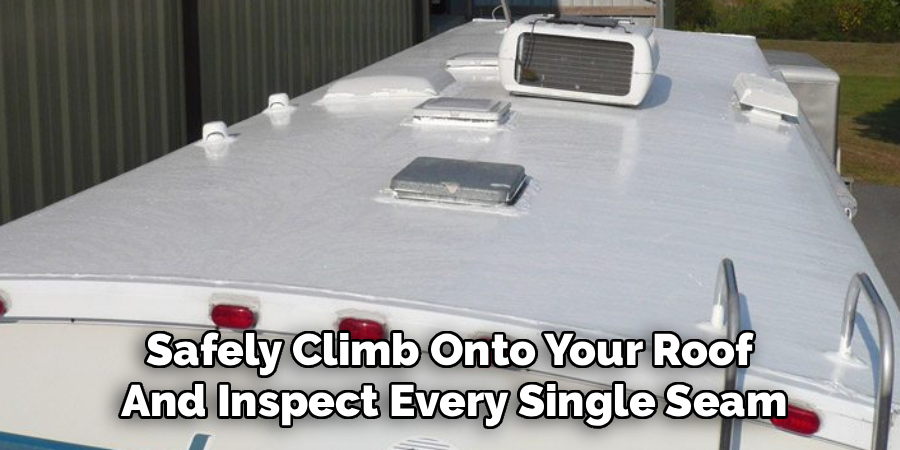
Search for cracked sealant, peeling edges, or visible punctures in the rubber membrane. Mark the damaged areas with a piece of chalk or painter’s tape.
Step 2: Wash the Roof Thoroughly
You cannot apply new sealant over a filthy surface. It simply will not stick, and your leak will return quickly.
Use your soft brush and RV roof cleaner to wash the entire area. Scrub away all the dirt, sap, and bird droppings.
Rinse the roof with a hose and let it dry completely in the sun. Working on a dry surface is absolute mandatory for a watertight seal.
Step 3: Remove the Old, Failing Sealant
Never put new caulk over bad caulk. You must remove the old, cracked material first to create a solid bond.
Take your plastic putty knife and gently scrape away the old lap sealant. Avoid using metal scrapers, as they can easily slice through a rubber roof.
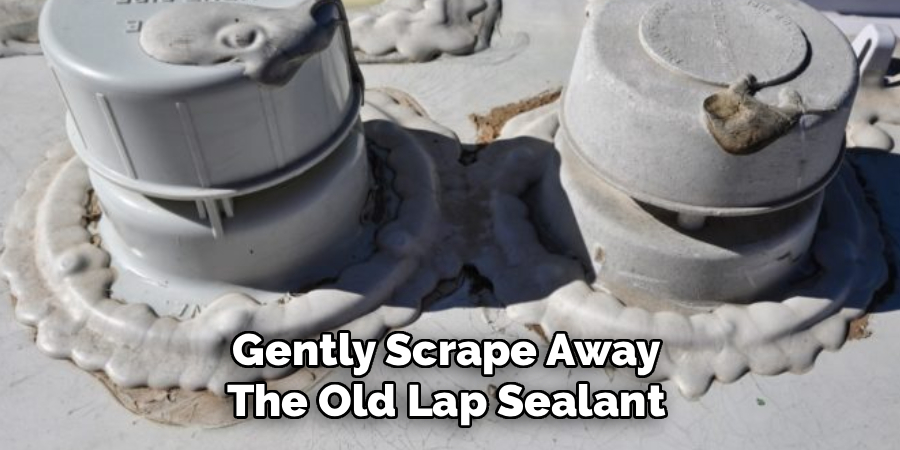
Peel away as much of the old material as you possibly can. A little leftover residue is fine, provided it is firmly attached and flat.
Step 4: Prep the Surface with Alcohol
Cleaning the area one more time ensures maximum adhesion. Grab a clean rag and your denatured alcohol.
Wipe down the entire repair zone to remove leftover grease or chemical residue. The alcohol evaporates very fast, leaving a pristine surface behind.
Wait about five minutes for the area to dry entirely before moving to the next step.
Step 5: Apply Roof Tape to Tears (If Needed)
If you have a physical tear from a tree branch, roof tape is your best friend. Cut a piece of Eternabond tape that extends two inches past the hole on all sides.
Peel back the clear liner and press the tape firmly over the tear. Use your hands or a small seam roller to smooth out any air bubbles.
Once this tape touches the roof, it is nearly impossible to remove. Place it carefully and press down hard to activate the adhesive.
Step 6: Apply the New Lap Sealant
Now it is time to waterproof the seams and fixtures. Load your tube of self-leveling sealant into the caulking gun.
Cut the tip at an angle and puncture the inner foil seal. Squeeze a thick, continuous bead of sealant over the seams and screws.
Do not worry about making it look perfectly neat. Self-leveling sealant flattens out on its own as it cures, creating a smooth, waterproof puddle.
Step 7: Let It Cure and Perform a Test
Your repair needs time to set up and bond with the roof materials. Check the instructions on your specific sealant tube for curing times.
Most lap sealants need at least 24 to 48 hours to fully cure. Keep the RV out of the rain during this critical waiting period.
Once it is completely dry, take a hose and lightly spray the repaired area. Check the inside of the camper to confirm your fix worked perfectly.
Safety Warnings for Roof Repairs
Working high off the ground always comes with risks. Your safety is much more important than a dry ceiling.
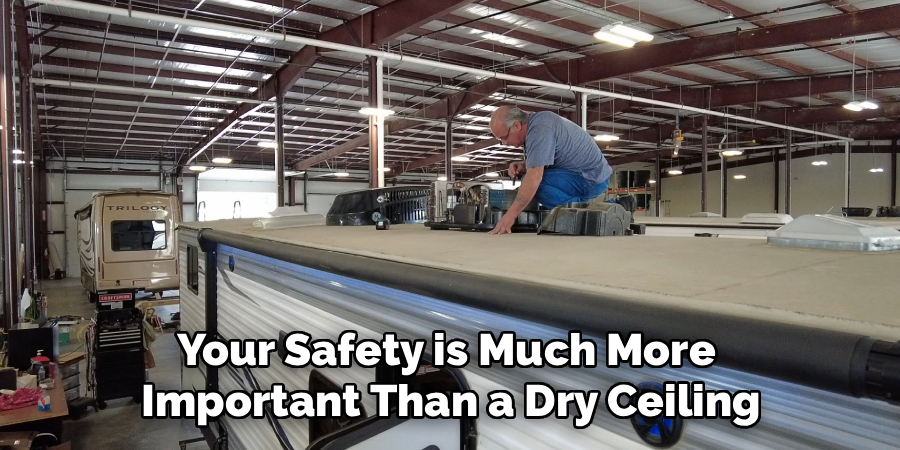
Keep these critical safety tips in mind before you begin.
Watch Your Step on Slippery Surfaces
RV roofs get incredibly slick when they are wet with soap and water. Wear soft-soled shoes with excellent grip, like clean sneakers.
Stay low to the roof, and never walk backwards. If your roof feels weak or spongy under your feet, stay off it entirely.
Use the Right Ladder Safely
Always use a sturdy, secure ladder to access the top of your rig. Ensure the ladder is on firm, level ground before climbing.
Have a friend or family member hold the base of the ladder for extra stability. Never carry heavy tools in your hands while climbing; use a tool belt instead.
Beware of Chemical Fumes
Sealants and cleaning solvents can produce strong, harmful vapors. Always work in a well-ventilated area, preferably outdoors.
If you feel lightheaded while using mineral spirits, climb down immediately. Take a break in the fresh air and drink plenty of water.
When to Call a Professional
DIY repairs are incredibly rewarding, but they have their limits. Knowing when to step back can save you from bigger headaches down the road.
If you discover severe wood rot under the rubber membrane, call a pro. Replacing structural trusses requires advanced carpentry skills and heavy tools.
You should also seek help if your entire roof membrane needs replacing. A full roof replacement is a massive, multi-person job that goes beyond basic patching.
If you are uncomfortable with heights or lack solid balance, stay on the ground. Hiring a technician is always cheaper than a trip to the emergency room.
Cost Estimate: DIY vs. Pro Repair
Understanding the financial breakdown highlights the value of doing it yourself.
For a DIY repair, expect to spend between $50 and $150. A tube of Dicor costs about $15, and a roll of roof tape runs around $50.
Taking your rig to an RV dealership tells a completely different story. Professionals usually charge between $150 and $200 per hour just for labor.
A simple patch job at a shop can easily cost $500 to $1,000. By learning how to repair a camper roof, you save hundreds of dollars in a single afternoon.
Frequently Asked Questions
You likely still have a few questions about tackling this project. Here are some quick answers to the most common queries we hear from RV owners.
How often should I inspect my RV roof?
You should climb up and inspect your roof at least twice a year. Doing this in the spring and fall helps catch small cracks before they become major leaks. Preventative maintenance is the secret to a long-lasting roof.
What is the best sealant for an RV roof?
Self-leveling lap sealant, such as Dicor, is the industry standard for flat horizontal surfaces. It spreads evenly to cover screw heads and seams. For vertical areas, use a non-leveling sealant so it does not drip down the sides.
Can I use regular silicone caulk on my camper?
No, never use standard bathroom or exterior silicone on a rubber RV roof. Regular silicone will not adhere properly to the membrane materials. It will eventually peel up, trap water underneath, and make the leak much worse.
How long does an RV roof repair take?
A basic patch or resealing job usually takes two to four hours. The hardest part is cleaning and scraping away the old sealant. Just remember to factor in the 24-hour drying time before exposing the rig to rain.
Can I walk on any part of my RV roof?
Not necessarily. Check your owner’s manual to confirm your roof is fully walkable. If it is not, place a large piece of plywood across the structural supports to distribute your weight safely.
Conclusion
Taking care of leaks quickly keeps your rig smelling fresh and looking great. Figuring out how to repair a camper roof is a valuable skill every owner should learn.
You now have the knowledge, the tool list, and the step-by-step strategy to succeed. By taking your time and prepping the surface correctly, you will get professional results.
Do not let a small drip ruin your upcoming camping season. Grab your ladder, get your supplies, and tackle that repair this weekend!
If you found this guide helpful, check out our other DIY maintenance tutorials to keep your RV in top shape.