

Walking out to your yard and seeing ugly, yellow patches can be incredibly frustrating. You put in the hard work to maintain a green lawn, only to find dead spots ruining the view.
If you are wondering how to repair burnt grass, you are absolutely in the right place.
Almost every homeowner deals with this exact problem at some point during the year. The good news is that you do not need to hire an expensive landscaping crew to fix it.
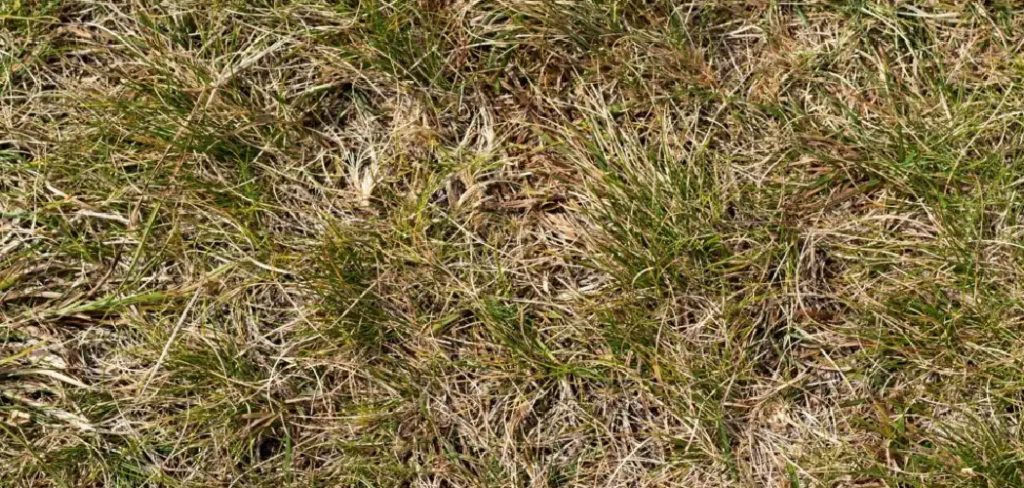
Tackling this lawn care project yourself is surprisingly easy and very beginner-friendly. Doing it on your own will save you a massive amount of money.
Professional lawn services charge steep hourly rates just to spread some seed and soil. You can achieve the exact same professional results for a fraction of the cost.
Plus, there is nothing quite like the satisfaction of fixing your own property with your own two hands. We will walk through this process together, step by step.
Grab your gardening gloves, and let’s get that lawn looking green, thick, and healthy again.
What Causes This Problem?
Before you can fix the issue, you need to know why it happened. If you just throw seed down without fixing the root cause, the grass will just die again.
Here are the most common reasons your grass gets scorched:
- Dog Urine: Dog pee is incredibly high in nitrogen. While a little nitrogen greens up grass, a concentrated puddle of it will burn the roots instantly.
- Fertilizer Spills: Just like dog urine, spilling synthetic lawn fertilizer dumps too much nitrogen into one spot. Over-fertilizing is a major culprit for chemical burns on lawns.
- Dull Mower Blades: Cutting grass with a dull blade tears the grass instead of cutting it cleanly. Torn grass blades lose moisture rapidly and turn brown in the hot sun.
- Sun Scorch and Drought: Extreme heat and lack of water will literally bake your lawn. Shallow root systems are especially vulnerable to drying out and dying in mid-summer.
- Gasoline or Chemical Spills: Filling up your lawnmower on the grass is a bad idea. Just a few drops of spilled gasoline will kill the soil biology and the grass above it.
- Lawn Diseases and Fungi: Sometimes, what looks like a sun scorch is actually a fungal infection. Brown patch disease thrives in hot, humid weather and mimics burnt grass.
Tools & Materials Needed
You do not need an entire shed of heavy machinery for this fix. A quick trip to your local hardware or garden center is all it takes.
Here is exactly what you need to gather before we get to work:
The Essential Tools:
- Stiff metal rake (bow rake): Crucial for pulling up dead grass and breaking up the hard dirt underneath.
- Hand trowel or garden cultivator: Perfect for mixing soil in smaller, stubborn areas.
- Watering can or garden hose with a misting nozzle: You need a gentle spray to avoid washing away the new seeds.
- Work gloves: Keep your hands free from blisters and dirt.
The Essential Materials:
- High-quality grass seed: Make sure it matches the grass type currently growing in your yard (e.g., Kentucky Bluegrass, Bermuda, or Fescue).
- Rich topsoil or compost: This will provide a healthy, nutrient-dense bed for the new seeds to thrive in.
- Peat moss or straw (optional): This helps cover the seeds to retain moisture and hide them from hungry birds.
- Gypsum or lime (optional): Only necessary if the burn was caused by dog urine, as it helps neutralize the soil pH.
A Step-by-Step Guide on How to Repair Burnt Grass
Now that we have our tools ready, it is time to get our hands dirty. Follow these simple steps, and do not rush the preparation phase.
Proper preparation makes all the difference when learning how to repair burnt grass successfully.
Step 1: Assess and Flush the Area
First, take a close look at the damaged spot. Determine exactly what caused the burn before you do anything else.
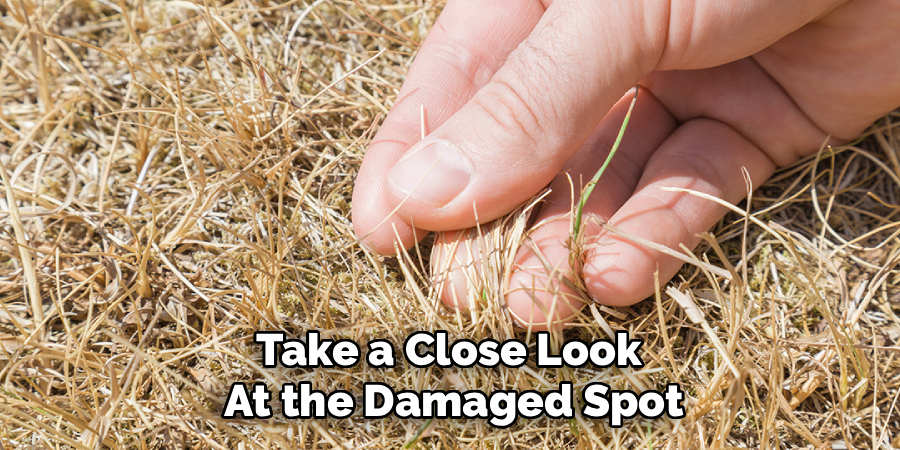
If you suspect dog urine or spilled fertilizer caused the damage, you must dilute the area first. Grab your garden hose and soak the spot thoroughly with water.
Flood the patch for several minutes to wash the excess nitrogen deep into the soil. If you skip this flushing step, the lingering chemicals will kill your new seeds immediately.
Let the area dry out slightly for a day or two so it is not a muddy mess when you start working.
Step 2: Rake Out the Dead Grass
New grass seed absolutely needs to touch bare soil to germinate. If you just toss seed on top of dead grass, it will never grow.
Take your stiff metal rake and vigorously scrape away all the dead, brown material. Do not be afraid to apply some pressure here.
You want to remove every piece of dead organic matter until you expose the bare dirt beneath. Discard the dead grass clippings in your compost bin or yard waste bag.
Step 3: Loosen the Compacted Soil
Once the dead grass is gone, you will likely notice the dirt feels rock-hard. Seeds cannot push their tender roots through soil that feels like concrete.
Use your metal rake or a small hand cultivator to aggressively scratch the surface of the dirt. You want to loosen the top inch or two of soil.
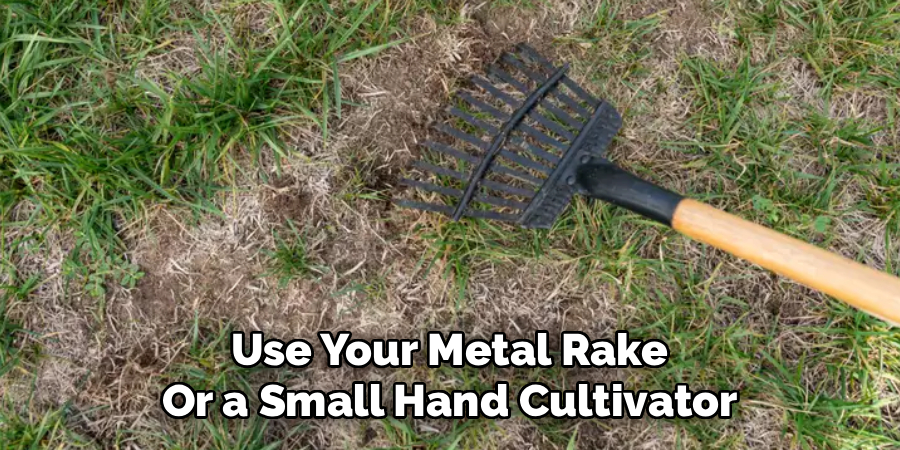
If the ground is too hard to break up, water it lightly and wait a few hours. Breaking up this dirt creates the perfect textured bed for new roots to anchor into.
Step 4: Add Fresh Topsoil or Compost
The existing dirt in that burnt spot is likely depleted of nutrients. We need to introduce fresh, healthy organic matter back into the mix.
Spread a half-inch layer of rich topsoil or compost directly over the loosened dirt. Use your hands or a small trowel to blend the new soil with the old soil.
This creates a smooth, level surface that matches the height of the surrounding lawn. Do not mound the dirt too high, or you will create a tripping hazard in your yard.
Step 5: Spread the Grass Seed
Now for the fun part. Grab a handful of your grass seed and sprinkle it evenly over the fresh soil.
You want to spread the seeds thick enough that they cover the area well. However, do not pile them on top of each other, as crowded seeds will compete and die.
Once the seed is down, lightly gently press the seeds into the dirt with your hands or the back of a rake. Good seed-to-soil contact is the secret to a fast, successful germination.
Step 6: Cover and Protect the Patch
Your new seeds are highly vulnerable to drying out in the sun. They are also a delicious snack for local birds.
To protect them, sprinkle a very thin layer of peat moss, topsoil, or straw over the seeds. You only need about a quarter-inch of cover.
If you use peat moss, it acts like a sponge and will hold moisture perfectly. Just be sure you can still see a few seeds peeking through the top layer.
Step 7: Water Generously and Consistently
Water is the most critical element of this entire repair process. You must keep the repaired patch damp at all times until the grass sprouts.
Use your hose on a gentle mist setting to water the spot. A harsh spray will completely wash away your seeds and your soil.
Water the area lightly twice a day—once in the morning and once in the late afternoon. Never let the soil dry out and turn light brown.
Once the new grass reaches about two inches tall, you can slowly reduce watering to once a day.
Safety Warnings for Lawn Repair
Even though this is a simple DIY project, there are a few safety things to keep in mind. Your health and your lawn’s health are both important.
First, always wear gardening gloves when working with soil and compost. Soil can contain harmful bacteria or sharp debris that can cause nasty infections in small cuts.
Second, if you are treating a chemical spill or fertilizer burn, avoid breathing in any dust. If the smell of chemicals is strong, wear a basic mask while you work.
Finally, do not use weed-killing chemicals (herbicides) anywhere near your new grass seeds. Weed killers will completely destroy tender new grass shoots and stop seeds from germinating.
Wait until you have mowed your newly repaired grass at least three times before applying any weed control products.
When to Call a Professional
I am a huge advocate for fixing things yourself to save cash. However, there are times when a lawn issue is bigger than a weekend DIY project.
If your entire lawn is turning brown all at once, you might have a massive grub infestation. Grubs eat the roots of the grass, causing wide-scale destruction that requires heavy chemical treatments.
Similarly, if you suspect a widespread fungal disease like brown patch or dollar spot, you may need a pro. Identifying and treating complex turf diseases can be tricky and expensive if you buy the wrong products.
Finally, call a pro if the burnt spots were caused by a massive toxic chemical spill, like heating oil. That requires professional hazardous waste removal, not just a little topsoil and seed.
For standard dog spots, heat scorch, or fertilizer burns, you absolutely have the skills to handle it yourself.
Cost Estimate: DIY vs. Professional
Let’s talk numbers so you can see exactly why DIY is the way to go here. Fixing a few burnt patches yourself is incredibly cheap.
If you buy a small bag of premium grass seed, it will cost you roughly $15 to $25. A bag of good topsoil or compost runs about $4 to $8 at any garden center.
Add in a few dollars for an optional bag of peat moss, and your total DIY cost is around $25 to $40. Plus, you will have plenty of leftover seed for future repairs.
Now, let’s look at hiring a professional landscaping company. Most lawn care companies charge a minimum service fee just to show up.
That minimum fee often ranges from $75 to $150, regardless of how small the job is. If they need to reseed large areas or apply special soil amendments, expect to pay upwards of $200 to $300.
By taking an hour out of your weekend to do this yourself, you easily keep over $100 in your pocket.
FAQs About How to Repair Burnt Grass
We get a lot of common questions from homeowners dealing with scorched lawns. Here are some quick, helpful answers to clear up any confusion.
Will burnt grass grow back on its own?
It depends on how bad the damage is. If the grass blades are just slightly heat-scorched but the roots are alive, water can revive it. If the spot is entirely brown, crispy, and caused by dog pee or fertilizer, the roots are dead and require reseeding.
Can I just put new seed over the dead grass?
No, this is a very common beginner mistake. Grass seed must have direct contact with bare soil to sprout and grow roots. Raking away the dead material is a mandatory step for a successful repair.
How long does it take for new grass to grow?
This depends heavily on the type of grass seed you buy. Ryegrass and fescue can sprout in just 7 to 10 days if kept properly watered. Kentucky Bluegrass takes much longer, often requiring 21 to 30 days to fully germinate.
How can I stop dog urine from burning my lawn?
The easiest trick is to follow your dog outside with a watering can. Immediately douse the area where they pee with fresh water to dilute the nitrogen. You can also train your dog to use a specific, mulched area of the yard instead of the grass.
Is sugar good for burnt grass?
Some old gardening myths claim sugar feeds the soil microbes to fix burns. While sugar won’t harm the lawn, it does not repair dead grass roots. Stick to proven methods like flushing the soil and reseeding the patch.
Conclusion
Seeing dead spots in your yard is annoying, but it is far from a permanent disaster. Now that you know exactly how to repair burnt grass, you can take control of your lawn’s health.
Remember, the secret lies in properly prepping the soil, choosing the right seed, and keeping that patch moist. You don’t need to spend hundreds of dollars on a landscaping crew.
You have the tools, the knowledge, and the ability to get this done yourself in a single afternoon.
If you found this guide helpful, be sure to bookmark our site for more practical home and yard repair tips. Don’t let a few dead patches ruin your summer—get out there and reclaim your beautiful green lawn today!