

You love your favorite table lamp, but the shade has seen better days.
Maybe the fabric is peeling, the inner plastic liner is cracking, or the wire frame is bent.
Before you throw it out and spend money on a brand-new one, we have good news. Learning how to repair a lampshade is easier than you might think.
Replacing a damaged shade entirely can be surprisingly expensive. By tackling this simple DIY project yourself, you keep your favorite decor and save some serious cash.
Whether you are a homeowner, a renter, or just someone who loves fixing things, you can handle this. Grab a cup of coffee, roll up your sleeves, and let’s get that lamp looking brand new.
What Causes Lampshade Damage?
Lampshades endure a lot of wear and tear over the years.
Understanding why your shade broke can help you prevent future damage. Here are the most common culprits:
- Excessive Heat: High-wattage incandescent bulbs bake the inner lining over time, causing it to crack or discolor.
- Direct Sunlight: UV rays from nearby windows fade fabrics and make plastic or paper shades incredibly brittle.
- Physical Impact: Tipping the lamp over or bumping it during a move easily bends the delicate wire frame.
- Moisture and Humidity: Damp environments weaken the water-based glues used by manufacturers, leading to peeling edges.
- Old Age: Adhesives naturally degrade over a decade, causing fabric to separate from the top and bottom rings.
- Pet Damage: Cats and dogs often scratch, knock over, or chew on lower-level lamp components.
Tools & Materials Needed for the Fix
Before we begin our project, you need to gather the right supplies.
Having everything within arm’s reach makes the process smooth and frustration-free.
Here is what you need to successfully restore your shade:
- Fabric glue: Choose a high-quality, heat-resistant craft adhesive.
- Binder clips or clothespins: These act as your extra sets of hands to hold materials in place while the glue dries.
- A measuring tape: Essential for getting precise cuts.
- Sharp fabric scissors: Dull scissors will fray your fabric edges.
- Replacement fabric or paper (optional): If you are completely recovering the frame, pick a medium-weight cotton or linen.
- Adhesive styrene sheet (optional): This is the stiff backing material used inside most fabric shades.
- A damp microfiber cloth: Perfect for cleaning off dust and old glue residue.
- Small pliers: Necessary for bending wire frames back into their proper circular shape.
Step-by-Step Fix Guide: How to Repair a Lampshade
Ready to dive in?
Follow these beginner-friendly steps to bring your lighting fixture back to life.
We will walk through the process exactly as a friendly neighbor would show you in their garage.
Step 1: Assess and Clean the Damage
First, unplug your lamp and remove the shade completely.
Set it down on a large, flat workspace with plenty of lighting.
Inspect the damage carefully to see if you are dealing with a simple glue failure or a cracked liner.
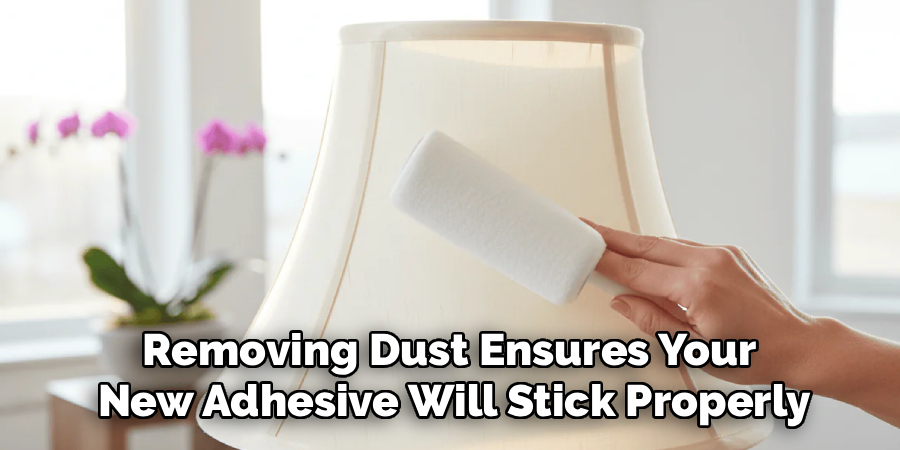
Wipe down the entire surface with a dry or slightly damp microfiber cloth. Removing dust ensures your new adhesive will stick properly.
Step 2: Reshape the Wire Frame
If your shade took a tumble, the metal rings might be bent out of shape.
Take your small pliers and gently grip the bent wire.
Apply slow, even pressure to push or pull the metal back into a perfect circle.
Work gradually to avoid snapping the delicate spot welds holding the frame together.
Step 3: Remove Peeling Fabric or Trim
For shades with peeling edges, carefully pull back the loose material.
Do not yank it, or you might tear the fabric further.
If the old glue is crusty and thick, gently scrape it away with your fingernail or a dull butter knife.
A clean surface is the secret to a professional-looking repair job.
Step 4: Apply Heat-Resistant Adhesive
Now it is time to stick things back together.
Apply a thin, continuous bead of your heat-resistant fabric glue along the bare wire ring or styrene backing.
Do not overdo it. Too much glue will seep through the fabric and leave ugly stains.
Smooth the fabric down tightly over the glued area with your fingers.
Step 5: Secure the Edges with Clips
Glue needs time and pressure to bond correctly.
Grab your binder clips or clothespins and attach them along the freshly glued edge.
Place a clip every inch or two to ensure the fabric stays tight.
Check for any wrinkles and pull them smooth before the glue begins to set.
Step 6: Let It Dry Completely
Patience is your best friend right now.
Leave the shade in a well-ventilated, dry area for at least 24 hours.
Do not rush the process by putting it back on the lamp and turning the bulb on.
Once fully cured, remove the clips and inspect your handy work.
Step 7: Complete a Full Recovery (If Necessary)
Sometimes the damage is too severe for a simple glue job.
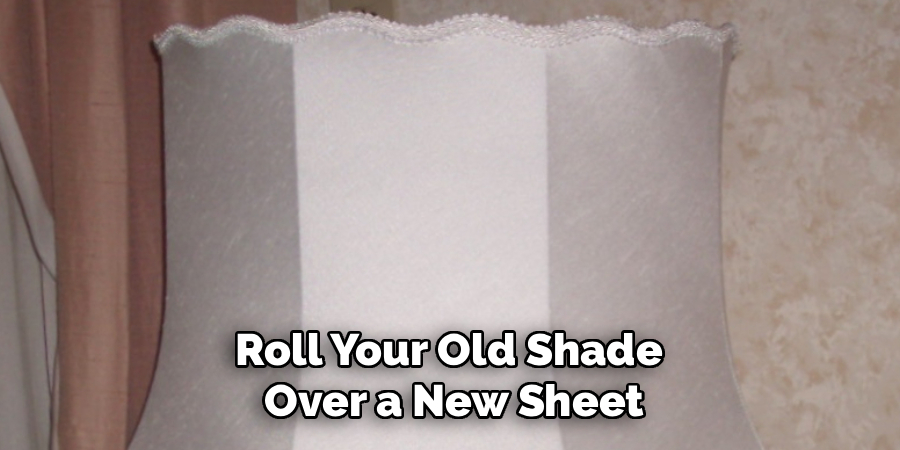
If you need to replace the fabric entirely, roll your old shade over a new sheet of adhesive styrene to trace the exact arc pattern.
Cut out the styrene, stick your new fabric to it, and wrap it around the top and bottom wire rings.
Secure it with glue and clips just as we did in the earlier steps.
Important Safety Warnings
Safety always comes first when working with household lighting.
Never apply highly flammable craft glues or tapes to a surface that sits close to a lightbulb. Always check that your adhesive is rated for higher temperatures.
Additionally, never use a shade that is missing its heat-resistant inner liner, as bare fabric can become a fire hazard.
Finally, ensure you work in a well-ventilated room if your fabric glue gives off strong fumes.
When to Call a Professional for Lampshade Repair
While DIY is incredibly rewarding, some jobs require a master’s touch.
If you own a delicate antique or vintage shade made of brittle, historic silk, do not attempt to glue it yourself.
Shades with intricate, hand-stitched beadwork or complex pleated folds are also incredibly difficult to replicate at home.
When dealing with a priceless family heirloom, taking it to a professional lighting restorer is the smartest choice.
They have the specialized tools, historic fabrics, and exact frame-welding equipment to do the job safely.
Cost Estimate: DIY vs. Professional Repair
Is the DIY route really worth your time? Let’s look at the numbers.
For a basic DIY repair, you will spend about $5 to $10 on quality fabric glue.
If you need to completely recover the shade, styrene sheets and new fabric will run you roughly $15 to $30 total.
On the other hand, a professional lampshade restoration easily costs between $75 and $150.
For highly complex or large custom shades, professional quotes can jump to $200 or more.
By fixing it yourself, you keep the majority of that money in your pocket.
Frequently Asked Questions
Can I use regular super glue to fix a lampshade?
No, standard super glue or school glue becomes brittle when exposed to the heat of a lightbulb. Always use a high-quality, heat-resistant fabric adhesive for safety and durability.
How do I fix a dented paper lampshade?
Carefully remove the shade and place your hand inside. Push gently against the dent to pop it back out, smoothing the creases softly with a bone folder or the back of a spoon.
Is it safe to use a torn lampshade?
A small tear on the outer fabric is safe but unsightly. However, if the inner heat-resistant liner is torn and exposing bare fabric to the bulb, it is a serious fire hazard and must be repaired.
What is the best fabric for lampshade repair?
Medium-weight natural fabrics work best. Cotton and linen are highly recommended because they are easy to glue, do not stretch out of shape, and let light filter through beautifully.
Can you replace just the plastic liner?
Yes, you can buy adhesive pressure-sensitive styrene sheets online. You simply trace your old liner’s shape, peel the backing, adhere your existing fabric, and attach it to your wire rings.
Conclusion
Taking care of minor household fixes yourself is an incredibly empowering feeling.
Now that you know exactly how to repair a lampshade, you never have to throw away a perfectly good lighting fixture again.
By taking the time to reshape the wires, apply the right heat-resistant glue, and secure the fabric properly, you can restore your decor on a tiny budget.
Your wallet stays happy, and your favorite reading nook stays beautifully lit.
Ready to tackle more home projects? Grab your tools, follow these steps, and bring your broken lamp back to life today!